• To use a certificate to authenticate the transmission partner in encryption key auto exchange settings,
a device certificate must be installed.
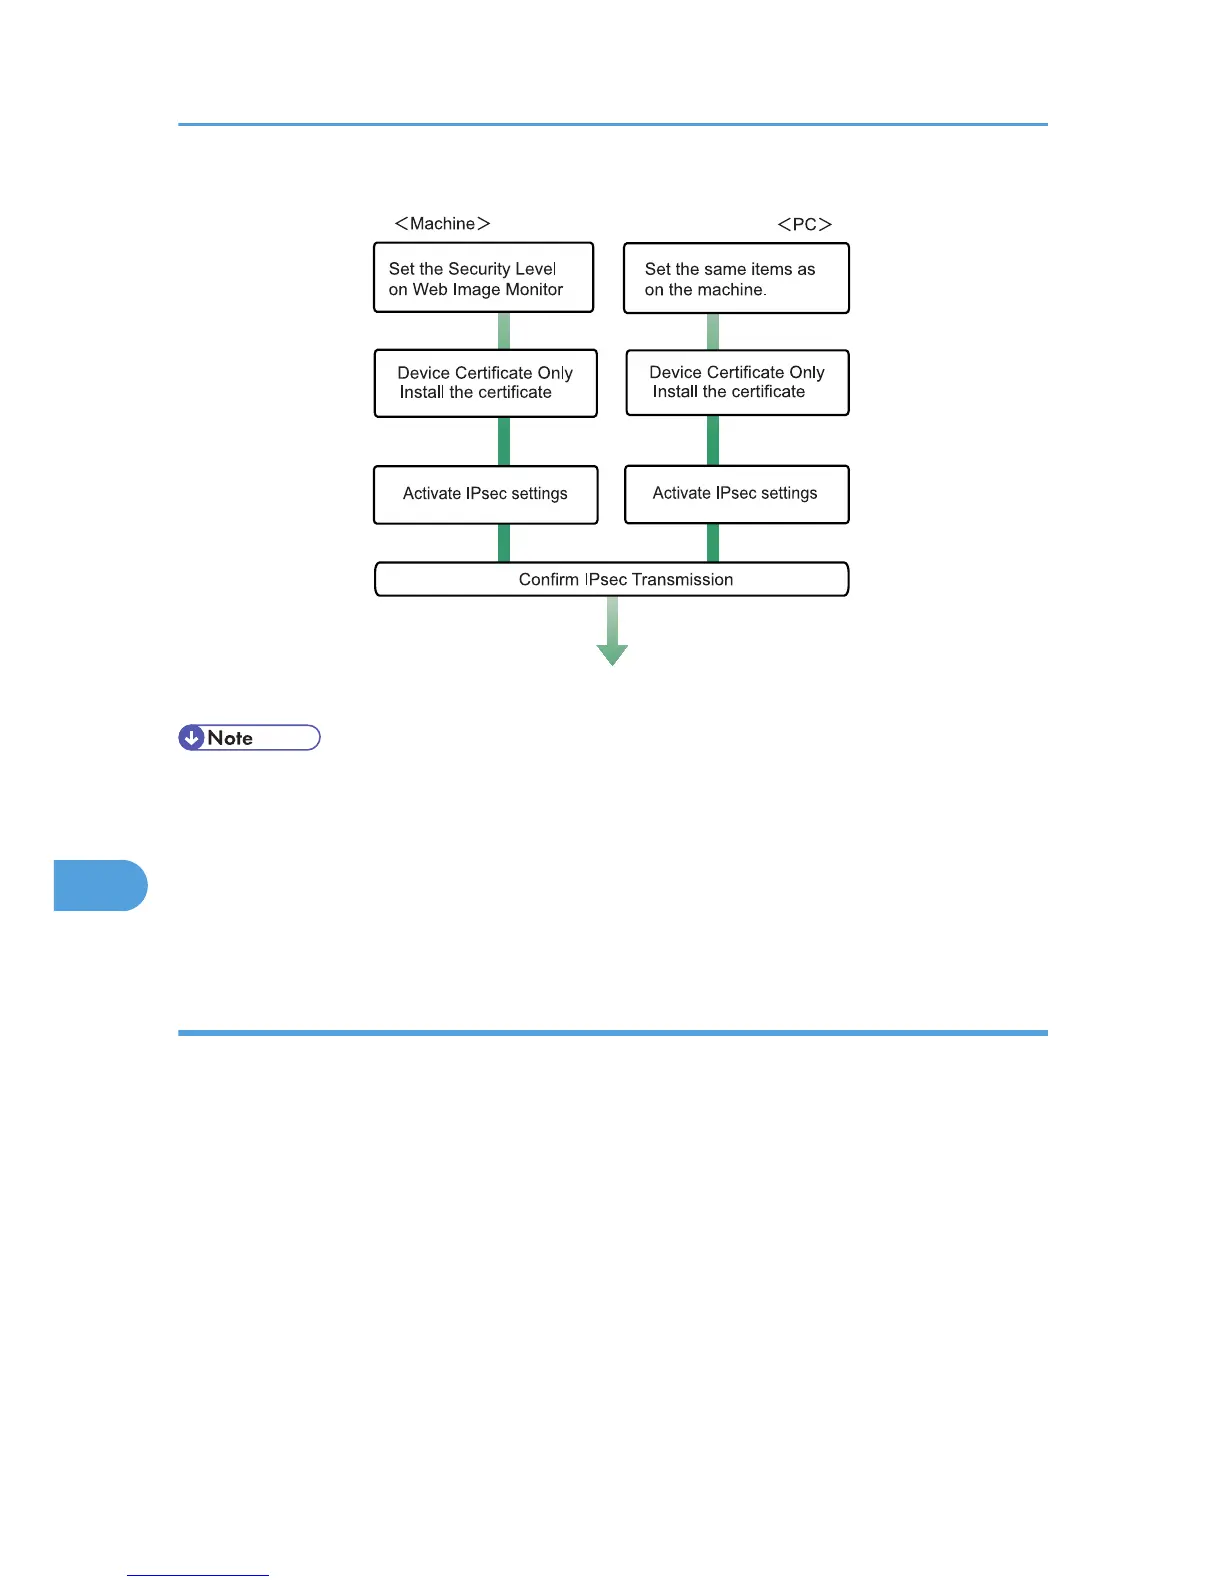
• After configuring IPsec, you can use "Ping" command to check if the connection is established correctly.
However, you cannot use "Ping" command when ICMP is excluded from IPsec transmission on the
computer side. Also, because the response is slow during initial key exchange, it may take some time
to confirm that transmission has been established.
Specifying encryption key auto exchange settings
This can be specified using Web Image Monitor.
1. Open a Web browser.
2. Enter "http://(the machine's IP address or host name)/" in the address bar.
When entering an IPv4 address, do not begin segments with zeros. For example: If the address is
"192.168.001.010", you must enter it as "192.168.1.10" to connect to the machine.
The top page of Web Image Monitor appears.
3. Click [Login].
The administrator can log on.
Enter the login user name and login password.
4. Click [Configuration], and then click [IPsec] under "Security".
The IPsec settings page appears.
8. Security Measures Provided by this Printer
360
 Loading...


