31 October 2001 INSTALLATION PROCEDURE
1-17
Installation
- For C231 and C237-
1. Turn off the main switch and unplug the power cord.
2. Remove the paper delivery table (2 screws).
3. Remove the paper delivery plate (4 screws).
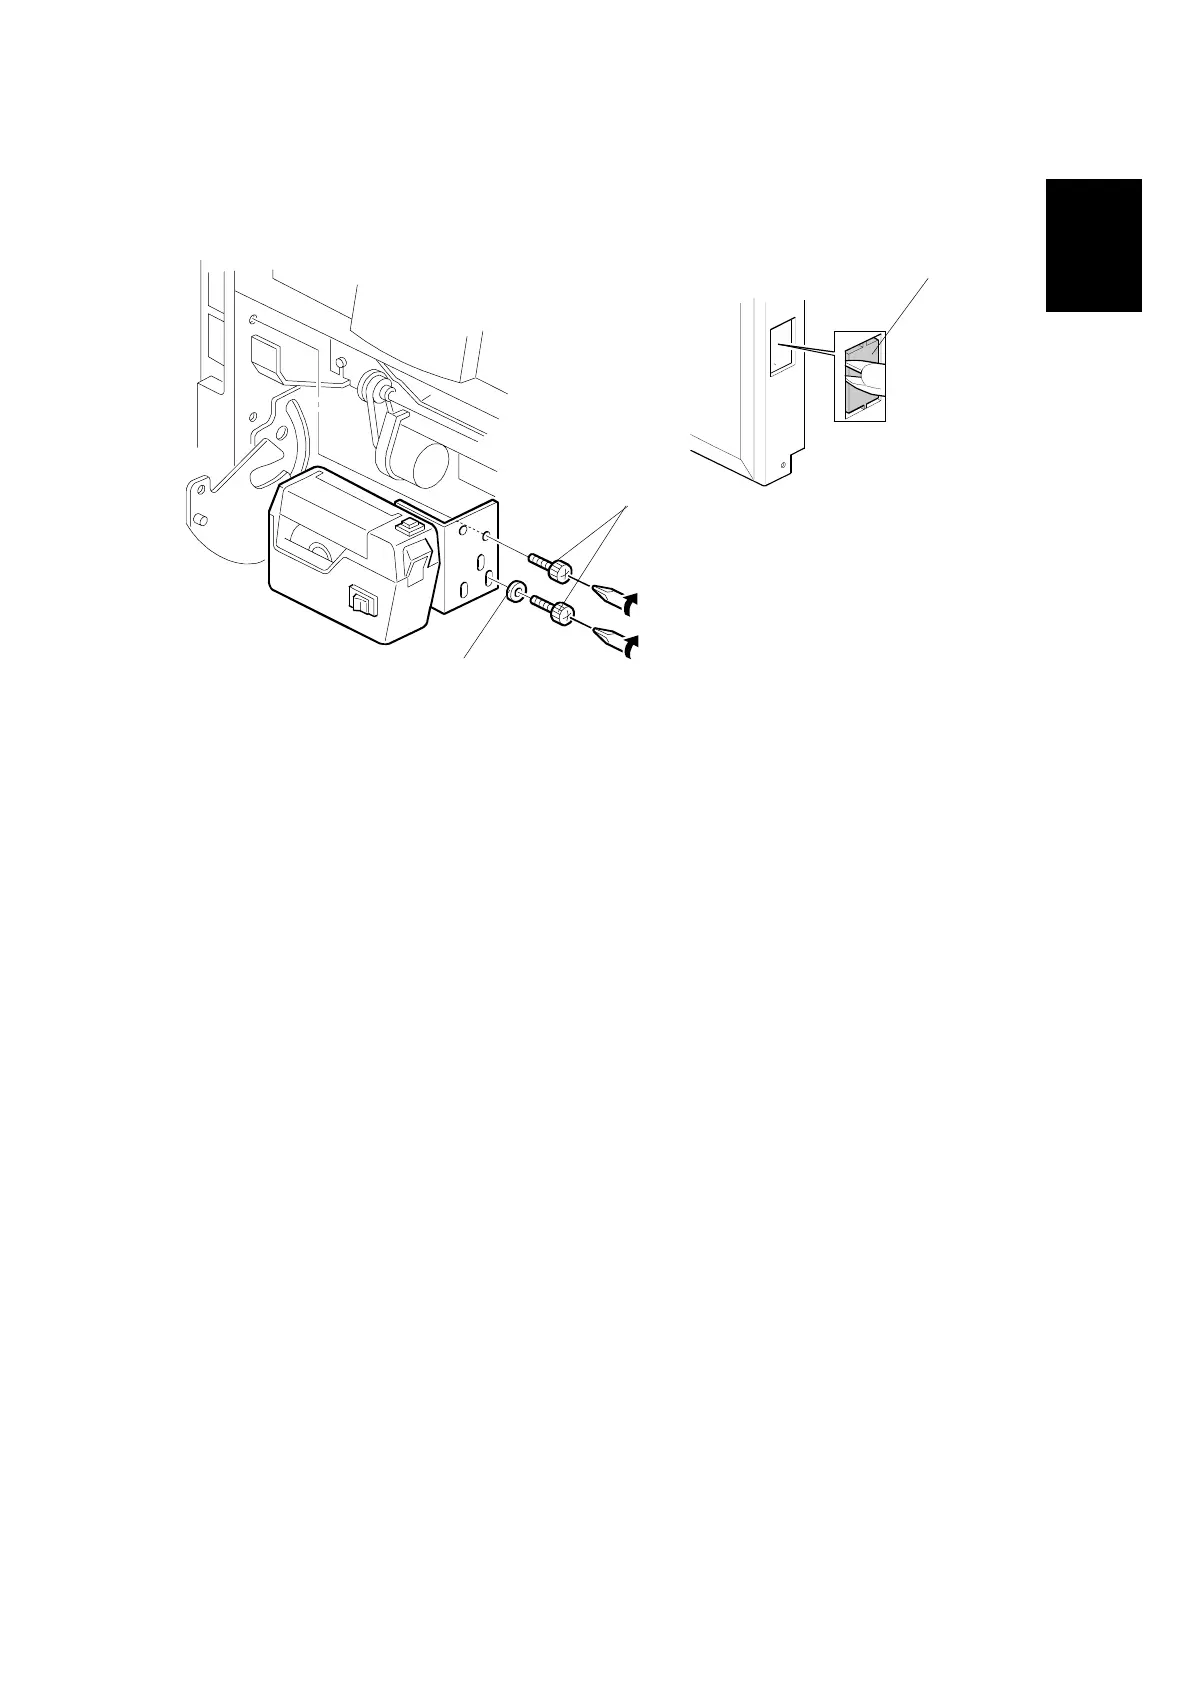
4. Cut the cap [A] off the rear cover with pliers, then connect the tape marker
cable to the main body.
5. Install the tape marker on the main body with two knob screws [B]
(accessories) in the two outer holes in the tape marker bracket.
NOTE: 1) Tighten the knob screws with a screwdriver to prevent them from
coming loose.
2) Install the lock washer [C] (accessories) with the lower of the two
knob screws.
6. Reinstall the paper delivery plate and paper delivery table.
7. Refer to "Common Steps".
C238I536.WMF
C238I533.WMF
[A]
[B]
[C]