44
Printing Originals
Side by Side (Multi-Up Printing)
The same or different originals can be printed side by side
and, if required, each original can have different settings:
reproduction size (Reduce/Enlarge), scanning contrast and
processing (Line/Photo/Duo).
You can select how they are arranged side by side on a
single sheet, from the following pattern: 2-by-1 (2UP), 2-by-
2 (4UP), 4-by-2 (8UP) and 4-by-4 (16UP).
☞ p.62 ....Frequently used combinations of settings can
be saved in memory for quick recall.
Productivity can be multiplied several fold by cutting the
multi-image prints into pieces and/or folding them in half,
to finish your print job.
☞ p.32 ....The Auto Process feature can be used with the
Multi-Up printing.
☞ p.62 ....The Multi-Up printing feature can be saved in
memory for quick recall.
Holding down the RESET key longer than one second
cancels this feature.
When the printing paper size is set to "Custom",
this feature is not available.
<Reference Charts for Multi-Up Printing Operation>
Regular size original and printing paper can only be used with the Multi-Up printing feature.
Refer to the charts below for the combinations of the following items in the respective Multi-Up patterns: original
size, printing paper size and size adjustment requirement.
Only one original placement direction is possible for the respective Multi-Up patterns.
<RN2000/2030/2130>
[2UP / 8UP]
Original Original Size
Placement 2UP 8UP
Direction Letter Statement Statement
Legal 77% 100% 50%
Letter 66% 100% 50%
Statement 50% 66% -
[4UP / 16UP]
Original Original Size
Placement 4UP
Direction Legal Letter Statement
Legal 50% 50% 77%
Letter - 50% 66%
Statement - - 50%
41
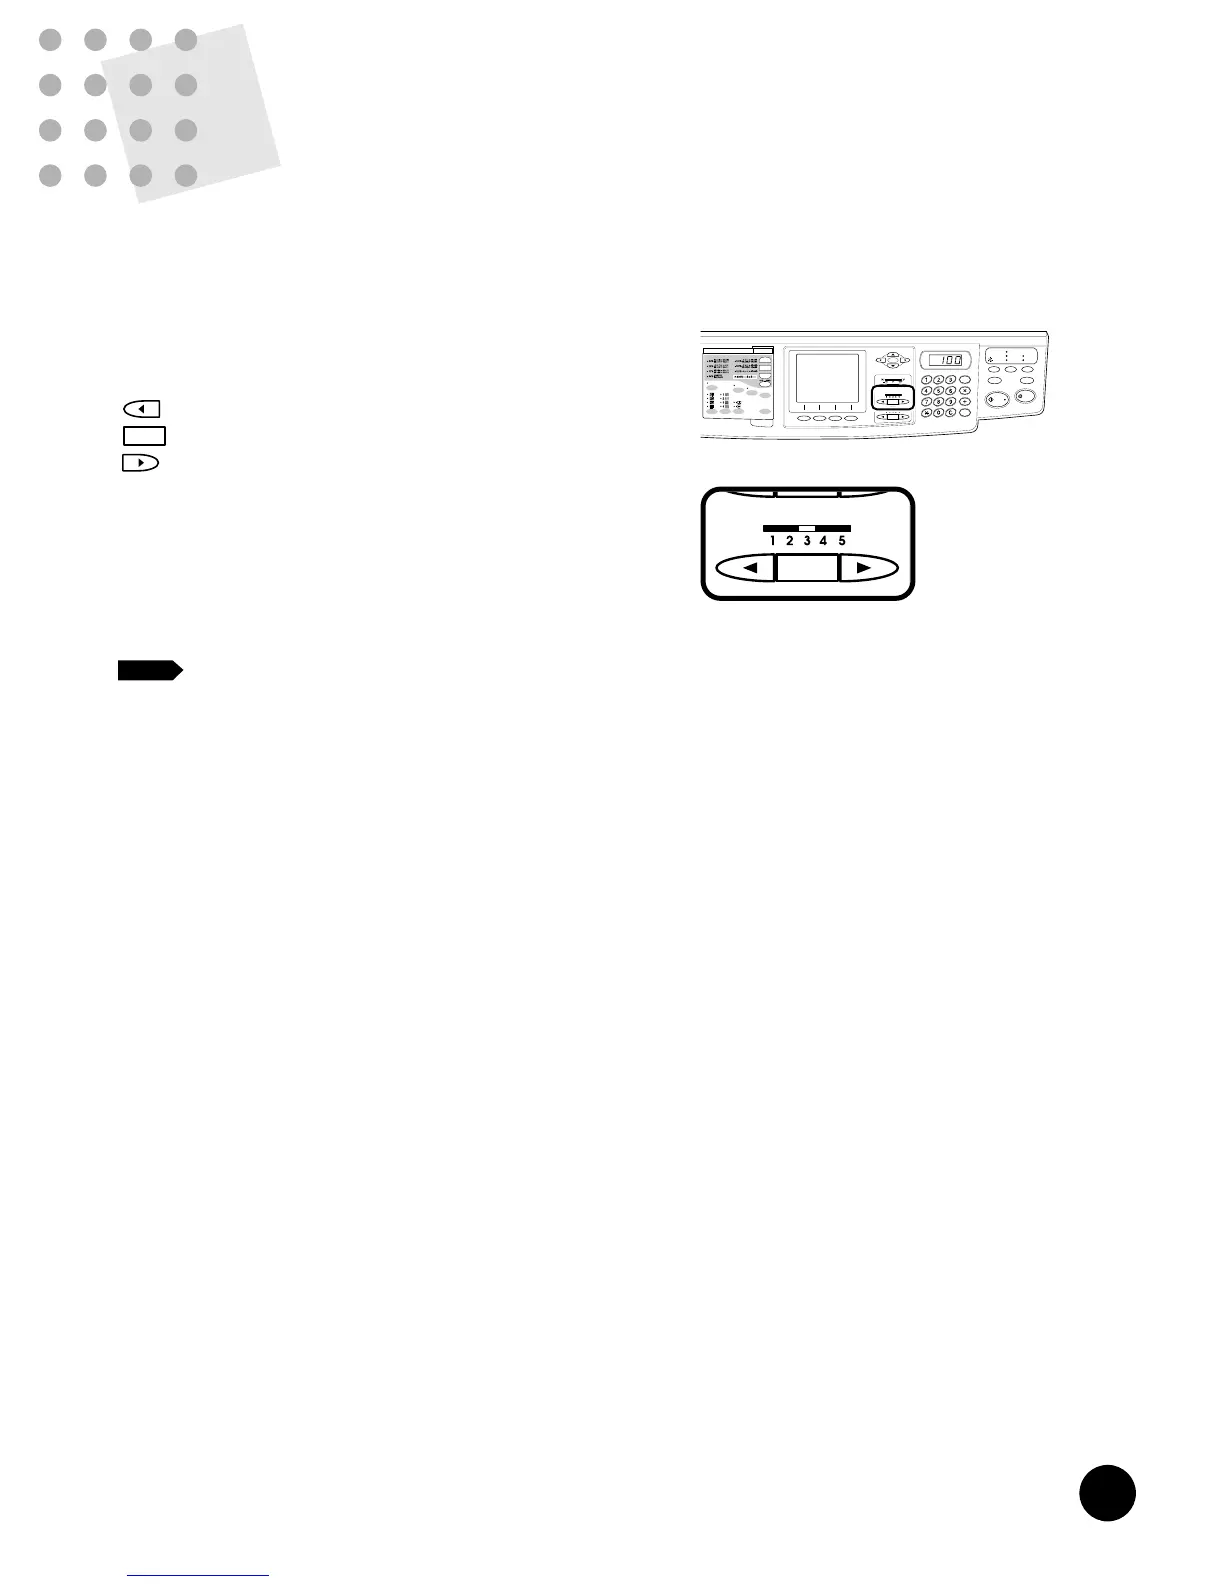
Changing Print
Density
Print density can be set at any of five levels.
Press the PRINT DENSITY Adjustment keys to
change print density.
Makes print density lighter.
Returns the print density to the standard level (Level 3).
Makes print density darker.
☞ p.62 ....Print density setting can be saved in memory
for quick recall.
When the print density setting is changed, press the TEST
PRINT key to check the results with proof copies.
If the print density levels do not provide the
desired result, adjust scanning contrast and
create another master.
☞ p.36
Holding down the RESET key longer than one second
returns print density to the initial setting.
☞ p.70 ....You can customize initial settings.