Personal2
Personal4
Personal5
Personal6
Personal7
Personal8
Personal9
Personal10
Personal11
Personal12
Personal13
Personal14
Personal15
Personal16
Rename Close RegisterErase
Job Entry/Job Call
Personal1
Print Job Memory Mode
Personal3
NOTE
4
Press the d function key
again.
The selected print job setting is erased from the
memory and the selected job register name will
be dimmed.
If the name was changed from the initial one, it
will be returned to the initial one after the
corresponding print job setting is erased from the
memory.
To cancel this operation, press the
t function key in place of the
d function key.
Storing Settings in Memory
65
Storing Settings in Memory
4
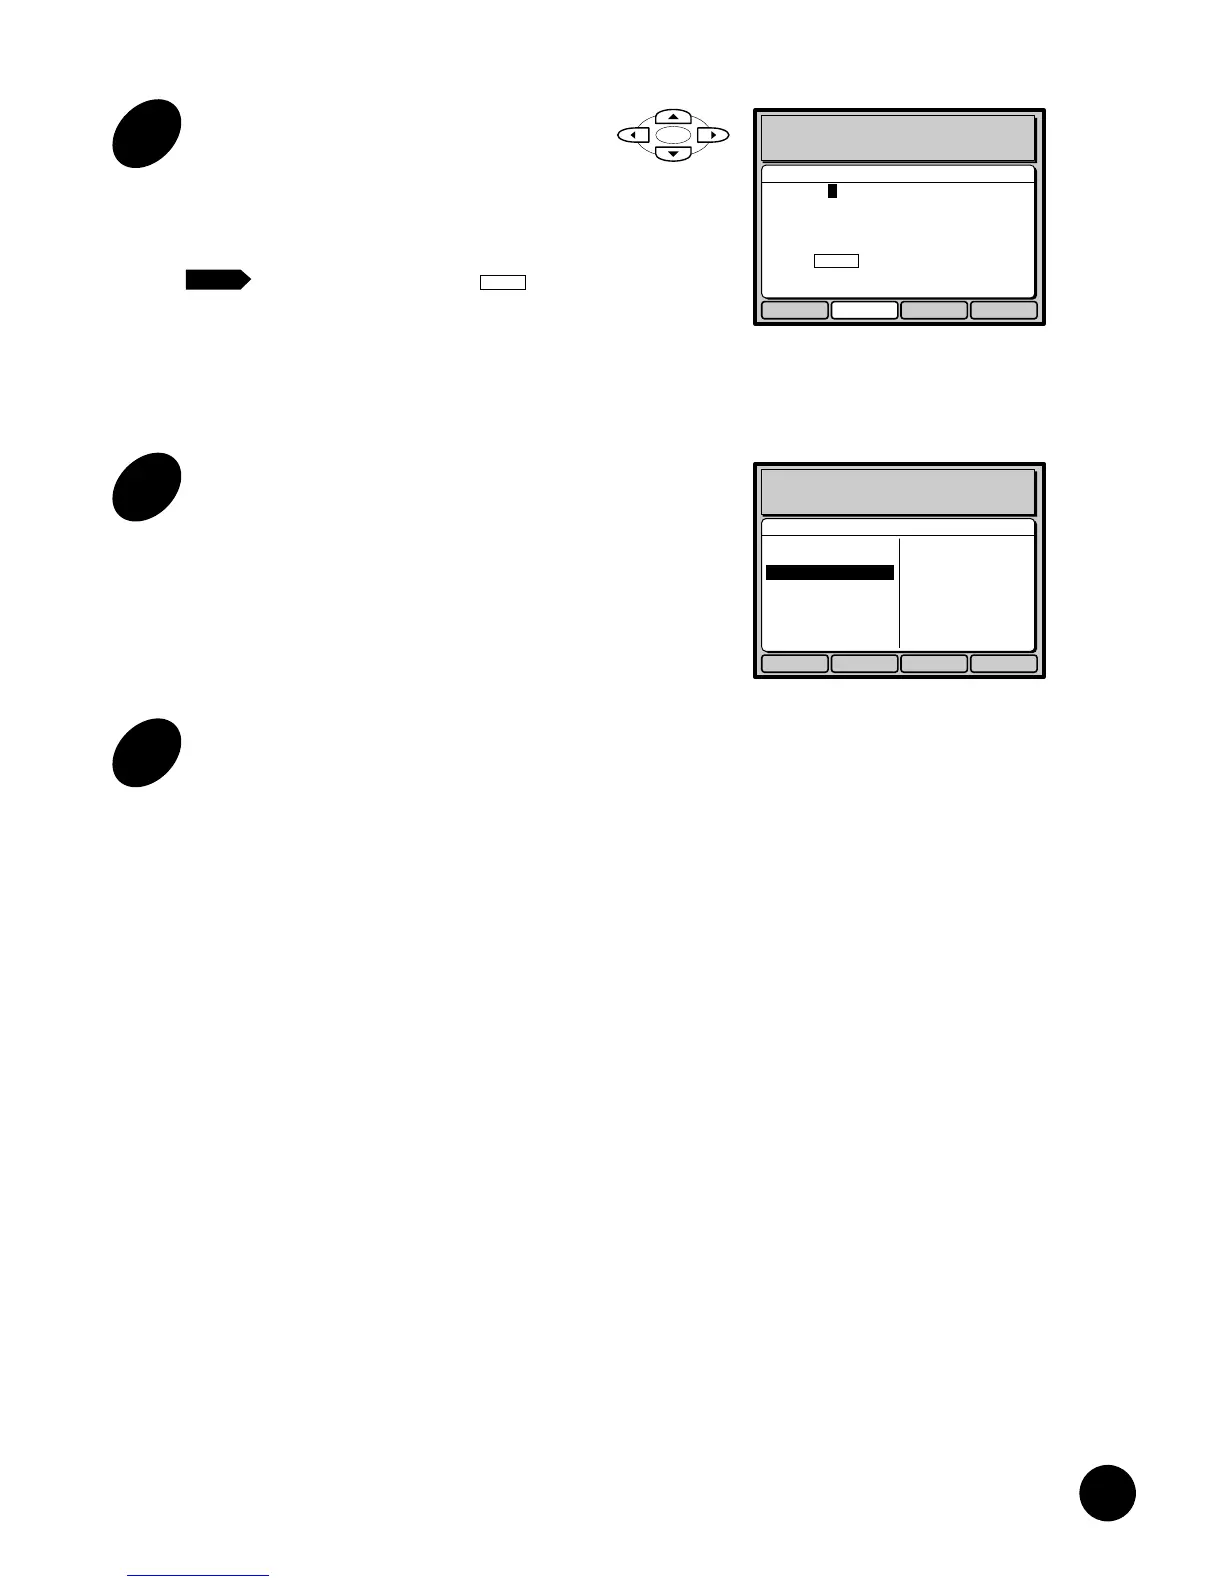
Enter a new job register name for
the selected print job setting.
Select the characters you want to use with the
cursor keys and enter them one by one by
pressing the
a
function key.
• To enter a space, select in the
window by the cursor keys and press
the
a
function key.
• To cancel this operation, press the
t
function key. The Name entry
window is then closed.
Enter Cancel OKDelete
Name Entry
Print Job Memory Mode
Name [RISO JOB ]
A B CDE FGH I J KLM
NOPQRSTUVWXYZ
abcdefghi j klm
nopq r st uvwxyz
12 34567890 - / .
SPACE
NOTE
5
Press the e function key.
The new job register name is confirmed and the
Name entry window is closed.
The job register name of the selected print job
setting now changes to the new one.
Personal2
Personal4
Personal5
Personal6
Personal7
Personal8
Personal9
Personal10
Personal11
Personal12
Personal13
Personal14
Personal15
Personal16
Rename Close RegisterErase
Job Entry/Job Call
Personal1
Print Job Memory Mode
RISO JOB
6
Press the o function key.
The Print job memory window is closed and the
basic window appears again.