SteelFusion Edge Hardware and Maintenance Guide
35
Installing NICs in 1U SteelFusion Edge appliances Installing Network Interface Cards in SteelFusion Edge Appliances
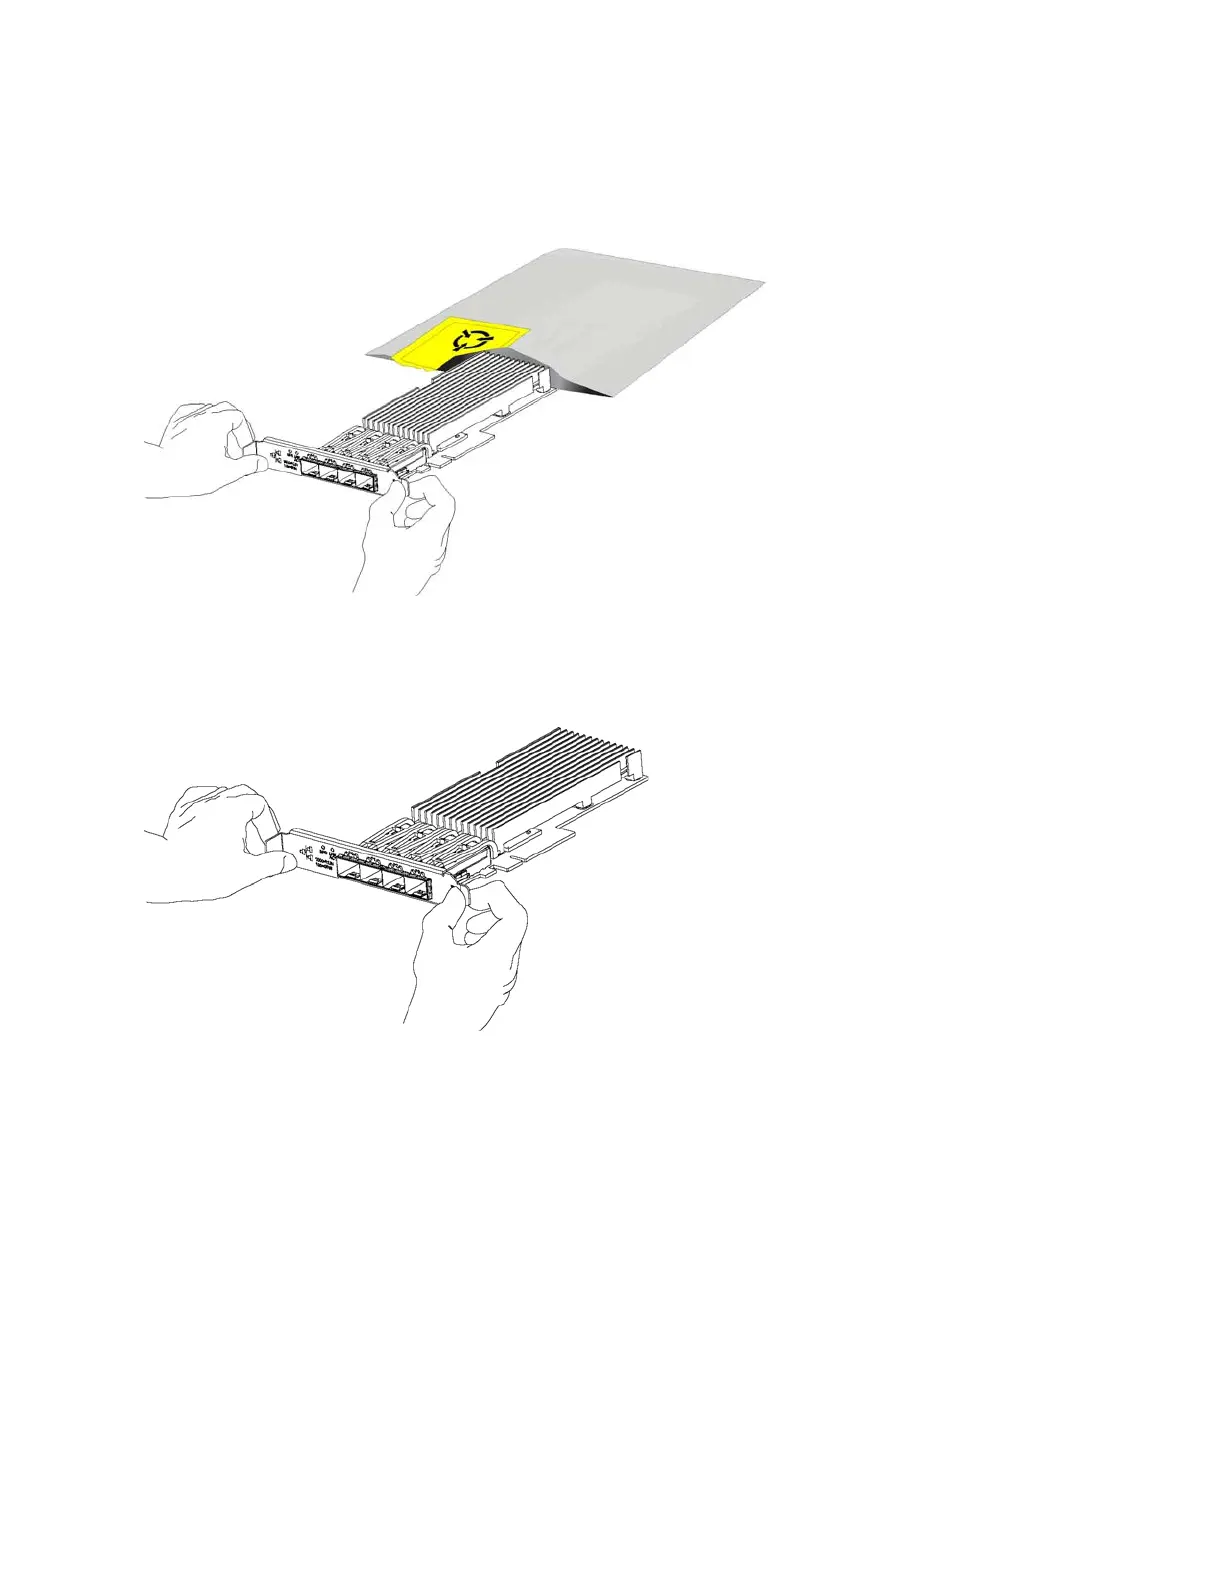
12. Gently pull the new NIC from the ESD bag. (See Figure 3-5.)
Figure 3-5. Removing the NIC from the ESD bag
13. Hold the new NIC between the front bezel and the rear of the card to avoid ESD damage. (See
Figure 3-6.)
Figure 3-6. Proper handling of the NIC
14. Plug the new NIC into the slot on the PCIe carrier.
Note: Make sure the NICs are seated properly in the PCIe
carrier
. If they are not seated properly, NICs do not
function.
15. Secure the NIC in the PCIe carrier at the back panel with the locking screws. When replacing the
carrier, the metal peg must line up with the stand on the motherboard.
16. Replace the PCIe carrier in the chassis. Make sure that the NIC connectors fit securely into the bus
slots on the motherboard and that the stand on the motherboard lines up with the peg on the PCIe
carrier.
17. Replace the two retaining screws on the top of the PCIe carrier and the one screw on the rear panel.