C2 User Manual, Release 1.0.0
After you printer heats up, ensure you’ve cut the tip of the filament. Place the filament inside the feed hole, and press
‘Next’.
The feeder gear will push your filament down, through the extruder, and out of the nozzle
Once you see filament coming out of the bottom of the nozzle, select ‘Next’ and ‘Finished’
Unloading Filament
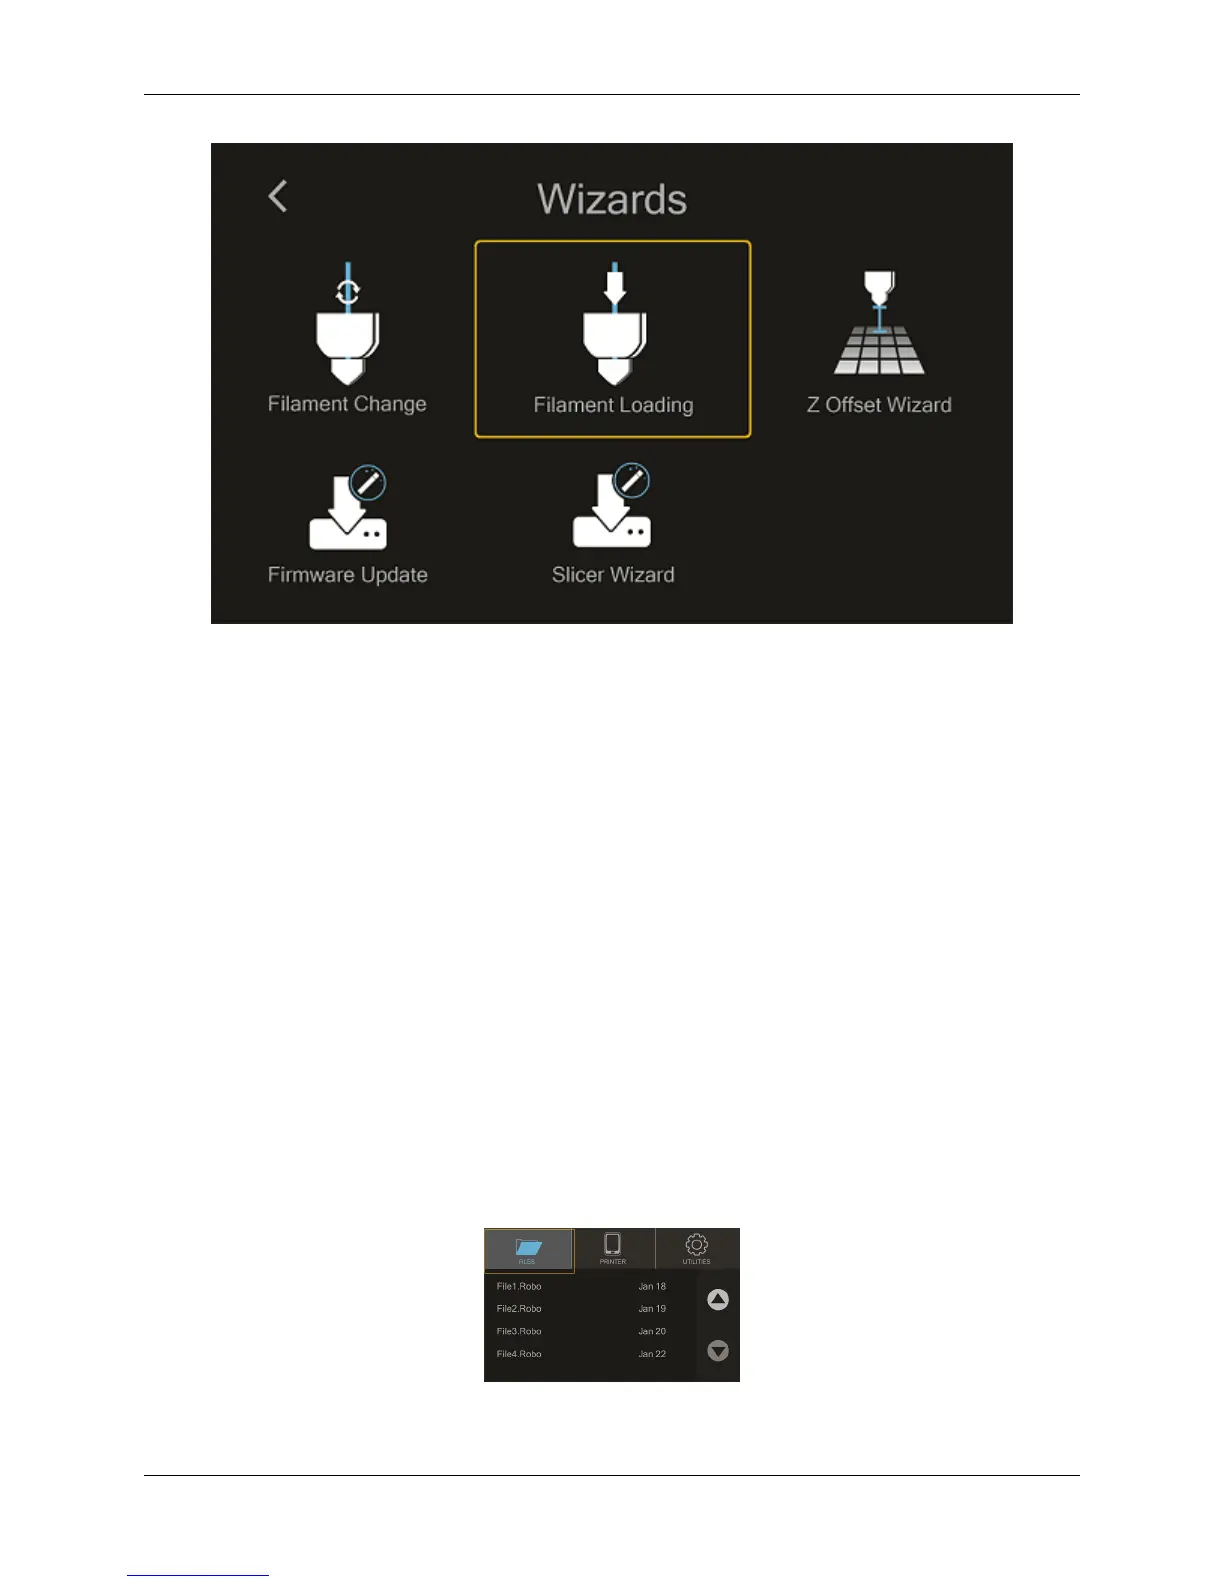
1. From the home screen select ‘Utilities’
2. Next, select ‘Wizards’
3. Select ‘Filament Change Wizard’
4. After you printer heats up, the feeder gear will start to retract the filament from the nozzle
5. Once you see filament coming out of the top of the extuder, select ‘Next’ and ‘Finished’
2.4 Start a print
Starting a print from your internal storage
Select ‘Files’ from the home screen
Select a file you would like to print
20 Chapter 2. Operation