C2 User Manual, Release 1.0.0
4. Mirror
• The Mirror tool will allow you to mirror the model in the X, Y, and Z axis.
• Simply click on one of the arrowheads that pop up on your model to mirror it in that direction.
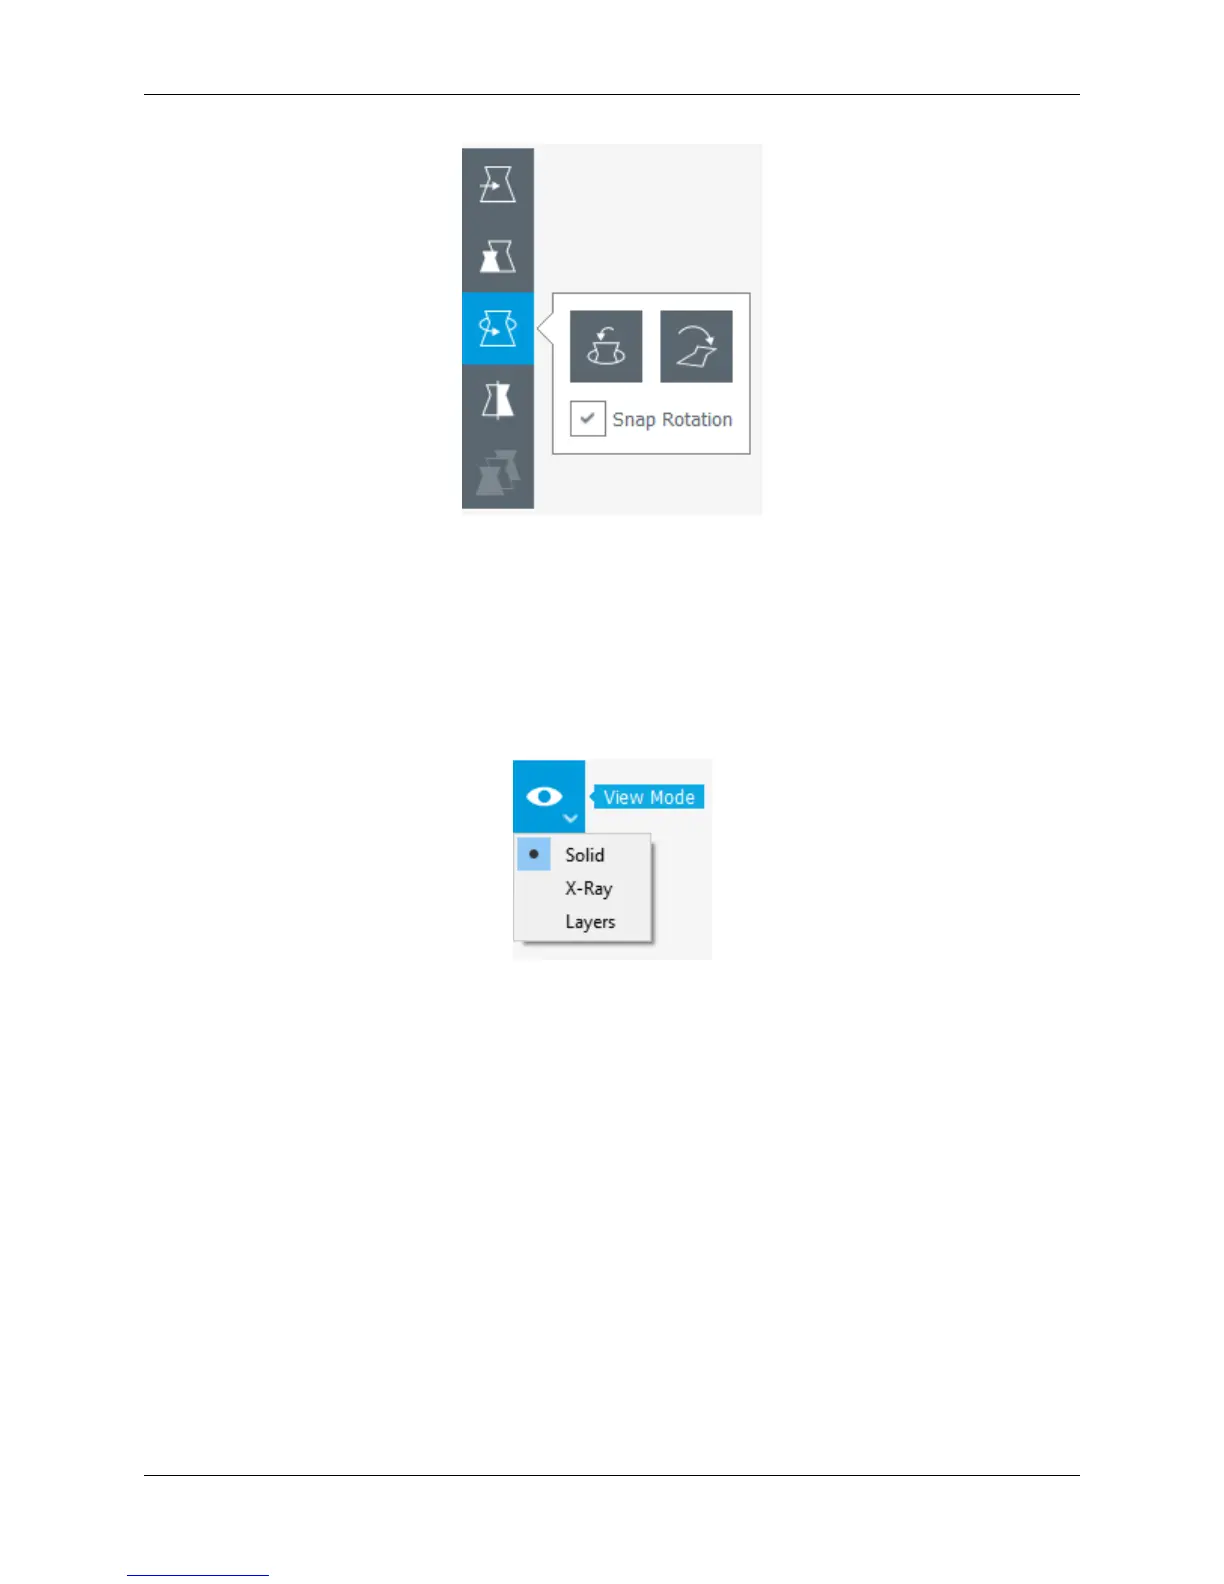
Viewing the Model
Once you have satisfied all of your configuration and profile settings, you can view the model in layer mode. Layer
mode allows you to inspect the way your model is sliced and will be printed. It is usually best to inspect your model
this way to see if it will be printed the way you are intending.
1. Solid
• Solid view is the defualt view when the program is started. You can view the digital model to see if it is created
like it was intended, and also see where it might have imperfections when examining it.
• The model will be colored yellow if it is selected and within the usable print area, and grey if it is either
deselected or out of the printable build area.
2. X-Ray
• With X-Ray view, your model will show gaps and intersections throughout your model. These will be shown in
red.
• If an error is located in your model, go ahead and adjust it in your 3d design software and reload the model to
check if the error has been fixed.
3. Layers
• Layers view is one of the more important views to check before you start printing your model. The Layers view
is a virtual representation of the where your nozzle is going to move throughout the print process of the physical
model.
• When the Layers view is selected, a slider will appear beneath the button.
64 Chapter 5. Cura for Robo Desktop