Confidential
Chapter 2 Installing System
RFV01U-D2A Installation Manual v2.0 23
Copyright © 2017, All Rights Reserved.
Fixing Unit Bracket
There are two ways to fix a unit bracket to the RRH. One is fixing a unit mounting
bracket to the rear side of RRH (standard installation). The other is fixing a unit
bracket to the side of RRH (side installation). These are the same for the wall type
and pole type installation procedures.
To fix the unit Bracket_Standard for standard installation, do the following:
1
Make sure that you have the following items:
Table 4. Parts and Tools for fixing Unit Bracket_Standard installation
Category Description
Parts Unit bracket 1 EA/RRH
Fasteners M6 × 35L Hex. Bolt (washer assembly) 6 EA/RRH
Recommended Torque Value M3 screw 5.6 lbf·in (6.4 kgf·cm)
M6 Hex. Bolt 43 lbfin (50 kgf·cm)
Working Tools
Torque Wrench (10~50 lbf·in)
Torque Wrench Spanner head (apply Hex. Head: 10 mm)
Spanner (10 mm)
Torque driver (2 to 10 lbf·in)
Screw driver bit ('+', No. 2)
Screw driver ('+', No. 2)
2
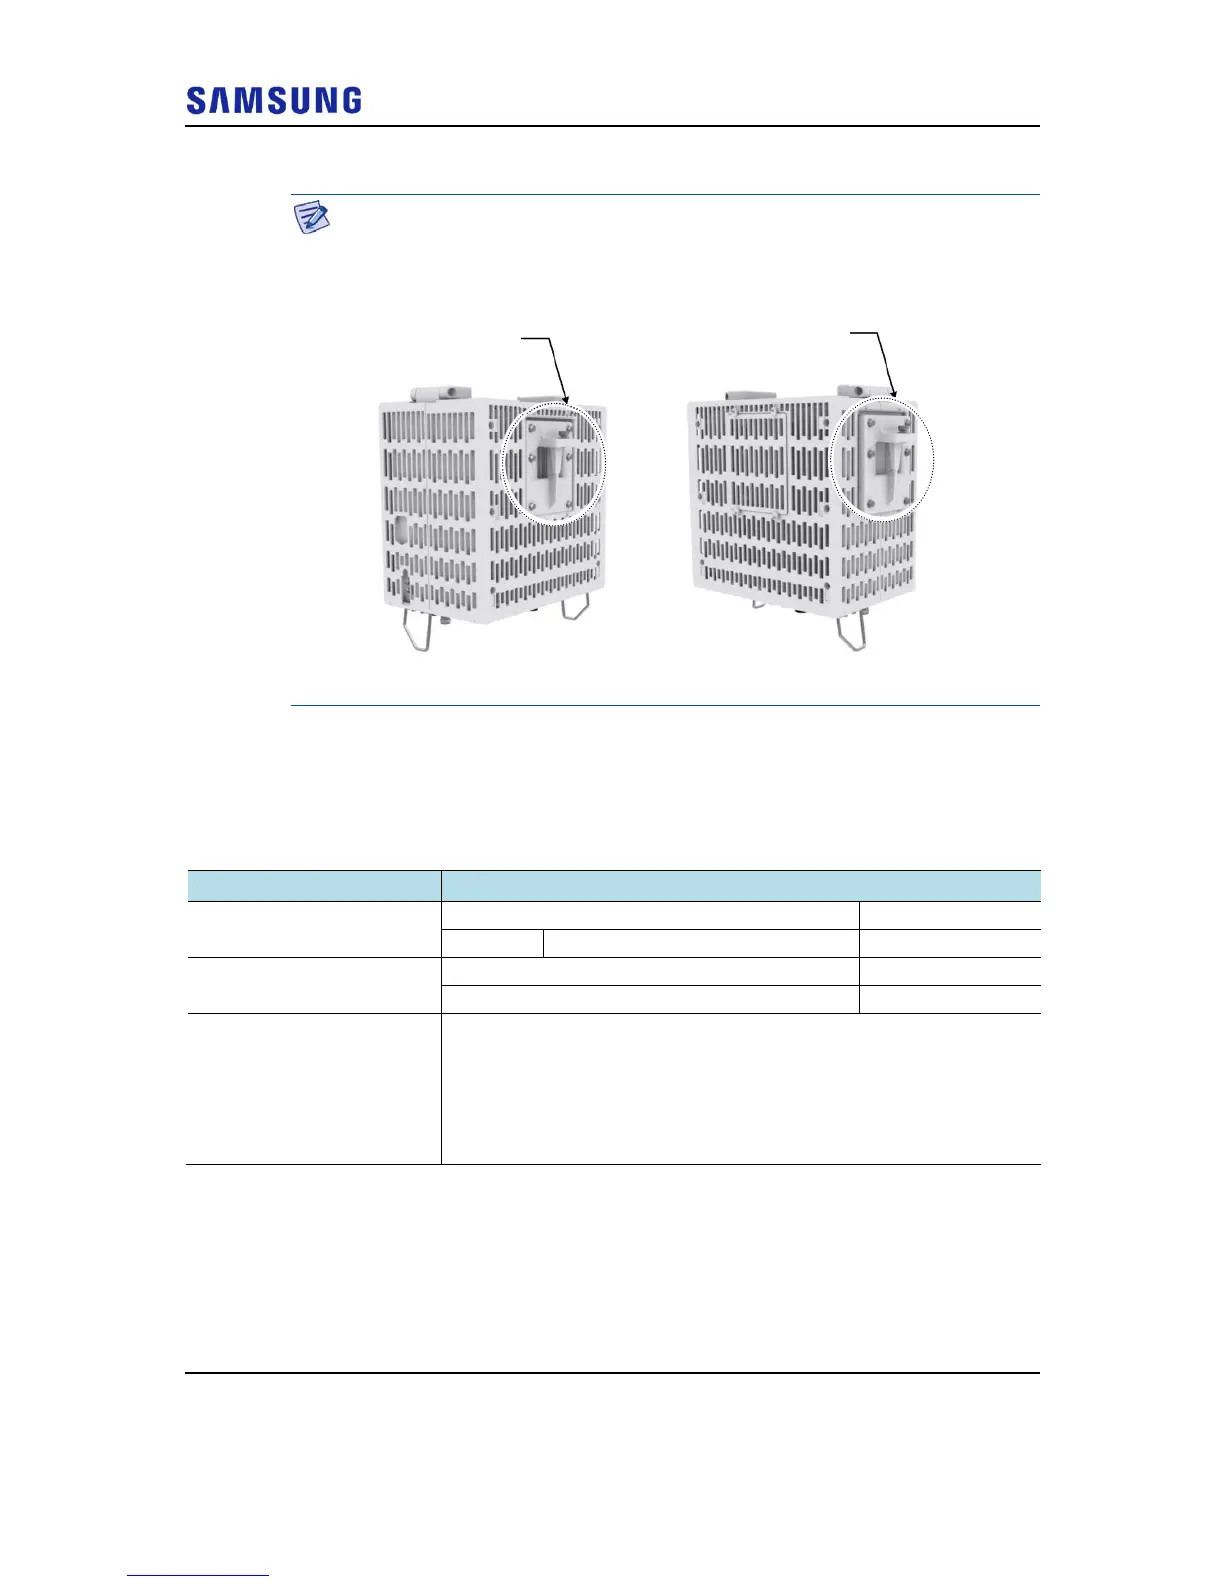
Loosen the fastener of finger guard_rear and separate the dummy cover from it.
[Unit Bracket Standard Installation]
Unit Bracket
(RRH left)
Unit Bracket
(RRH rear)
[Unit Bracket Side Installation]
 Loading...