32 User Manual SATEL
Note: If the installer has enabled the GRADE 2 option in the control panel, he can use two
functions to view the event log:
– enter the user menu and press in turn the keys to display
all events stored in the control panel memory;
– enter the user menu and press in turn the keys to display
all events required by the EN 50131 standard for Grade 2.
You can scroll through the event log by using the and keys. Description of the
event contains the time when it occurred, its name and additional information, e.g. the
partition where the event occurred, the zone that generated the event, etc. The additional
information is displayed automatically, some seconds after the event is shown. You can
speed up presentation of the additional information by pressing the and keys.
6.18 Auto-arming deferment
If the partition is armed automatically by means of a timer, it is possible to defer the auto-
arming. The time of auto-arming deferment is defined by the installer.
6.18.1 Simple auto-arming deferment
The installer can allow for the simple deferment. If this is the case, the arming will be deferred
by pressing twice the key during auto-arming delay countdown. Depending on the
control panel settings programmed by the installer, the simple auto-arming deferment may be
used just once or many times.
6.18.2 Auto-arming deferment by means of function
This method is available to the users who have the AUTO-ARMING DEFER right. To defer the
arming, enter the user menu and press in turn the keys.
6.19 Setting the system time and date
The user must have the PROGRAMMING right. To start the clock programming function, enter
the user menu and press in turn the keys. 2 short beeps will confirm
entering the function, and the LED will go on. The procedure differs depending on the
type of keypad.
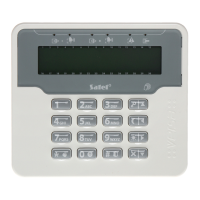
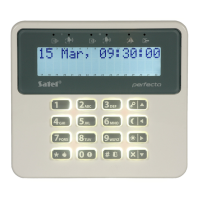
LCD keypad
After starting the function, the time will be displayed: hour, minutes and seconds. Press
suitable number keys to enter a different time. The key will move the cursor to the
right, and the or key – to the left. If you press the key, the
programmed time will be confirmed, and the date will be displayed. Programming is
effected in the same way, as for time programming. After programming the date is
completed, press the key.
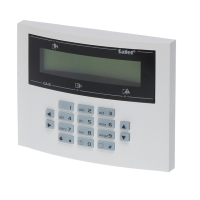
LED keypad
After starting the function, the time will be presented in binary format on the LEDs (see:
page 20, Table 1):
hour – first digit on LEDs 1-4, second – on LEDs 5-8;
minutes – first digit on LEDs 9-12, second – on LEDs 16-19;
seconds – first digit on LEDs 20-23, second – on LEDs 24-27.