40 User Manual SATEL
6.25.2 Output test
Using the function, you can check the system outputs and devices connected to them for
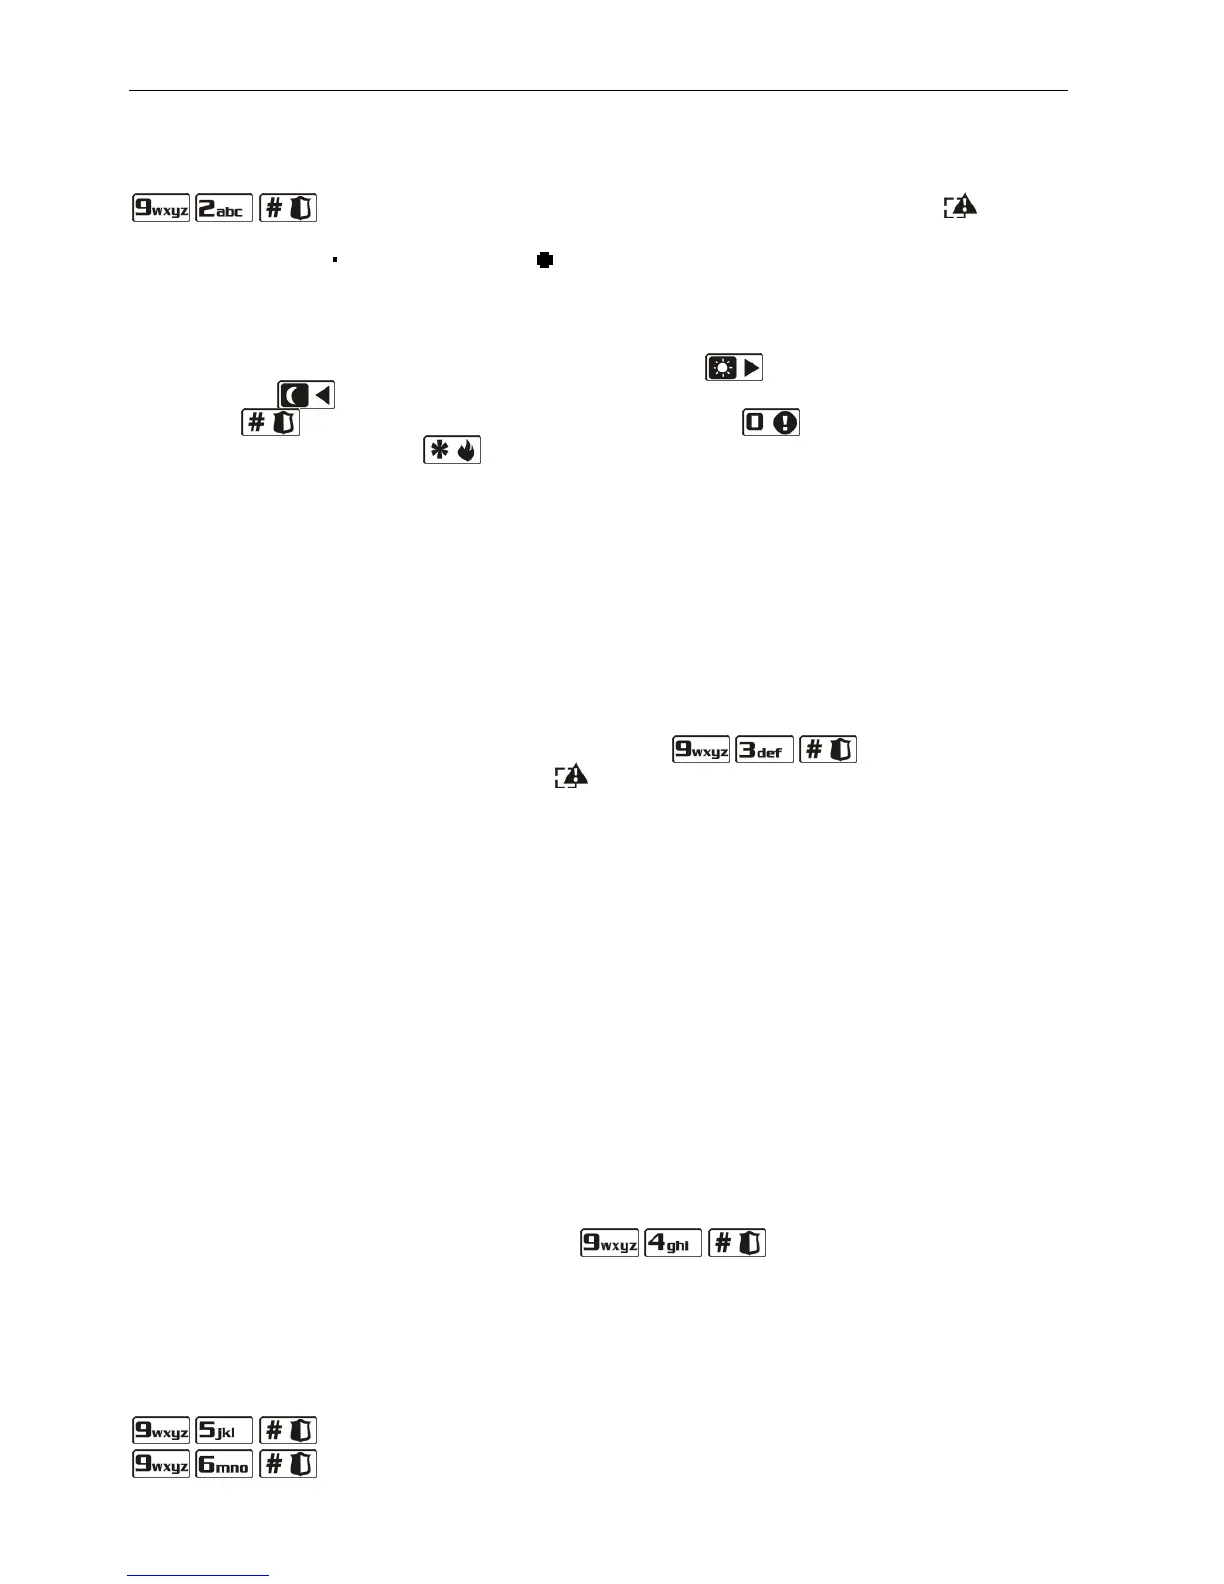
proper functioning. In order to start the output test, enter the user menu and press in turn the
keys. 2 short beeps will confirm entering the function, and the LED will
go on. In the LCD keypad, the current status of system outputs will be shown in the upper
line of the display (
– output inactive; – output active), and the name of output at which
the cursor is currently placed will be shown in the lower line of the display. In the LED
keypad, the LED which is ON indicates that the output is active, and the LED which is OFF
indicates that the output is inactive. The LED at which the cursor is placed at the moment, is
blinking rapidly. Irrespective of the type of keypad, the key moves the cursor to the
right, and the key moves it to the left. Move the cursor over the selected output and
press the key to activate the output, or press the key to deactivate in. To
terminate the function, press key.
Note: Irrespective of the actual number of outputs in the system, the function always enables
12 outputs to be tested.
6.25.3 Checking radio signal from wireless devices
Using the keypad, you can check:
– if the VERSA-MCU controller is connected to the control panel – the quality of radio
signal received by the controller from 433 MHz wireless detectors;
– if the ACU-100 or ACU-250 controller is connected to the control panel – the level of
radio signal received by the controller from ABAX wireless devices.
To do so, enter the user menu and press in turn the keys. 2 short beeps
will confirm entering the function, and the LED will go on. The way of presentation of the
radio signal level differs, depending on the type of keypad.
Presentation of the signal quality / level in LCD keypad
Shown in the display upper line is the name of zone to which the wireless device is
assigned. Displayed in the lower line in the percentage format is information on the
quality / level of signal received from that device. If there is a greater number of wireless
devices, you can scroll through the list by using the arrow keys.
Presentation of the signal quality / level in LED keypad
Blinking of one of the LEDs designated with numbers indicates the zone and the
wireless device assigned to it, to which the presented information refers. Using the
arrow keys, you can change position of the cursor and move it over other zones.
Information on the signal quality / level is displayed on the LEDs 16-30 for wireless
zones from 1 to 15, and on the LEDs 1-15 for zones from 16 to 30. The more LEDs are
lit, the better signal quality / level is. Blinking of all LEDs means 100%.
6.25.4 Starting the manual test transmission
Enter the user menu and press in turn the keys. The "Manual reporting
test" will be written into control panel memory, and the event code will be sent to the
monitoring station.
6.25.5 Telephone reporting test
Using the LCD keypad, the user can carry out a telephone reporting test and find out the
cause of troubles, if any. To do so, enter the user menu and press in turn the following keys:
- starting the test of telephone reporting to Station 1;
- starting the test of telephone reporting to Station 2.