3 Operation
3--28
F--9999--8 Build 8 Issue 1
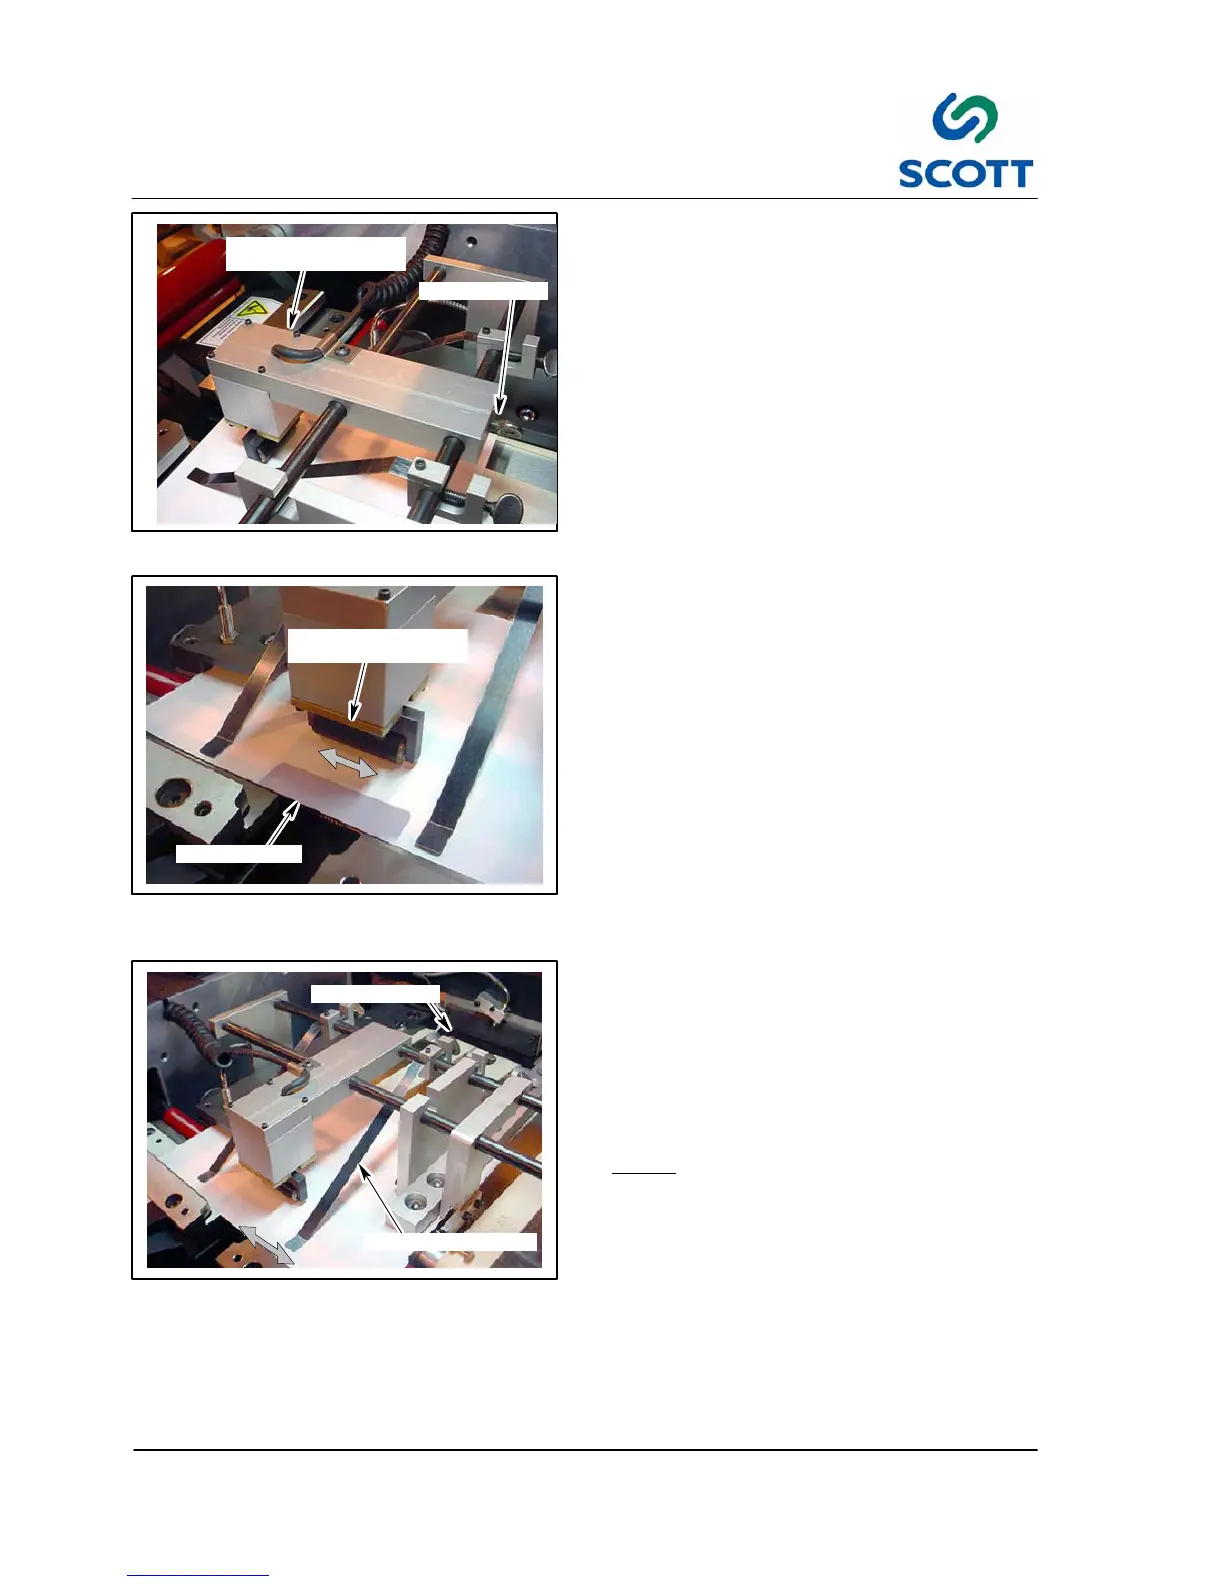
THUMB SCREW
KICK OUT SOLENOID
MOUNTING BRACKET
Fig. 3-53. Kick Out Solenoid Adjustment
3.3.5 Kick Out Solenoid S et--Up
Step: 1. Loosen the thumb screw on the solenoid
mounting plate.
KICK OUT SOLENOID
MOUNTING BRACKET
TAB LOCATION
Fig. 3-54. Align Kick Out Solenoid to Tab
Location
Step: 2. Position the solenoid assembly inline with
the tab location.
Step: 3. Tighten the thumb screw.
THUMB SCREW
HOLD DOWN STRAPS
Fig. 3 -55. Hold Down Straps
3.3.6 Sheet Hold Down Straps
Step: 1. Loosen the thumb screws on the hold
down straps mounting block.
Step: 2. Position the straps so they are equally
divided between the end of the sheet
and the kick out solenoid.
Note ! Ifthesheetshavea“curl”tothem,
position the straps as close to the curl
as possible.
Step: 3. Tilt the straps down until they just touch
the sheet.
Too much down pressure will stop the
sheet from passing through.
Step: 4. Tighten the thumb screw.
Step: 5. Remove the sheet from the machine.