Device maintenance and repair
7.4 Removing and installing hardware
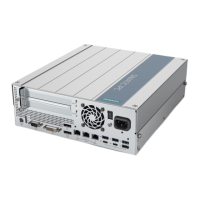
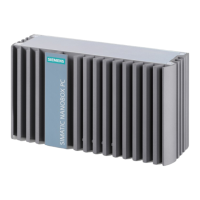
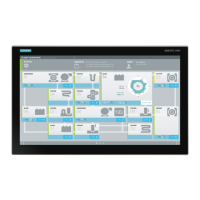
SIMATIC IPC PX-39A PRO
Operating Instructions, 11/2022, A5E51699950-AA
85
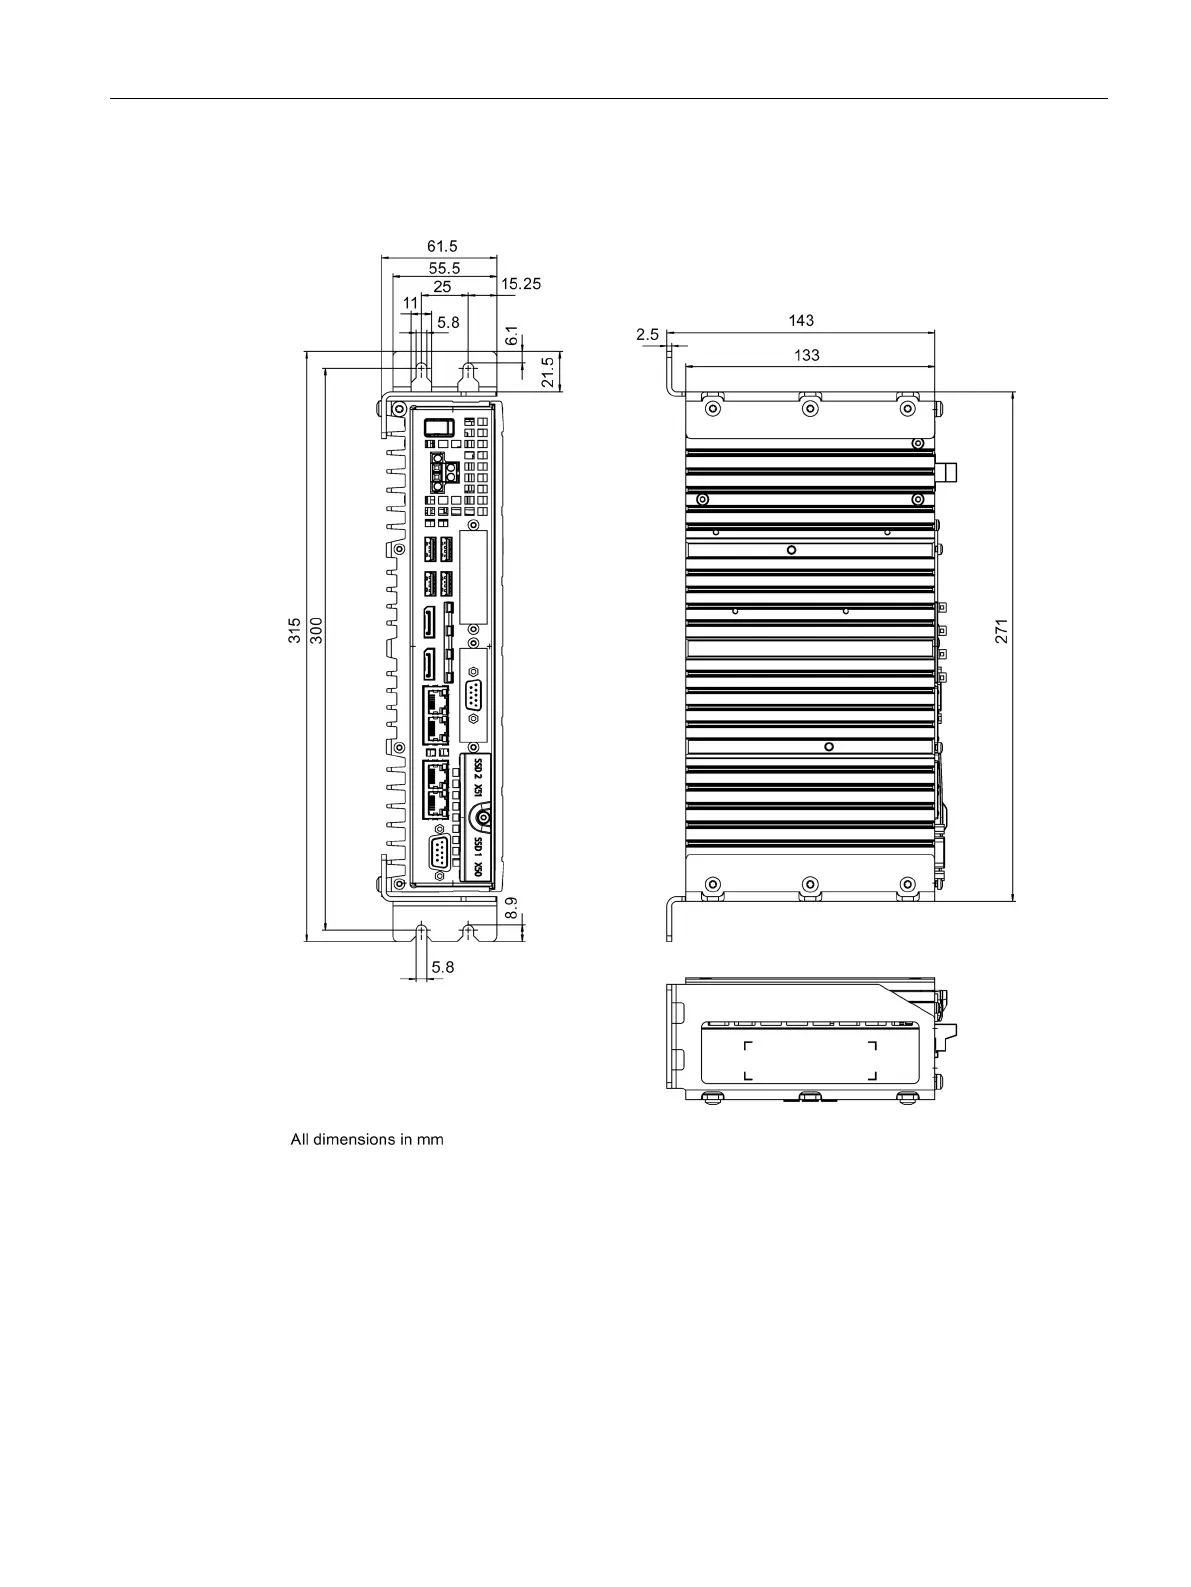
Loosen the marked screw on the heat
sink by 1
-2 turns with the Torx T10 screw-
Push the heat sink against the enclosure
as far as it will go and remove the heat
sink by lifting it upwards.
Remove the thermal pad and place it next
to the device.
Note: Reuse the thermal pad with the
newly used M.2 NVME SSD card.
Remove the marked screw on the moth-
erboard with the type Torx
T8 screw-
Remove the M.2 NVMe SSD card.
Procedure - Installation
Note
Do not exceed the maximum permissible torques
If you tighten the screws with too much torque, the threading may be damaged. Note the
maximum permitted torques:
Fasten the oval head screws of the SSD drive carrier with max. 0.8 Nm.
Fasten the screw of the heat sink with max. 0.8 Nm
Fasten the screw of the M.2 NVMe SSD in the device with max. 0.6 Nm
Proceed in reverse order for the installation.
1. In step 1. above, ensure that the plug-in card is not installed twisted.
2. Close the device.
See also
Installing/removing expansion module (M.2) (Page 73)
 Loading...