Configuration
5.4 Installation
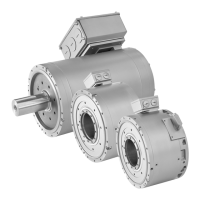
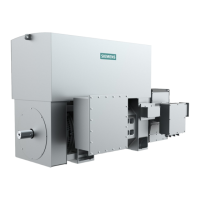
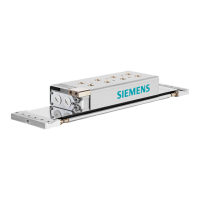
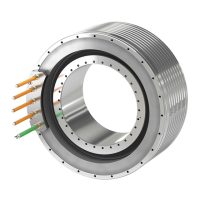
1FW6 Built-in torque motors
Configuration Manual, 07/2017, 6SN1197-0AE00-0BP9
129
1. Preparing and cleaning the mounting surfaces for motor parts and the machine.
– Deburr and round off the holes (e.g. cooling inlet/outlet holes) inside the
machine housing.
– Carefully remove any machining residue (e.g. chippings, dirt, foreign bodies, etc.).
– For motors with cooling jacket:
Slightly grease O-rings; for example, by drawing through a cloth dipped in grease.
Take into account compatibility with the O-ring material (fluoric rubber, Viton).
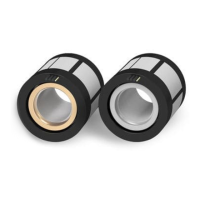
2. This point only applies to motors with cooling jacket:
Guide both O–rings over the cooling jacket surface of the motor into the grooves
provided.
– Do not overstretch the O-rings (O-rings maximum of up to 10% during installation,
otherwise installation and leak tightness problems may occur).
– Do not twist the O-rings.
– Do not use any sharp objects!
– Use special tools to help you position the components correctly.
– Use installation devices whenever possible.
3. If necessary, insulate the power connections properly (otherwise there is a risk of electric
shock when rotating as a result of the induced voltage and short-circuit braking torques
for a phase short-circuit).
4. In the delivery condition, the transport locks on the stator and rotor are attached at both
flange surfaces.
Remove the transport looks at the mounting side. Loosen the transport locks on the
opposite side.
If transport locks are removed or loosened, the motor must always be carefully moved.
Keep the transport locks as they may be required in the case of service and when
removing the motor.
Do not manually center and install the stator and rotor as individual components due to
the risk of crushing!
To do this, always use the special installation device. Please refer to the description of
the installation device in this chapter.
5. This point only applies to motors with cooling jacket:
Insert the motor with the free flange face forwards into the prepared locating hole of the
machine housing.
In this case, the O–rings must not be forced out of the slot and damaged.
Ensure that the motor does not become canted in the installation space during the
installation procedure. If the motor does however become slightly canted, this can be
corrected by gently hitting the flange with a rubber mallet.
6. Screw the flange face of the stator to the machine housing and the flange face of the rotor
to the adjustable axle. In this case, observe the specified torques and the mounting
technology specifications listed in this chapter.
If the stator and rotor on opposite flange faces are screwed to the machine construction,
a special mounting device is required.
 Loading...