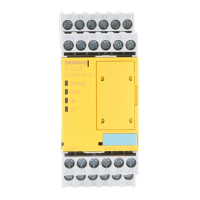
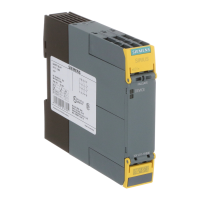
3. Mount the new device
– Chapter "Mounting the devices on a level surface (Page 125)"
– Chapter "Mounting 22.5 mm/17.5 mm devices on a standard mounting rail (Page 129)"
– Chapter "Mounting the 90 mm devices on a standard mounting rail (Page 130)"
– Chapter "Mounting 22.5 mm/17.5 mm devices with device connectors on the wall
(Page 144)"
– Chapter "Mounting 90 mm devices with device connectors on the wall (Page 149)"
4. Connect the defective device at the terminals
– Chapter for 22.5 mm / 17.5 mm devices "Connecting the screw-type terminals
(Page 158)", "Connecting spring-loaded (push-in) terminals (Page 161)" and "Attaching
the terminals (Page 163)"
– Chapter for 90 mm devices "Connecting terminals (Page 168)" and "Mounting terminals
(Page 170)"
5. Set the DIP switches/slide switches and, if applicable, the times according to the defective
device.
After applying the supply voltage, the new 3SK1 basic unit checks whether the hardware
conguration matches the device conguration.
If there are no deviations, the system re-enters safety mode.
Connection
8.4 Device replacement
SIRIUS 3SK1 Safety Relays and 3RQ1 Positively-Driven Coupling Relays
174 Equipment Manual, 05/2021, A5E02526190021A/RS-AE/005
 Loading...