7 PICOSCALE CONTROL GUI
7.1 Configuration of the PicoScale
When starting the GUI, the HOME panel seen in figure 7.1 is opened. All elements of the GUI can
be reached from here.
7.1.1 Connecting to the controller
The
PICOSCALE is a multi-user system and up to two users can be connected to the same instru-
ment. Therefore, the device offers two interfaces, USB and Ethernet. When more than one user
is connected to the instrument, the
PICOSCALE requires one main user (full-access connection)
who can control the system and change properties, for example. The other user can only extract
data from the device.
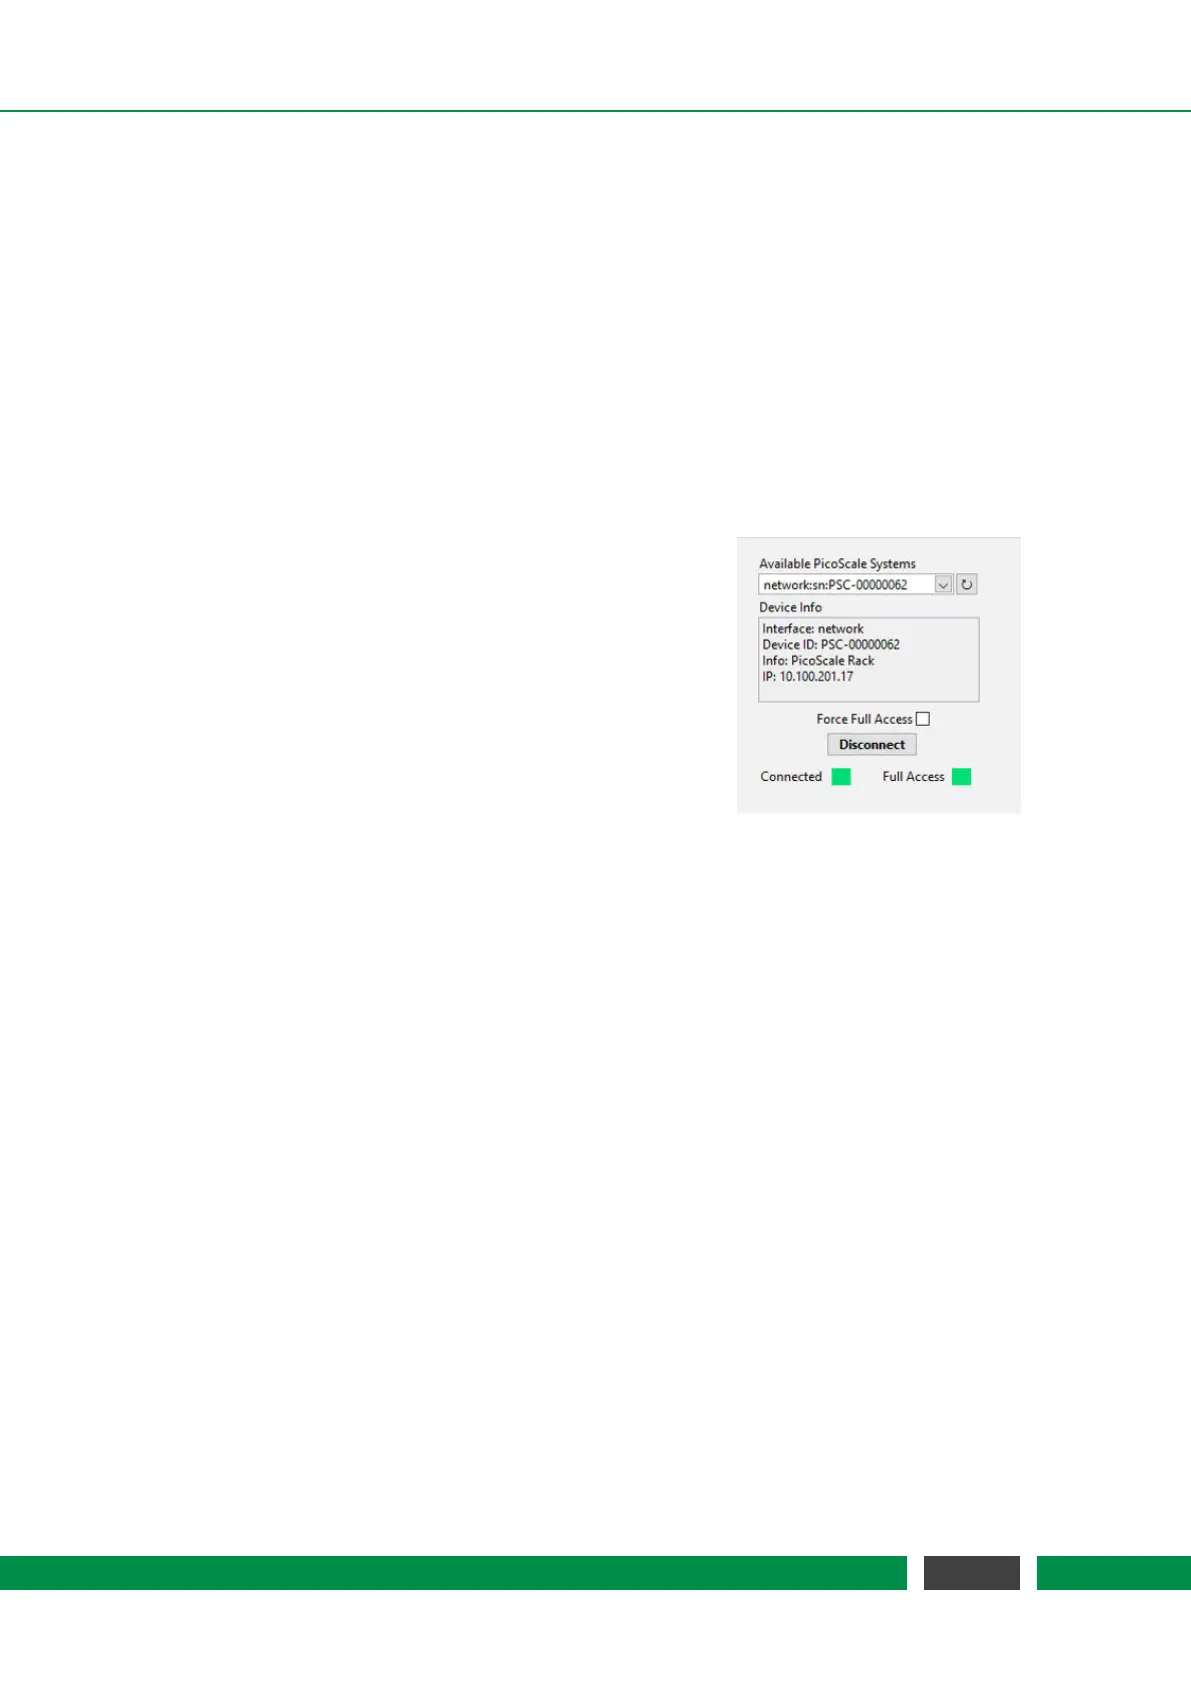
Figure 7.2: Connect System menu.
You can connect to a PICOSCALE Controller in the Connect
System menu, shown in figure 7.2. When the GUI is started,
all PICOSCALE devices are listed with their ID-strings in the
Available PicoScale Systems menu. You can refresh the list
at any time with the reload button next to the drop-down
menu. The Device Info shows additional information on the
device like Device ID, Info about the system and IP address
of an Ethernet interface. Below this field, you can check
whether a full-access connection should be forced. If the
Force Full Access check box is marked, all potentially exist-
ing full-access connections of other users are ignored and
a full-access connection is established. When this box is
unchecked, the GUI checks if a full-access connection is al-
ready set up. If not, it establishes a full-access connection, if yes, the
PICOSCALE GUI connects
with limited access. The Full Access LED indicates if a full-access connection is established.
7.1.2 General settings
The basic setup of the system is located under General Settings in the Home panel. The PICO-
SCALE
device generates user notifications, so-called Events. You can track these events to validate
received data or check the experimental setup, for example. In the Event Notification menu you
can subscribe or unsubscribe to events. It is located on the left side in figure 7.3. Especially if
high streaming rates (close to 10 MHz) are used, it is recommended to unsubscribe from all un-
necessary events in order to guarantee optimal performance of the
PICOSCALE GUI. Subscribing
or unsubscribing to a specific event can be done by clicking on the appropriate check box in the
Event Notification menu. Furthermore, two buttons are available to subscribe or unsubscribe to
all events. After connecting to a PICOSCALE Controller, the GUI subscribes to all events auto-
matically. Note that higher level events, such as streaming events, cannot be unsubscribed. For
detailed information on the event system, please refer to the PICOSCALE Programmer’s Guide.
The Network Configuration menu at the center of figure 7.3 allows to define the Ethernet configu-
ration used by the PICOSCALE system. If you use the Ethernet connection for the first time, we
recommended to connect the
PICOSCALE Controller via USB, set up the desired Ethernet config-
uration and reconnect to the
PICOSCALE Controller via Ethernet.
50
PicoScale User Manual