6 SETUP AND INSTALLATION
Table 6.1 – Continued from previous page
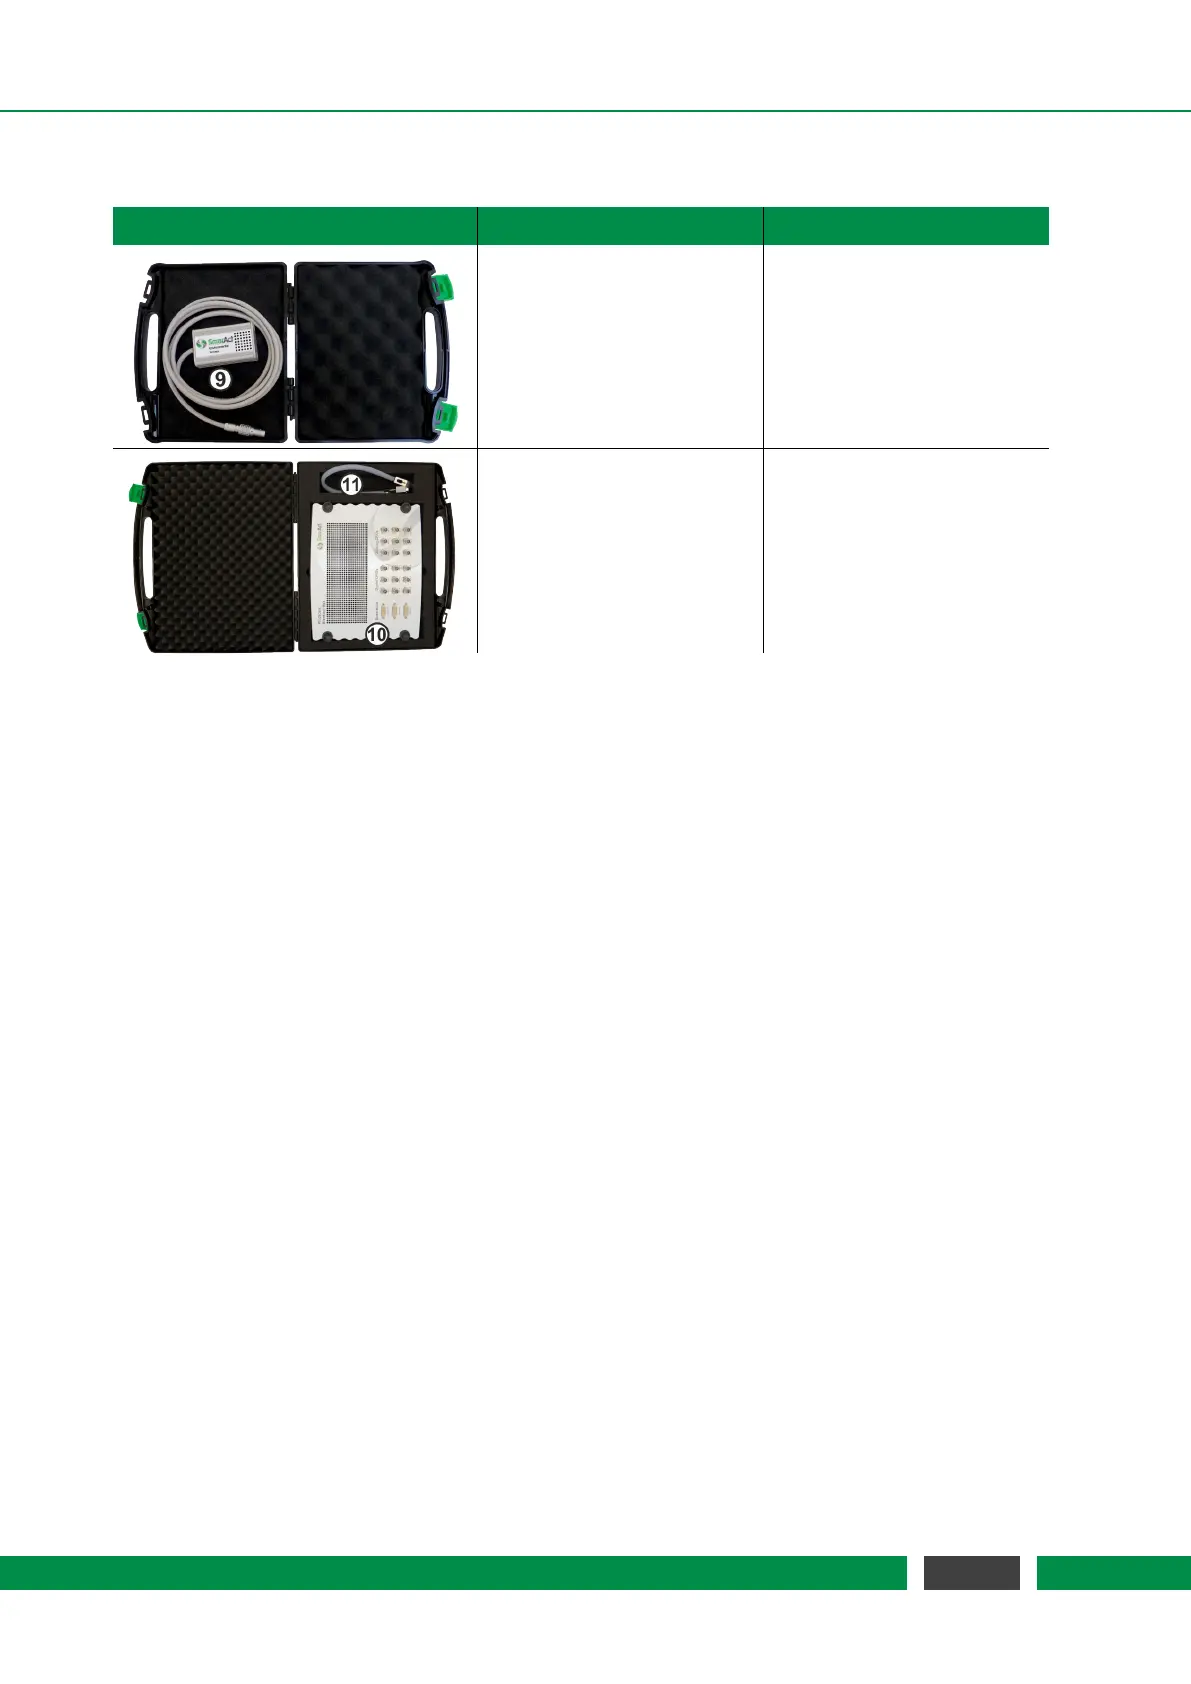
Transport Case Image Dimension and Weight Content
Height x Width x Depth: (9) Environmental Module
4cm x 16cm x 15cm (optional)
Weight:
0.3kg
Height x Width x Depth: (10) Breakout-Box
15cm x 45cm x 40cm (optional)
Weight: (11) BOB Cable
4.62kg (optional)
In case you have bought an in-vacuum system, there should be additional components like fiber
feed-throughs and fiber patch cords. A complete list of all
PICOSCALE components and accessory
can be found on the SmarAct web page.
6.2 Unpack the system
1. Unpack the
PICOSCALE system in an area that is clean and dry. Be very careful, especially
with fragile optical and vacuum components.
2. Check each shipping container to be sure you have removed all transport cases and addi-
tional items. Do not discard the reusable shipping containers until it is certain that all items
have been removed. It is recommended to keep the shipping containers in case you must
return any equipment to SmarAct.
3. Open each transport case and unpack the system components.
4. You are now ready to set up the system in the desired location.
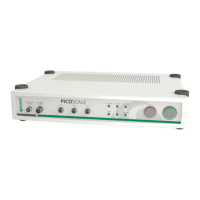
6.3 Cabling
For the first time installation, the
PICOSCALE has to be connected via USB to the measurement
PC. Note, that the PC is not part of the system and has to be supplied by the customer separately.
Connect the included USB cable to the USB slave interface at the back side of the PICOSCALE
Controller (figure 5.2, No. 6) and to the desired USB port at the user PC. After that, connect the
power supply cable to the power connector at the back side of the controller (figure 5.2, No. 2).
43
PicoScale User Manual