4-30
BVW-55 P2
Outline
Replacement
Tape guide removal
Tape guide installation
Adjustment after replacement
Tape guide height tentative adjustment
Tape running adjustment
Precautions
. Even though the multiple tape guides replacement are necessary, replace the tape
guide one by one. And perform the tape running adjustment after each tape guide
replacement is completed.
If the multiple tape guides are replaced at the same time, it is very difficult to
perform the tape running adjustment. Then, do not perform the multiple tape
guides replacement at the same time.
. Tighten the setscrew at the top of the tape guide with the following tightening
torque.
9 x 10
_2
N.m (0.9 kgf.cm)
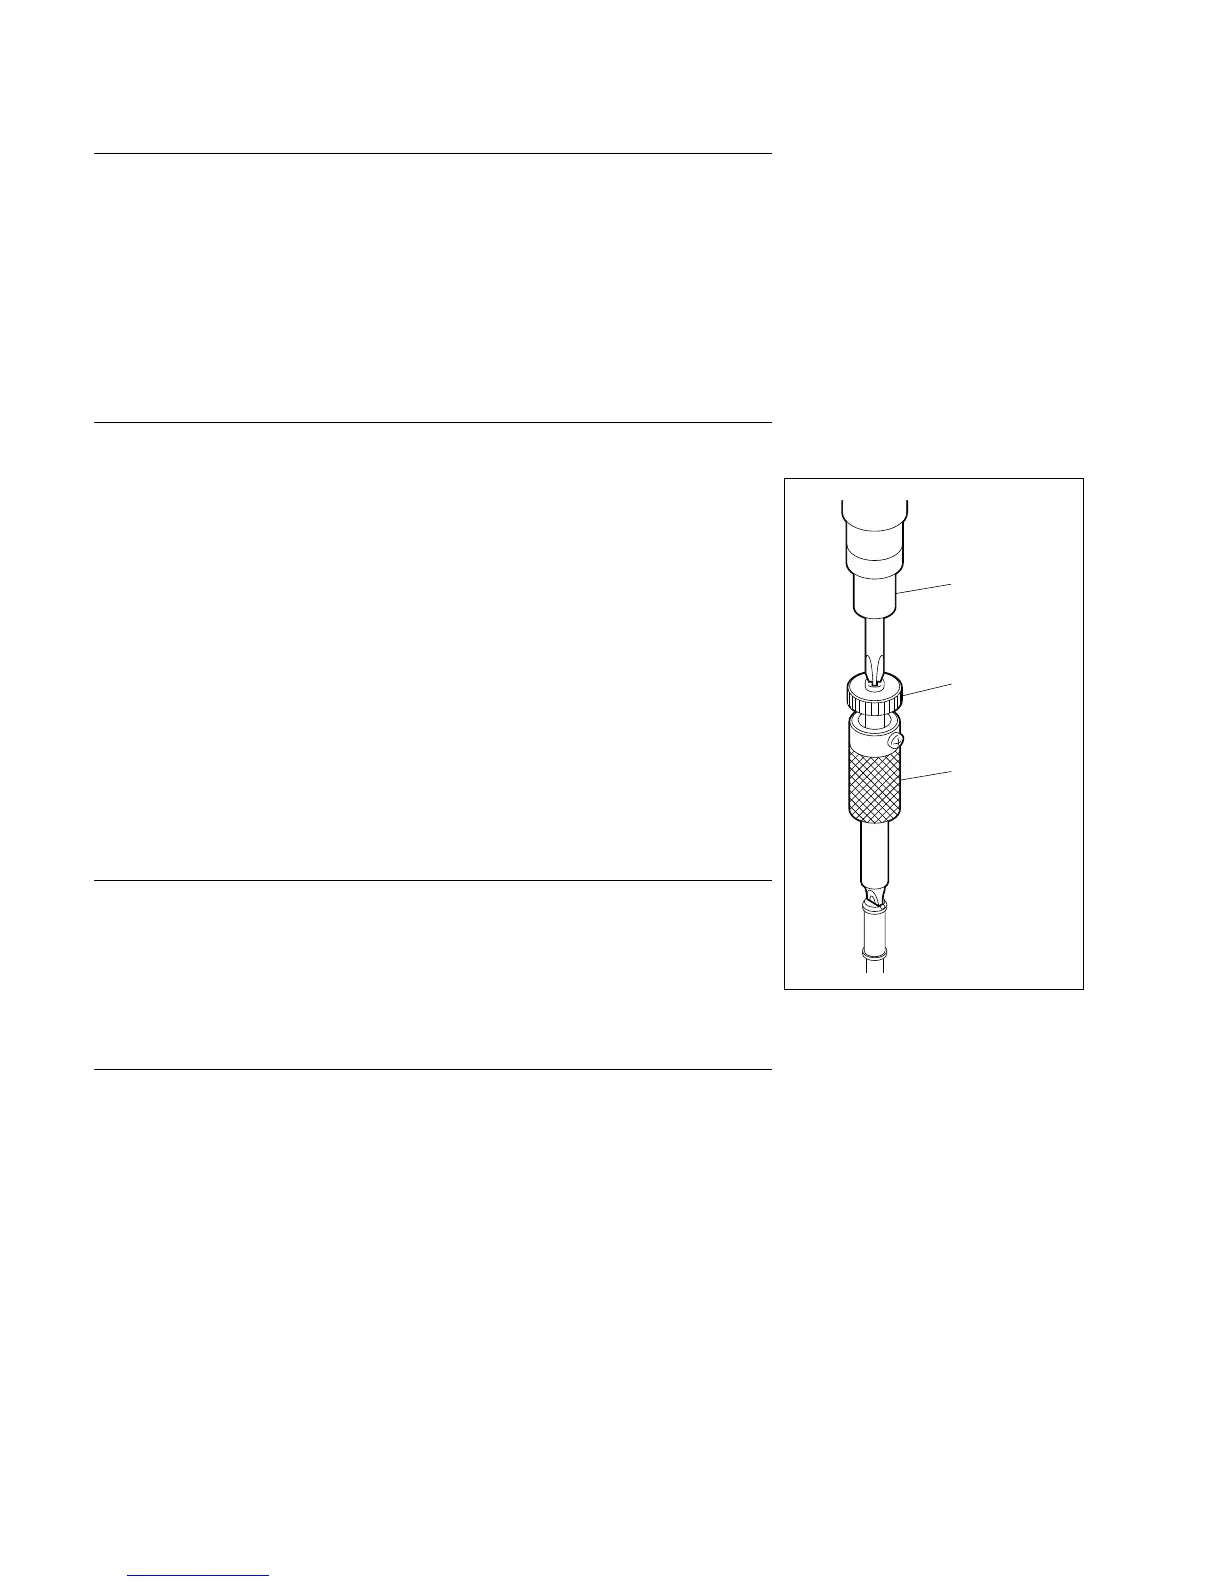
How to tighten the setscrew with specified tightening torque:
Set the torque screwdriver to the specified tightening torque.
Set the torque screwdriver tip to the philips type screw on top of the tape guide
adjustment driver as shown in the figure, and then tighten the setscrew using the
torque screwdriver.
Preparations
1. Put the unit into the unthreading end state.
2. Turn off the power.
3. Remove the upper frame.
(Refer to the maintenance manual Part 1, Section 1-6.)
Tools
. Tape guide adjustment driver (45): J-6322-420-A
. Torque screwdriver (3 kg.cm): J-6325-400-A
. Torque screwdriver bit (for M2): J-6325-380-A
. Cleaning cloth (15 cm x 15 cm): 3-184-527-01
. Cleaning liquid: 9-919-573-01
n
If the tape guide adjustment driver tip is broken, it is recommended to repair by
using the following spare bit.
. Spare bit (0.89 mm): J-6322-420-3
4-8. Tape Guide Replacement
Torque driver
Lock knob
Driver knob