Settings
Operating Instructions Soyer Bolzenschweißtechnik 67
13.1.3 Adjusting/deactivating SRM® current
If no values have been specified, the table in chapter “13.1.1 Support tables for
device settings” on page 65 may help you to adjust the basic settings.
As soon as you have set an SRM® current value >0 A, SRM® is activated auto-
matically when welding with the current value set. When 0 A has been set, SRM®
is deactivated.
Adjusting/deactivating SRM® current
Step 1: Connect the device as described in chapter “12.2 Connection of
the stud welding device and the stud welding guns” on page 59.
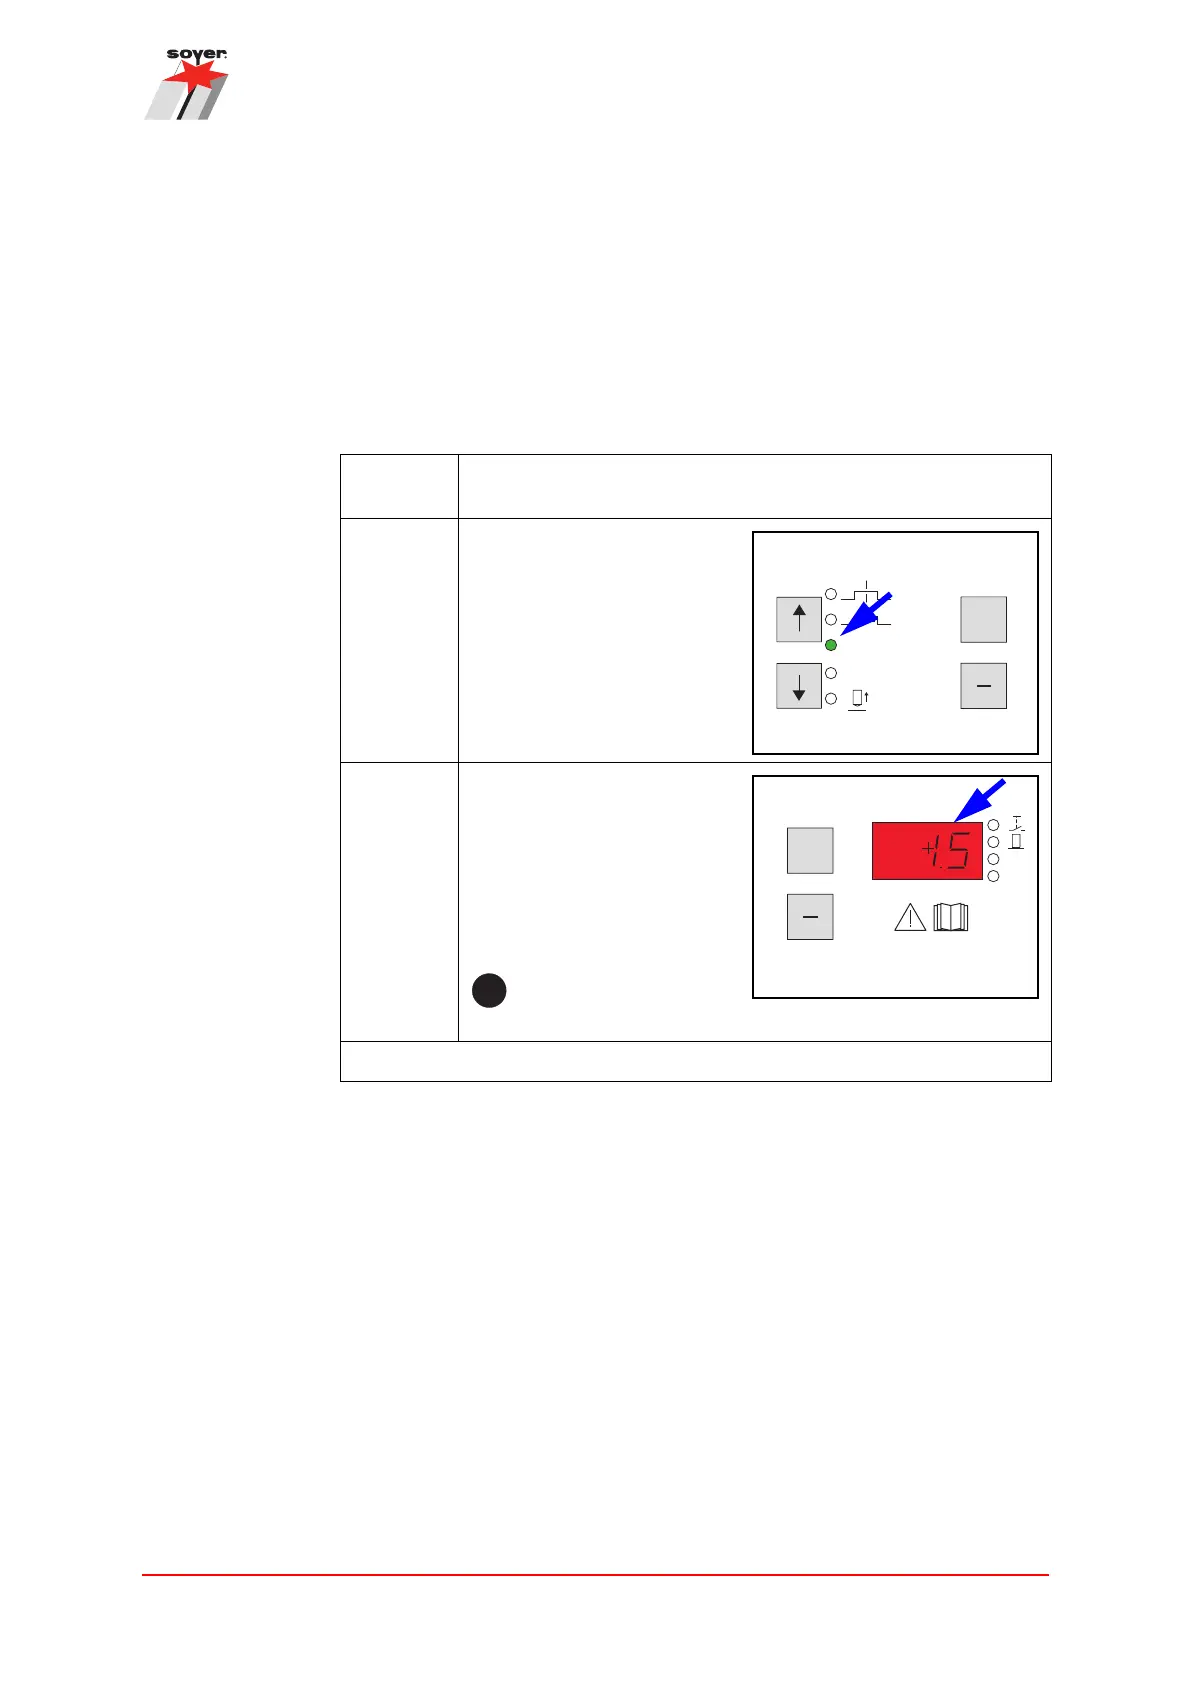
Step 2: Use the arrow keys ↑↓ to
select the position for the
SRM® current setting.
If selected correctly, the
LED lights up.
Step 3: Use the +/- keys to set the
desired value for the SRM®
current on the display.
The SRM® current can be
adjusted from 0 - 1500 mA
(displayed in A) in increments
of 50 mA (0.05 A).
When “0” has been set, SRM® is deactivated.
The SRM® current is adjusted.
+
[A]
[ms]
[A]
[s]
[ms]
GAS
SRM
>
>
>
>