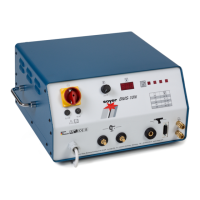
Description of the PH-3N SRM stud welding gun
Operating Instructions Soyer Bolzenschweißtechnik 55
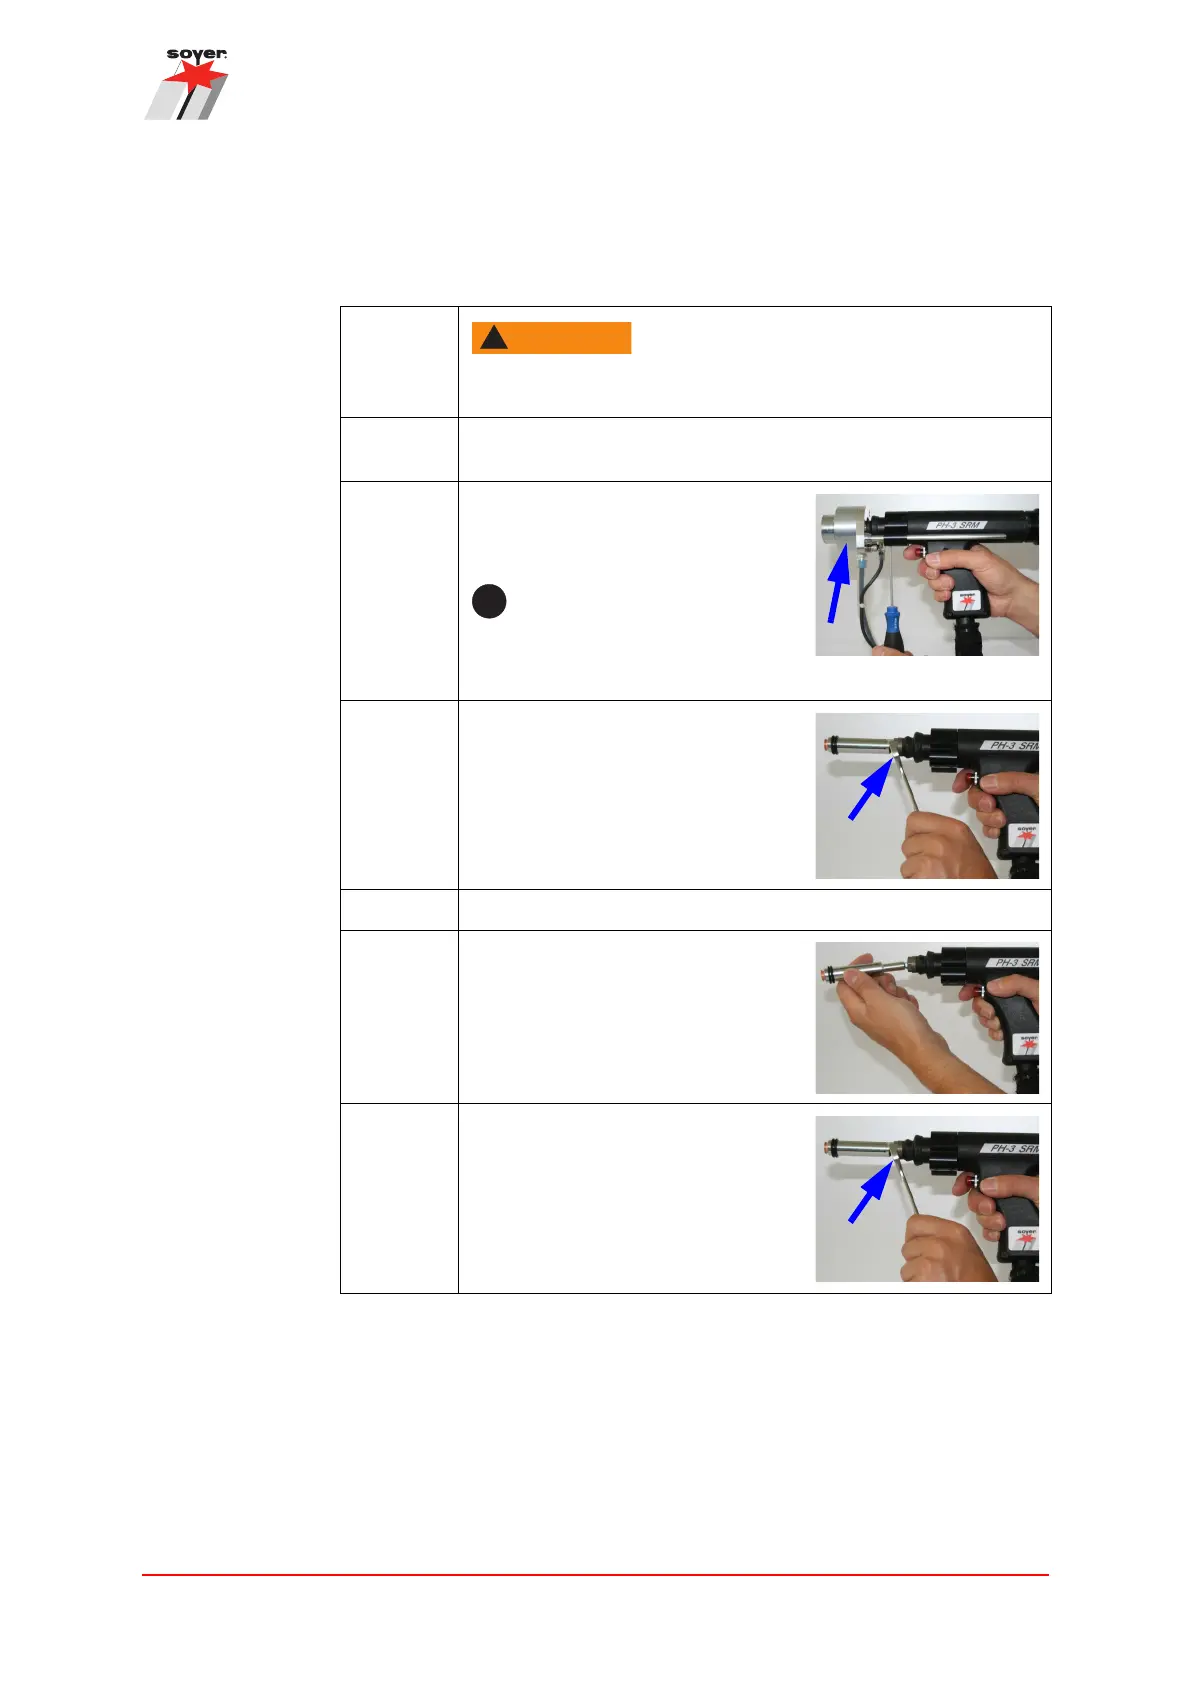
11.2 Installing the SRM® stud chuck in PH-3N SRM
Installing the SRM® stud chuck.
Step 1:
WARNING
Switch off the stud welding device when the gun is
connected to it.
Step 2: Set the stud chuck to the desired stud (see chapter “8.1 Adjust-
ing SRM® stud chucks” on page 36).
Step 3: Remove the support with the
shielding gas shroud. To this end,
loosen the four Allen screws.
It is not mandatory to remove
the support with the shielding
gas shroud, however, this makes use easier.
Step 4: Undo the union nut.
Step 5: If there is still a stud chuck in the gun, remove it.
Step 6: Slide the stud chuck up to the stop
into the spring piston of the gun.
Step 7: Hand-tighten the union nut.