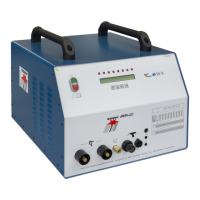
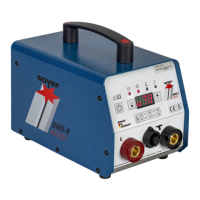
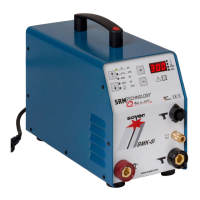
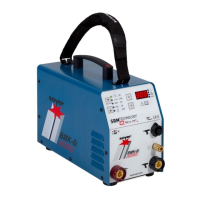
Welding operation
Operating Instructions Soyer Bolzenschweißtechnik 73
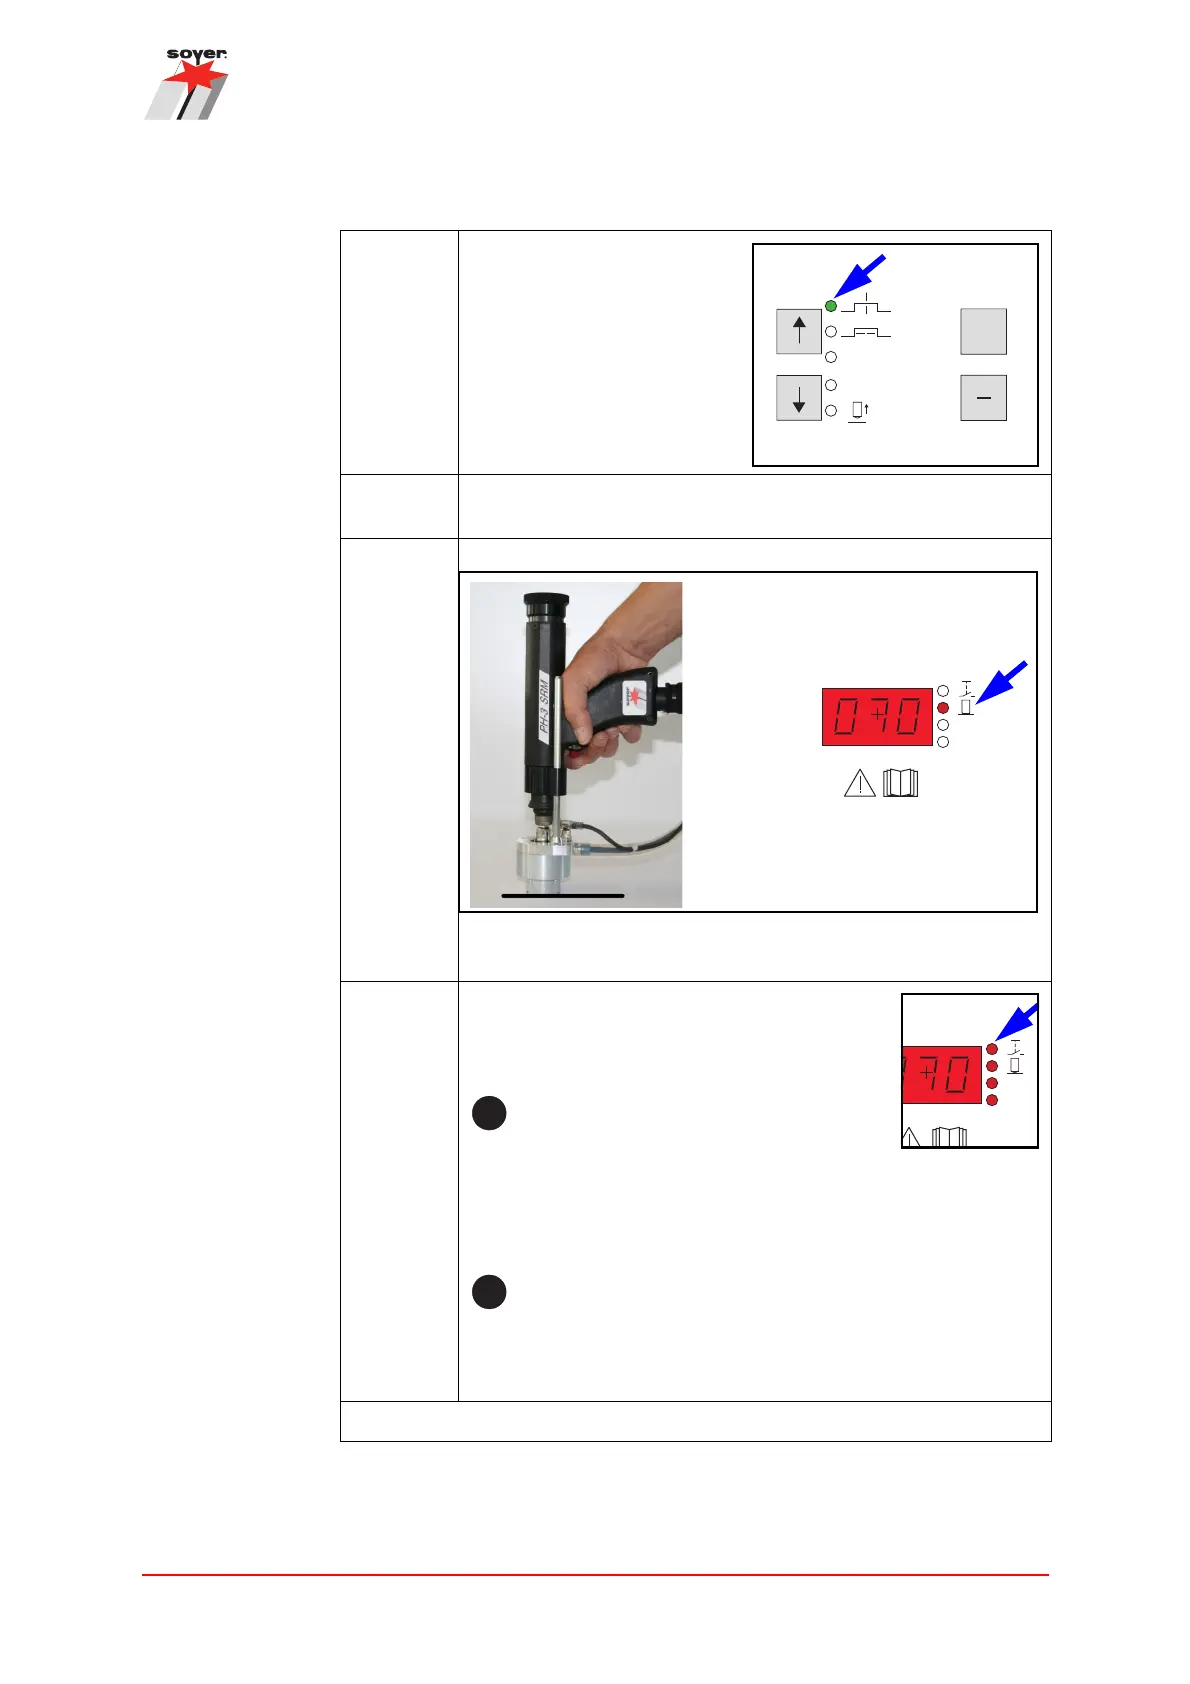
Step 6: Ensure that the device is
in the operating mode by
selecting one of the upper
three functions.
Step 7: Ensure that the welding points on the stud and workpiece are
metallically bright.
Step 8: Press the gun onto the workpiece at an angle of 90 degrees.
If the contact to the workpiece and the earth connection are
correct, the LED lights up red.
Step 9: Push the release button of the gun.
Welding is carried out. During the welding
process, the LEDs also briefly light up red.
During the welding process, hold the gun
steadily and only remove it vertically
from the welded stud after the welding process
is finished. By doing so, widening or damaging
the stud chuck is avoided.
For welding with the PH-9 SRM
12
+G gun, please observe
chapter “10.2 Operation of the PH-9 SRM
12
+G” on
page 46.
The welding process is finished.
Carrying out welding
+
[A]
[ms]
[A]
[s]
[ms]
GAS
SRM
>
>
>
>
SRM
GAS