www.spacelabshealthcare.com
4-6
91390
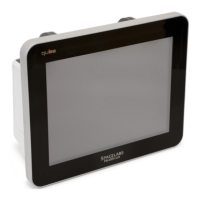
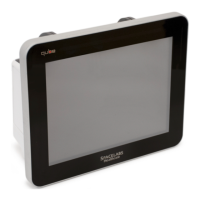
QUBE
M AINTENANCE
b The embedded front and rear alarm light LEDs illuminate
briefly. Verify that all LEDs are functional.
c The Diagnostic menu displays. (If errors are noted during
power ON, contact your Spacelabs Healthcare Field Service
Engineer.)
d If batteries are installed, the fan begins operating within
60 seconds after turning ON the monitor. The fan turns OFF
unless the internal temperature requires more cooling by the
fan.
e Monitor keys display along the right side of the screen.
4 Insert the ECG module without a patient cable connected. Verify
that the ECG parameter key appears on the screen with ??? and
the message LEADS OFF.
5 Connect a patient simulator to the ECG input with a patient cable.
Set the simulator to a known rate.
6 Verify that the ECG count and the lead being monitored are
displayed to the right of the ECG parameter key.
7 Verify that the ECG waveform appears on the screen.
8 Connect a patient simulator to the invasive pressure inputs.
9 Zero the pressures and verify that the numerics and waveforms
are accurate.
Optional Recorder Assembly for Options A and B
If the monitor is configured with the optional recorder assembly,
verify that the monitor initiates a recording. To verify that the
monitor initiates a recording, touch the RECORD key then touch one
of the flashing parameter keys.
Note:
The printed waveform should not have defects such as gaps,
extra lines, etc. If there are defects, notify a Spacelabs Healthcare
Field Service Engineer for servicing, or replace the recorder.
External Alarm Relay Output for Option A
If the monitor is configured to use the alarm relay output, to
interface to an external alarm device:
1 Plug the cable into the external alarm connector.
2 Initiate a high-priority alarm.
3 Verify that the external alarm responds appropriately.
4 If an external alarm light capable of displaying multiple colors is
attached, turn the high-priority alarm OFF. Generate a medium-
priority alarm.
5 Verify that the external alarm responds appropriately.
6 Repeat steps 4 to 5 for a low-priority alarm.
 Loading...