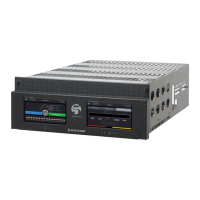
3.0 Receiver Setup and Operation
- 19 -
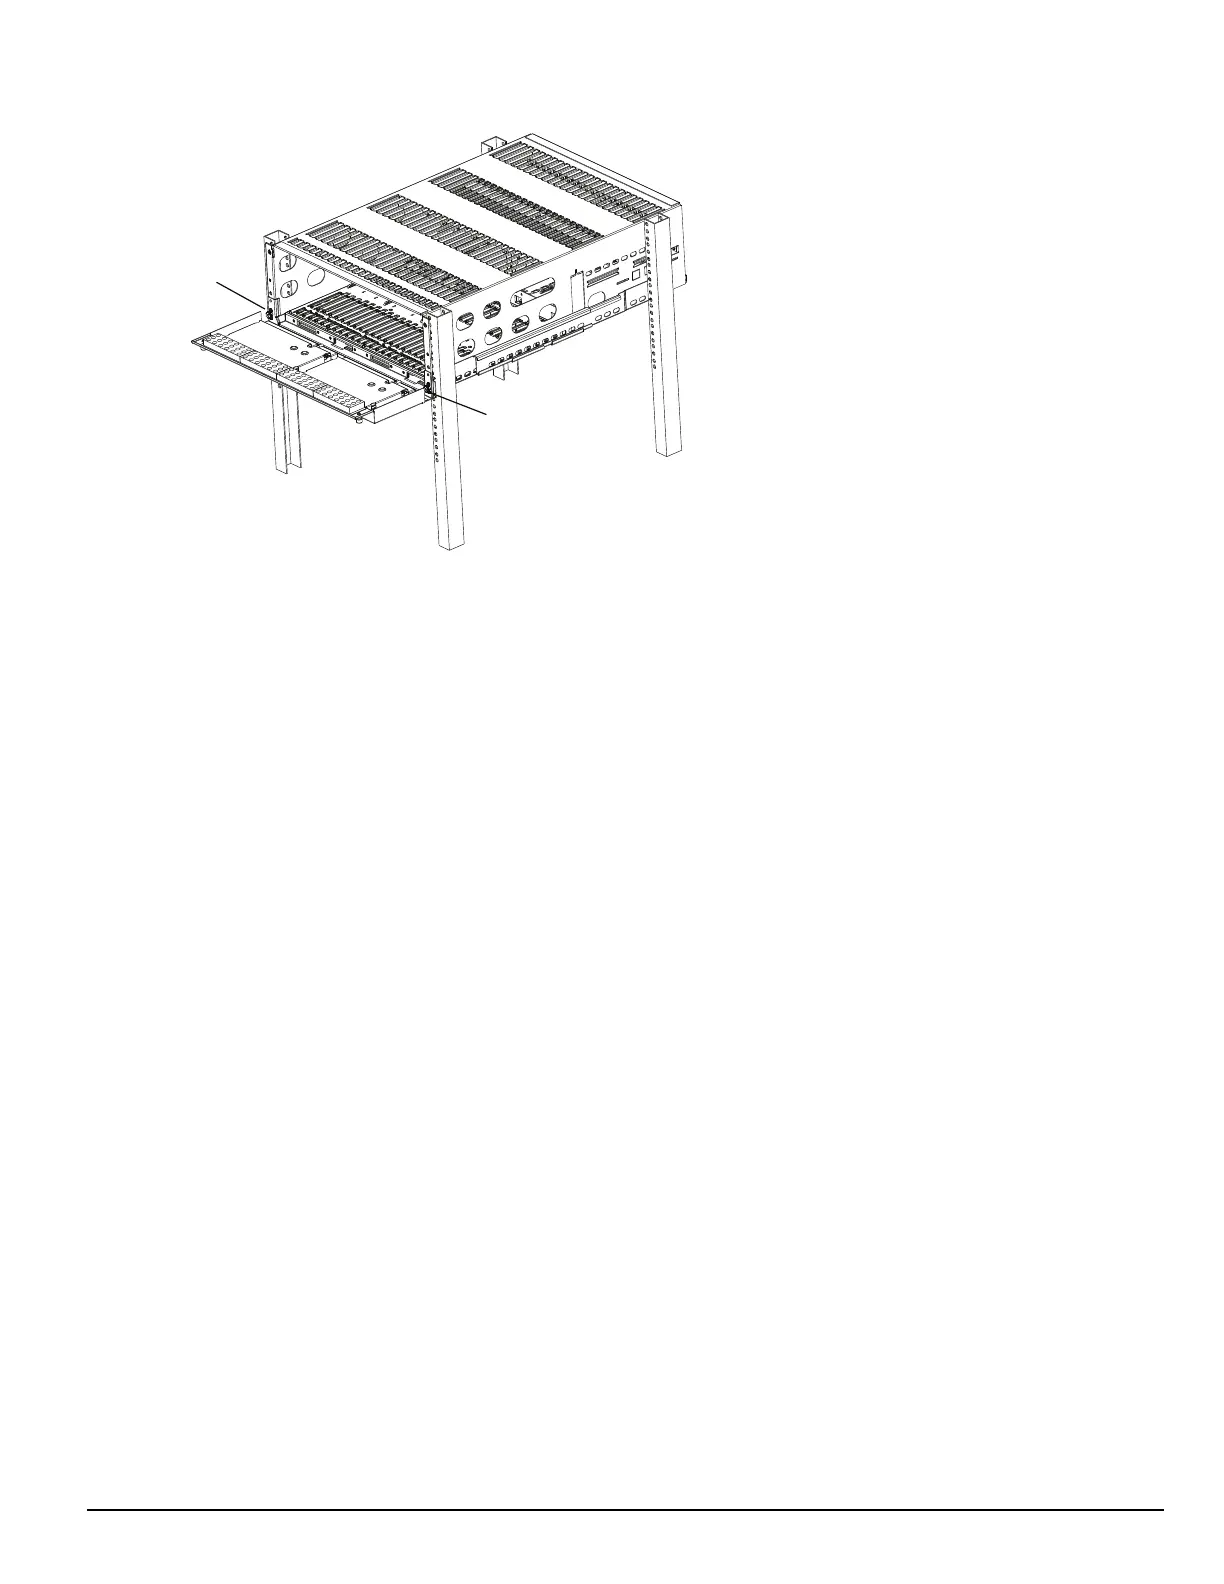
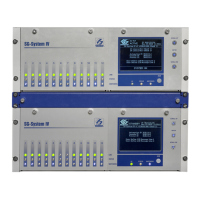
FIGURE 3-5: Securing SG-MLRF5 to rack
6. Install optional secondary LCD:
a. Unscrew the four nuts holding the cover plate.
b. Push the blank plate from the front to remove it.
c. Remove the display cable from its holder in the cover plate.
d. Discard the cover plate.
e. Remove the plastic sheet covering the LCD.
f. Place the LCD onto the front plate.
g. Connect the power cable from the SG-MLRF5 to the LCD (tab up).
h. Attach the display cable.
i. Install the cable holder using the two screws provided. Ensure both the display cable and the LCD power cable are secured.
j. Place the metal shield on top of the LCD.
k. Fasten the ground strap.
l. Screw on all four nuts (do not over-tighten).
7. Insert the fan tray and connect the fan tray wire. Make sure the fan tray is between the two guides. Fasten the thumb screws. Repeat the process
for additional fan trays.
8. Insert all cards, starting with slot 1, into their appropriate positions in the rack. Ensure there are no open slots between cards. Fasten the thumb
screws.
9. Close the front plate and fasten the thumb screws.
10. At the back of the SG-System 5:
a. Insert the SG-CPM5 partially and connect fan (at the back). The SG-CPM5's fan connector tab should be up.
b. Insert the SG-CPM5 completely in the rack. Fasten the thumb screws.
c. Connect the LCD display port cable and a network cable to the SG-CPM5.
d. Insert a paddle card into each slot with a SG-DRL5-IP line card. Fasten the thumb screws.
e. Connect a network cable to each paddle card.
f. Insert the SG-PSU5(s) into the rack and fasten the thumb screw.
g. Connect the main power using a standard computer IEC cable (not supplied).
11. The LCD powers up and displays internal troubles (e.g., printer, automation).
12. Press the ACK button and log in (Default: Admin//adminpass).
13. Press the ACK button until all of the initial signals have been acknowledged (ACK button has stopped flashing and the buzzer has been
silenced).
NOTE: Internal diagnostics may require more than one minute during the power up sequence.