2-6
Initial Assembly and Admin Setup
4. Connect the right-angle end of the Calibrator cable to the back of the Calibrator
by aligning the notch and red dots, then pushing until it clicks.
5. Connect the other end of the Calibrator cable to the Calibrator port on the back
of the Core by aligning the red dots and pushing until it clicks. See Chapter 1,
“Core” for Calibrator port location.
6. Check the expiration dates printed on the labels on the gas bottles.
7. Remove the caps from the calibration gas bottles.
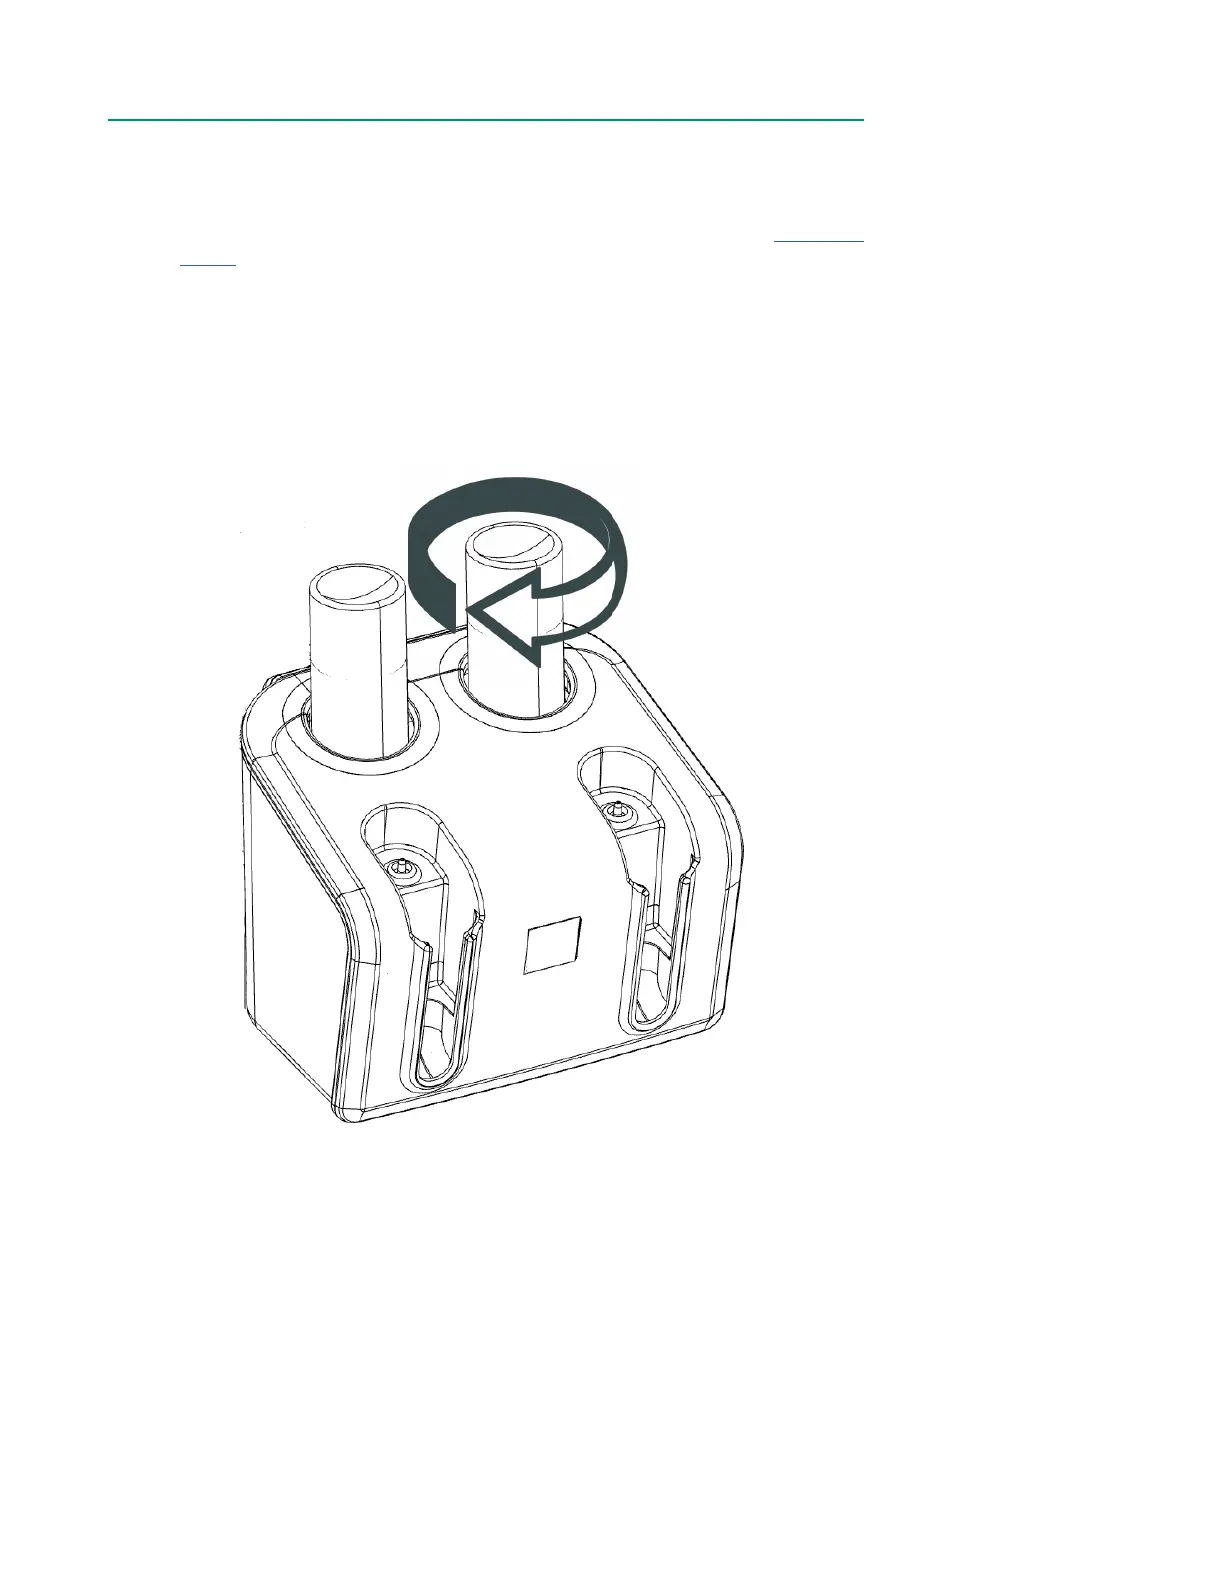
8. Place the Gas 1 bottle into the yellow Gas 1 receptacle and twist the bottle
clockwise. Do not overtighten.
9. Place the Gas 2 bottle into the blue Gas 2 receptacle and twist the bottle
clockwise. Do not overtighten.
Note: During the calibration procedure the Calibrator can either be securely attached
to the Calibrator Bracket or placed on a at surface.