2-11
Initial Assembly and Admin Setup
System StartupSystem Startup
Before switching on the system, ensure the Core LED is steady white and not ashing.
Also ensure the BPM and H/S Probes are docked in their designated mounts on the
back of Display, which is required for the system diagnostics and module self-tests to
run automatically. These tests verify the function of the display electronics and check
for electronic/optical drift in the modules that could result in calibration failure or
reduced accuracy. These checks should be done completely and routinely prior to each
use of the CDI OneView System.
Caution
After shutting down the system, ensure the Core and Display LEDs
are no longer ashing before powering on the system again.
Flashing LEDs indicate the system is not ready to power on.
1. Ensure that the Display cable is properly connected to the Core and that the
Core is plugged into a power outlet.
2. Press and hold the power button for one second on the front of the Display.
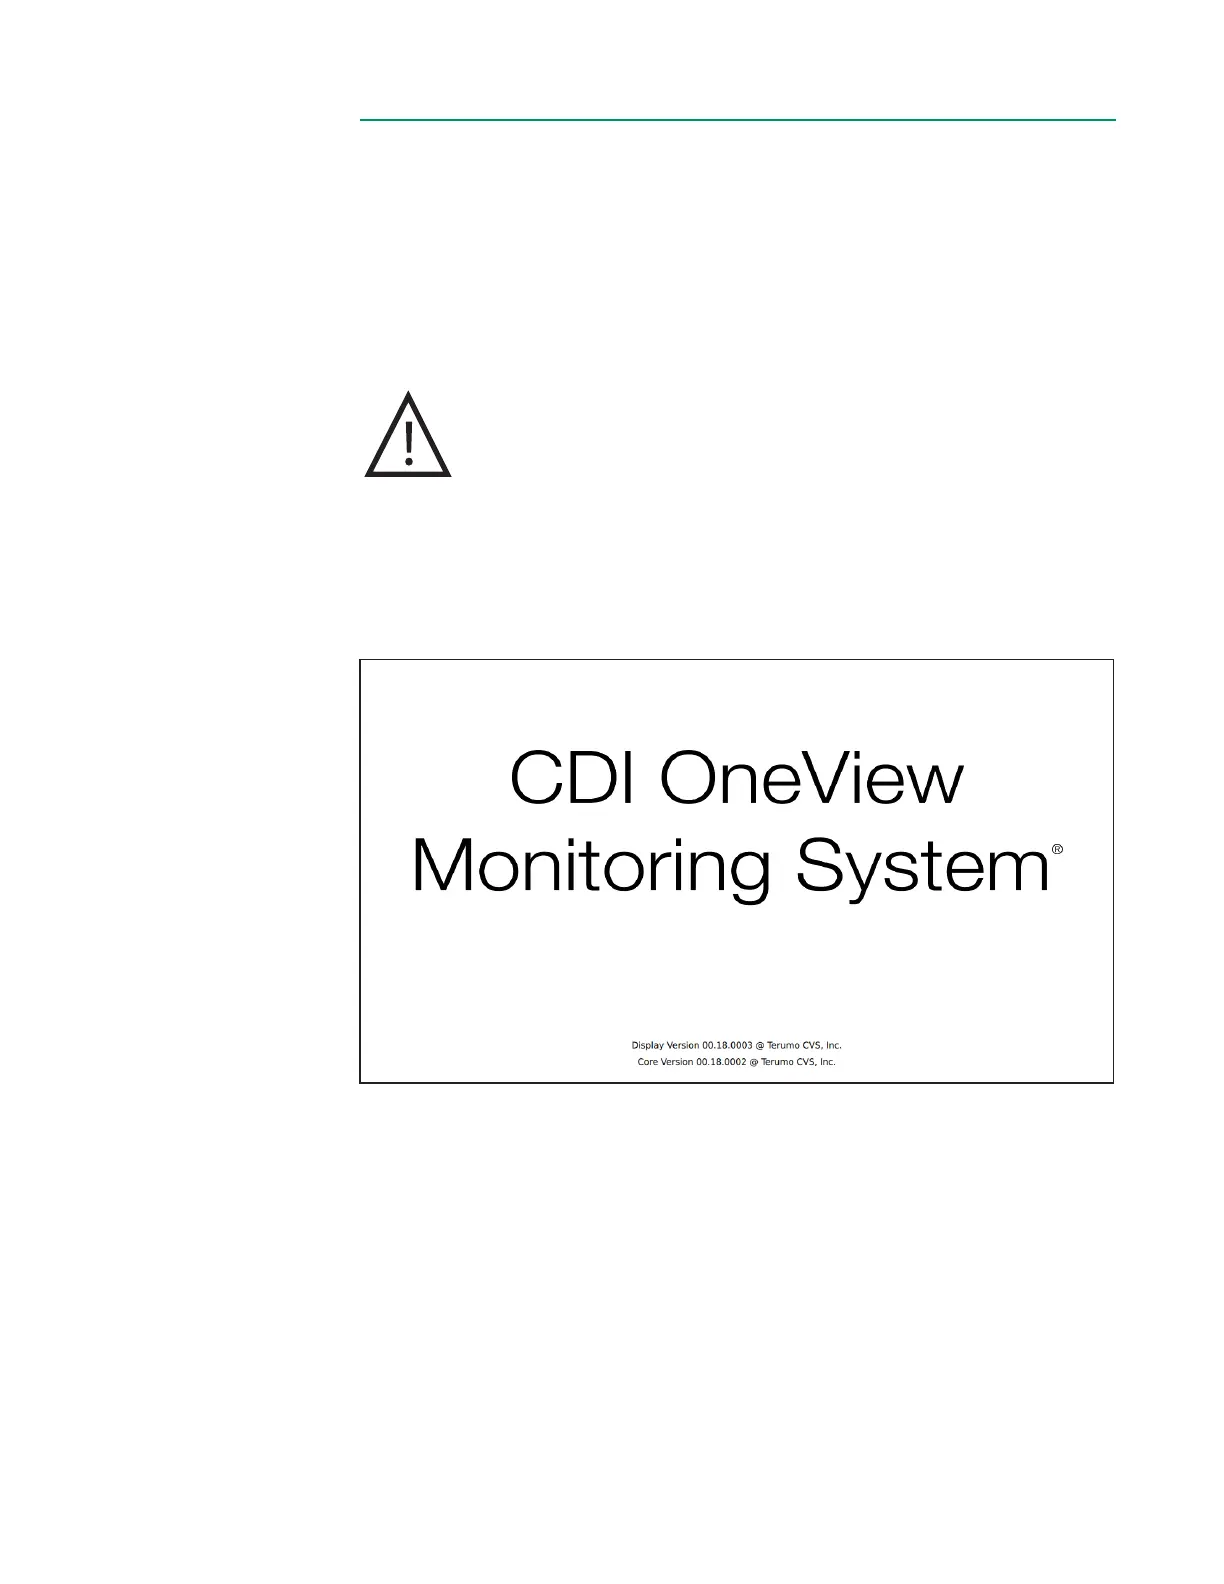
The startup sequence begins, and the following screen appears:
The software version numbers for both the Core and Display are listed at the bottom
of the window.
Note: Depending on the conguration, your device’s screens will look different from
the examples provided throughout this manual.