4-6
Calibration and Circuit Setup
13. When all the previous steps have been completed, tap
Note: If the Continue button is not enabled, double-check the following:
• A valid K
+
Code has been entered.
• The Calibrator cable is connected to the Core and to the Calibrator.
• The Gas Bottles are connected and have sufcient gas to perform a calibration.
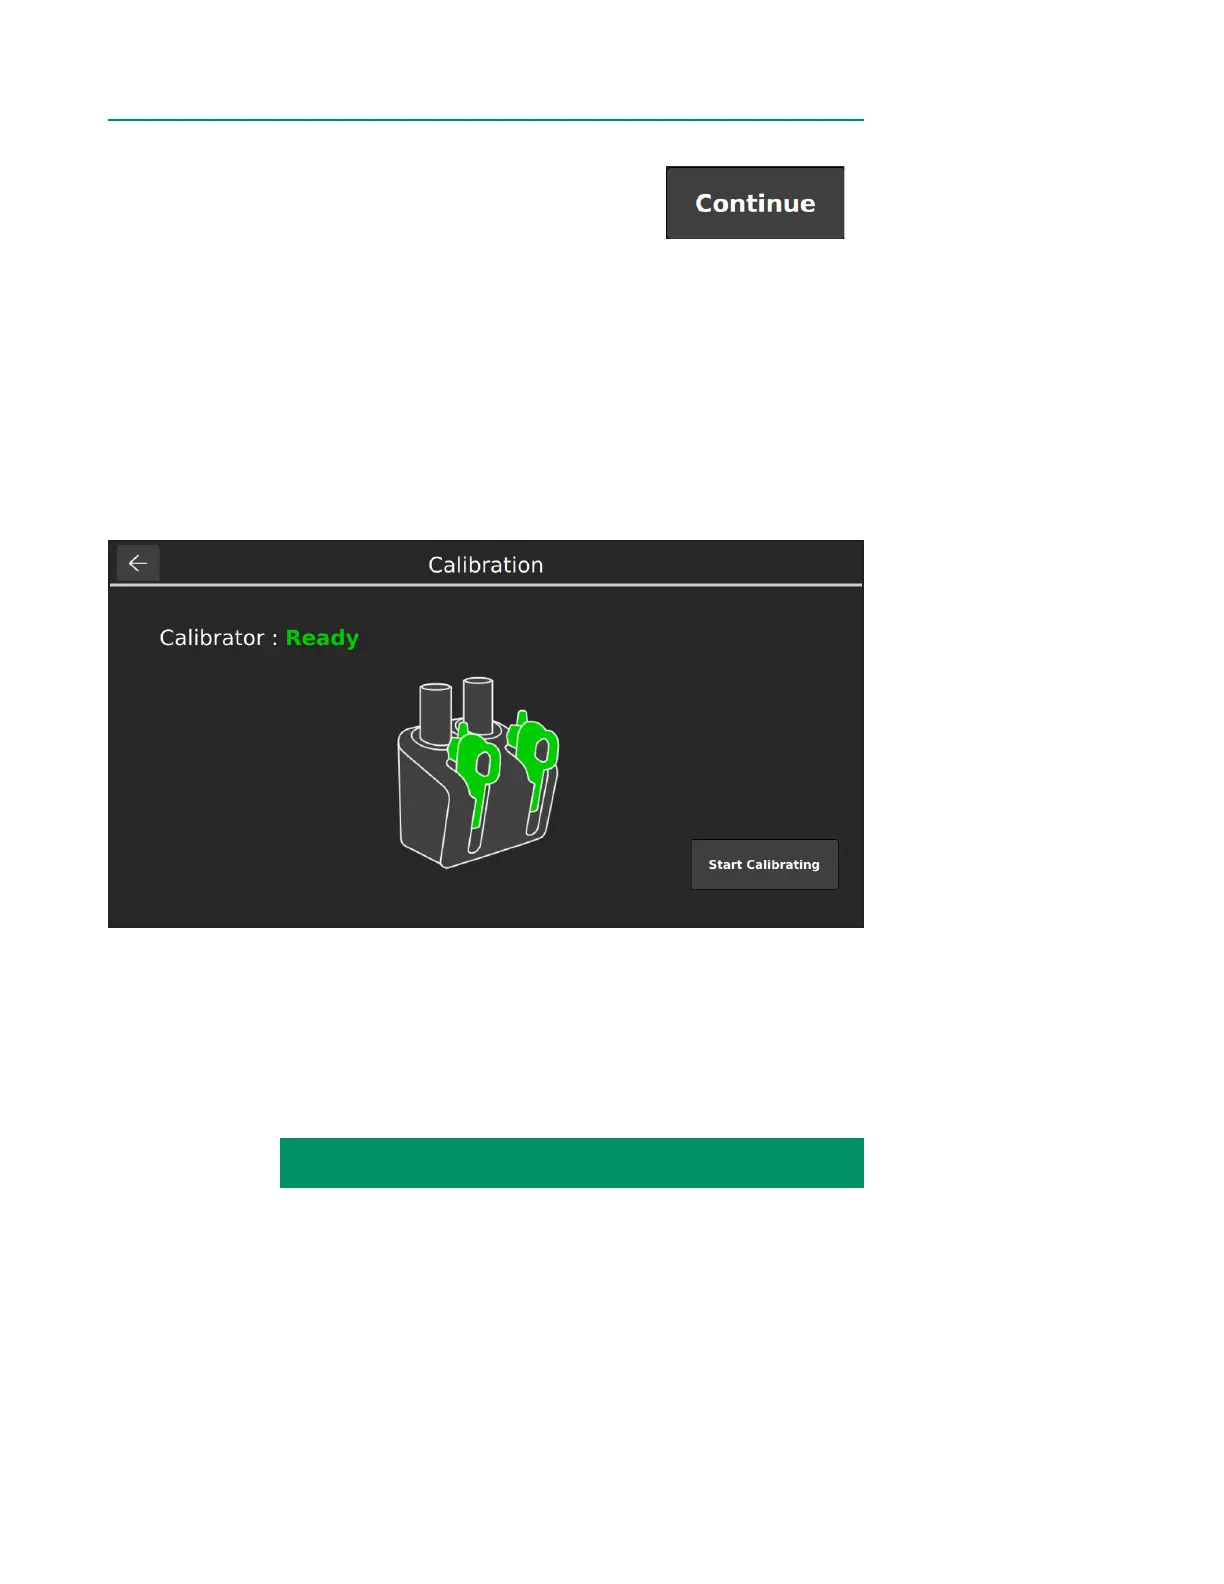
14. When calibration is ready, the following window will appear and highlight the
current number of BPM assemblies detected. Tap Start Calibrating.
Note: Do not change the number of BPM assemblies in the calibrator while calibration
is in process. Doing so will abort the calibration process.
CALIBRATION INSTRUCTIONS CONTINUED ON NEXT PAGE: