5-12
Running a Case
5. Enter a laboratory value into the adjusted cell by tapping the desired cell. The
cell will auto-ll with the stored value. The value can be adjusted with the
number pad. Tap outside the yout to cancel, or delete the number on the
number pad.
6. Once the adjusted value(s) has been entered, tap Save.
Note: At least one value must be entered to recalibrate, but not all values are required
to be recalibrated.
Warning
Measured values prior to initial in vivo recalibration may not be
accurate. Do not use values prior to initial in vivo recalibration for
patient management. Failure to perform a proper setup, full two-
point tonometered gas calibration and initial in vivo recalibration
may result in compromised system performance that does not
meet system accuracy limits found in Appendix B.
Note: If VO
2
and DO
2
are desired when using 2 BPMs (only), the user must supply a
hematocrit value. A set value for hematocrit will be displayed and is adjustable while
in Measurement Mode. In this module conguration, both arterial and venous oxygen
saturations are calculated, and the hematocrit is entered by the user. Blood ow data is
obtained in the same way described above.
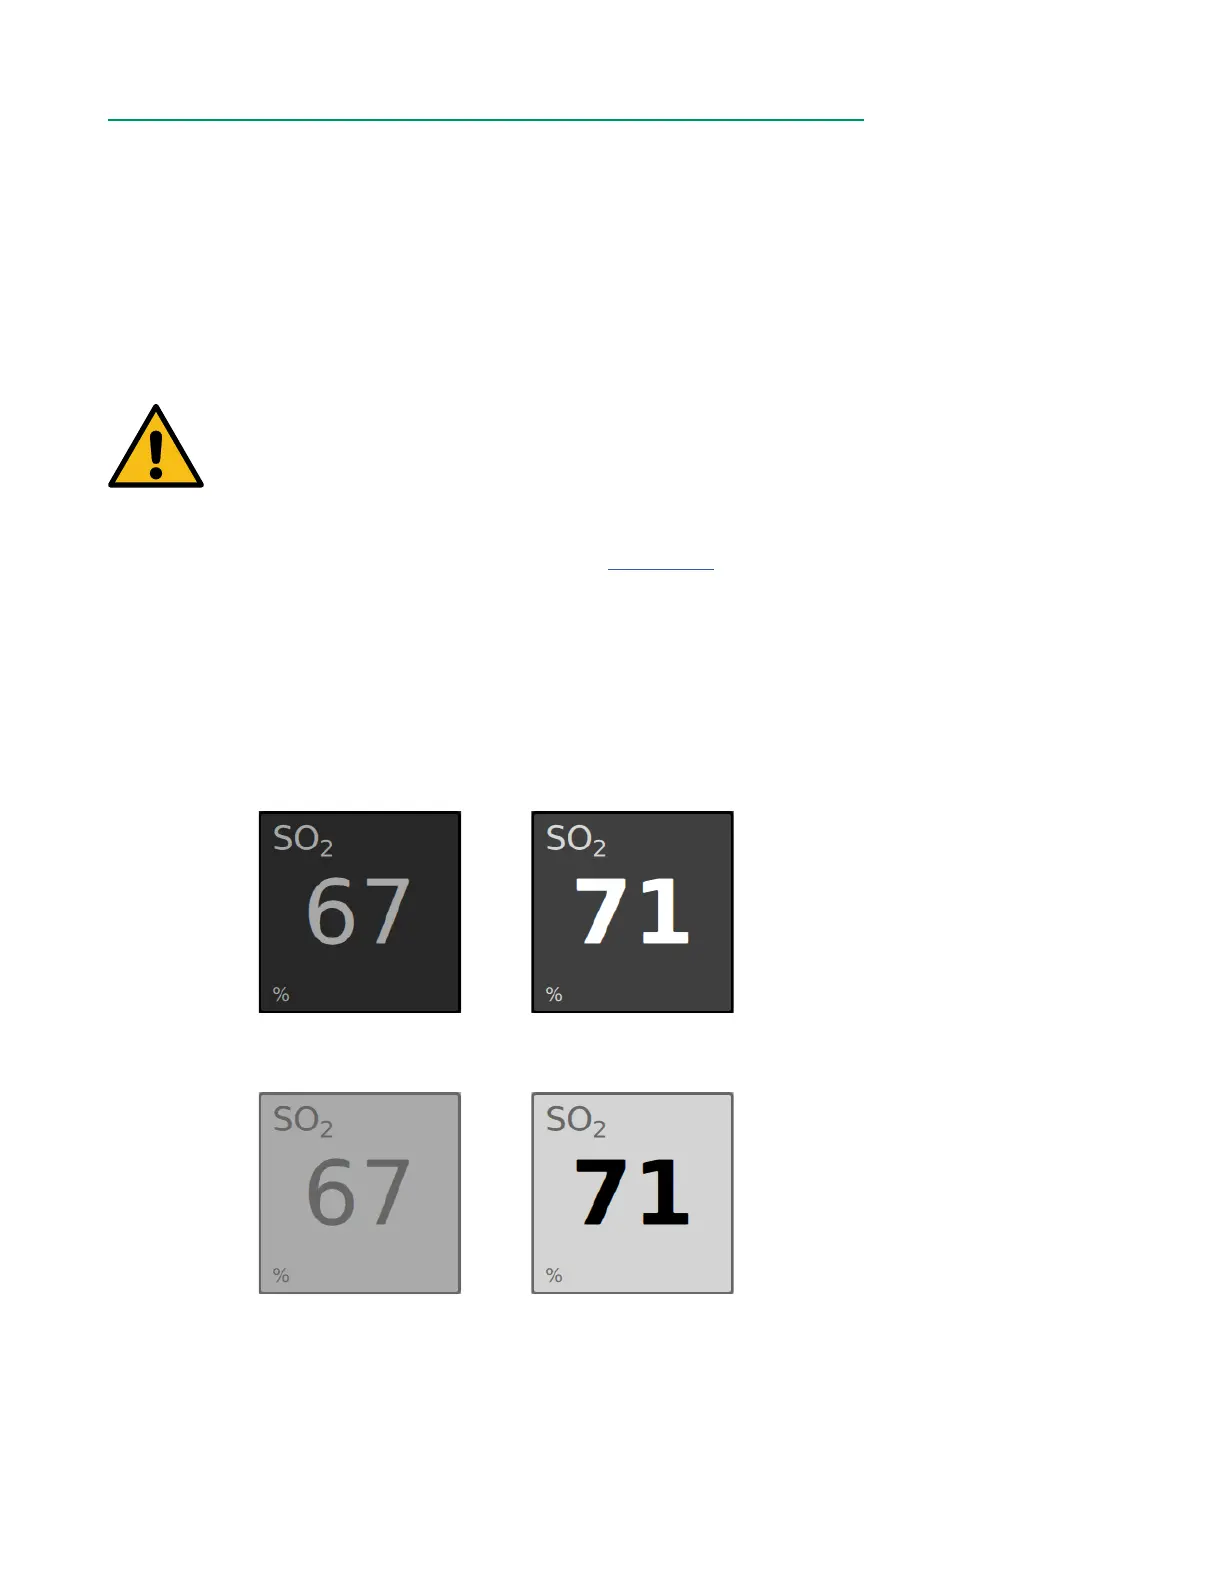
After an in vivo recalibration has been performed on a parameter, the parameter value
becomes bold and its tile becomes lighter.
Pre-recalibration tile
(Dark Mode)
Post-recalibration tile
(Dark Mode)
Pre-recalibration tile
(Light Mode)
Post-recalibration tile
(Light Mode)