Introduction Connections Basic Setup Playback
Editing
VCR Functions Others
Function Setup
Recording
25
EN
5 Select “Position” using
[Cursor
U / D], then press
[Cursor
P].
6 Select the position number you want
using [the Number buttons] or
[Cursor
U / D], then press
[Cursor
L].
You can select position numbers 01 to 99.
7 Select “Channel” using
[Cursor
U / D], then press
[Cursor
P].
8 Press [Cursor U / D] to start
scanning.
• The tuner will begin to search up or down
automatically. When a channel is found, the unit
will stop searching and the picture will appear
on the TV screen.
• You can select a desired channel number using
[the Number buttons]. Refer to the following
Channel Plan table and press the three digits to
select the channel number.
(To select channel 4, press [0] first and then
press [0] and [4]. Or press [4] and then “– – 4”
appears and wait for 2 seconds.)
• If this is the channel you want, press
[Cursor
L].
This unit can receive the Hyper and Oscar
frequency bands.
• If “Skip” is set to “On,” select “Skip” using
[Cursor
U / D], then press [Cursor P]. Select
“Off” using [Cursor
U / D], then press
[Cursor
L].
• If you want to decode scrambled signals, select
“Decoder” using [Cursor
U / D], then press
[Cursor
P]. Select “On” using [Cursor U / D],
then press [Cursor
L].
• To store another channel, repeat steps 5 to 8.
9 After completion, press [SETUP] to
exit.
To select a channel
Notes on using [the Number buttons]:
• Enter channel numbers as a two-digit number for
the quickest result. For example, to select channel
6, press [0] and [6]. If you only press [6], channel 6
will be selected after 2 seconds. You can only select
channels 1 to 99.
About an external input:
• You can select the external input mode “AV1,” “AV2”
or “AV3” using [INPUT SELECT].
• You cannot change the channel when either HDD,
DVD or VCR is in any recording mode (normal
recording, One-touch Timer Recording or Timer
Recording).
To skip a preset channel
You can set the unit to skip channels you can no
longer receive or seldom watch when you access
channels using [PROG. / ].
1 Follow steps 1 to 4 in “Manual
tuning”.
(See page 24.)
2 Select “Position” using
[Cursor
U / D], then press
[Cursor
P].
3 Select the position number you want
to skip using [the Number buttons]
or [Cursor
U / D], then press
[Cursor
L].
4 Select “Skip” using [Cursor U / D],
then press [Cursor
P].
5 Select “On” using [Cursor U / D],
then press [Cursor
L].
• To skip another channel, repeat steps 2 to 5.
6 Press [SETUP] to exit.
Move
You can replace two channels.
1 Press [SETUP].
“Easy Setting Menu” or “Advanced Menu” will
appear.
2 Select “Initial Setup” using
[Cursor
U / D], then press [ENTER].
3 Select “Channel Setting” using
[Cursor
U / D], then press [ENTER].
Channel Setting Menu will appear.
4 Select “Move” using [Cursor U / D],
then press [ENTER].
Option window will appear.
5 Select the position number of which
you want to change the channel
using [Cursor
U / D], then press
[ENTER].
You cannot select a position number where
“– – –” appears next to the number, because
“Skip” is set to “On” for that position number.
6 Move the channel to another
position number using
[Cursor
U / D], then press [ENTER].
• To move another channel, repeat steps 5 to 6.
7 Press [SETUP] to exit.
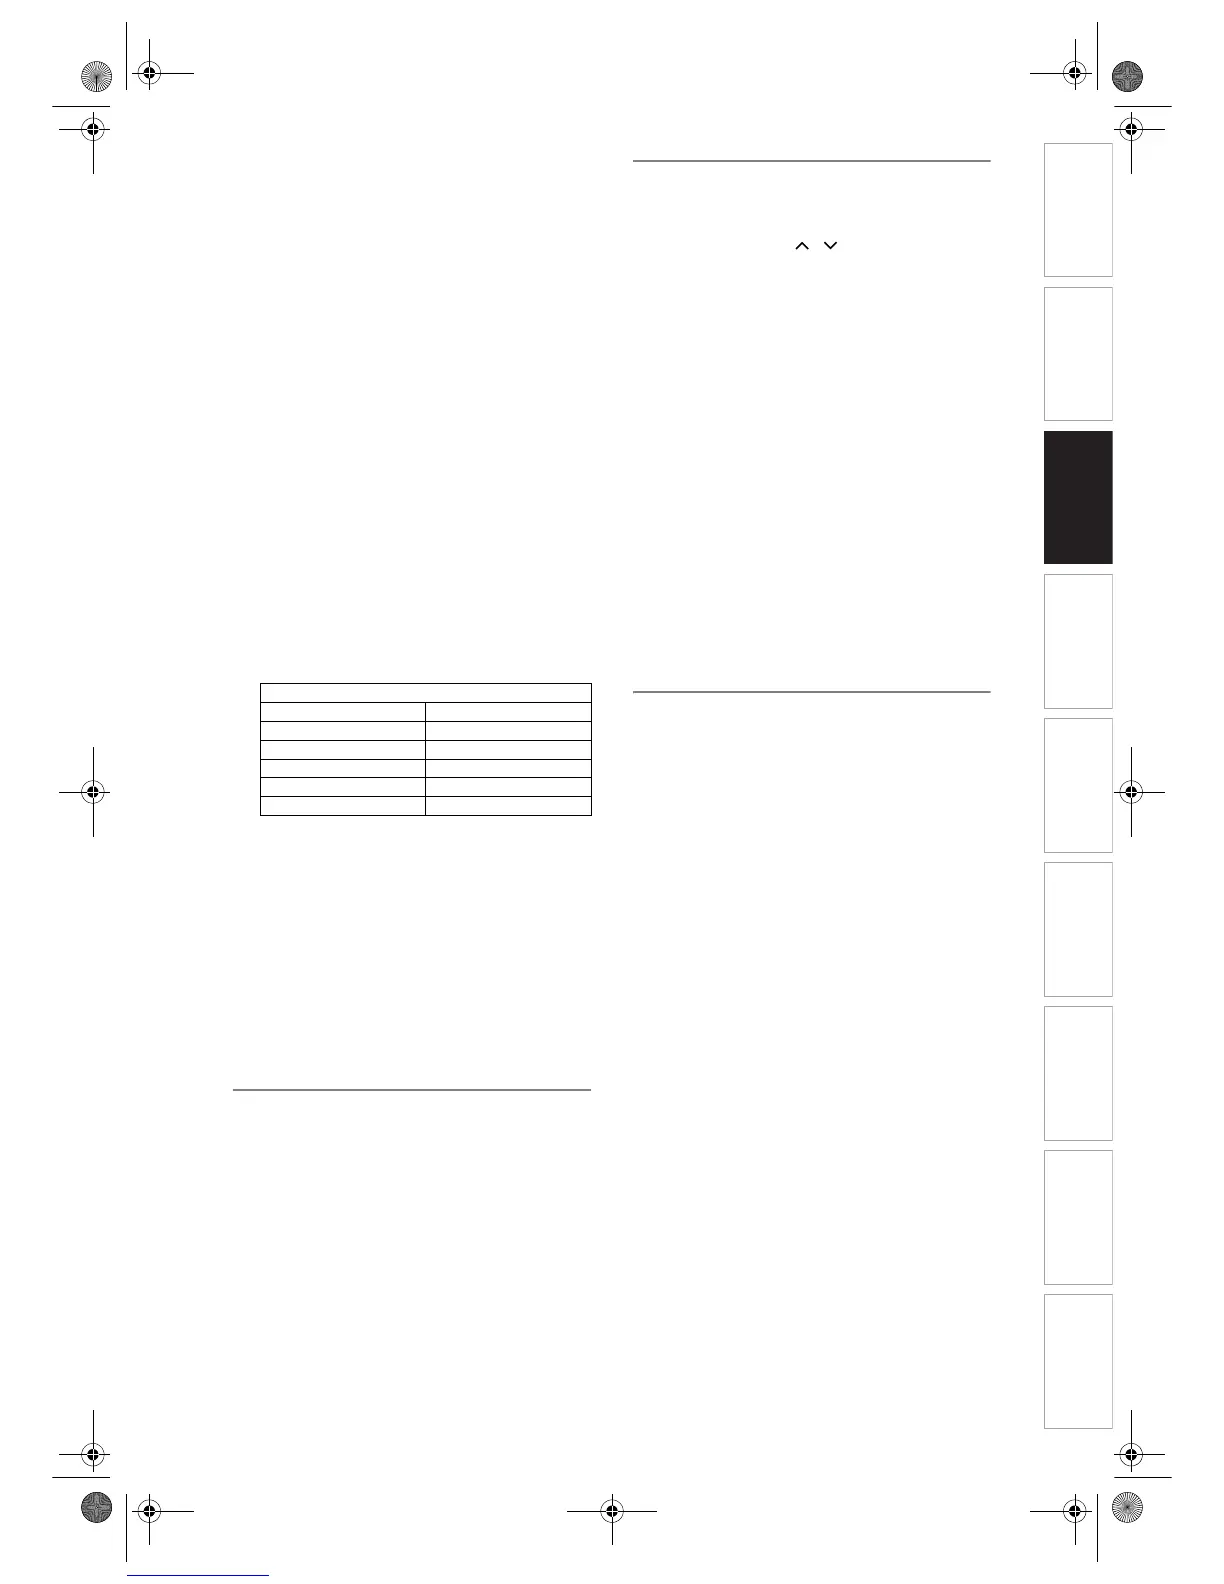
Channel Plan
CH Indication TV Channel
01 – 10 IRA-IRJ, GAP
21 – 69 E21 – E69
74 – 78 X, Y, Z, Z+1, Z+2
80 – 99, 100 S1 – S20, GAP
121 – 141 S21 – S41
E439BBD_EN.book Page 25 Wednesday, May 31, 2006 4:01 PM
 Loading...