26
EN
Setting the clock
Auto Clock Setting
1 Press [SETUP].
“Easy Setting Menu” or “Advanced Menu” will
appear.
2 Select “Initial Setup” using
[Cursor
U / D], then press [ENTER].
3 Select “Clock Setting” using
[Cursor
U / D], then press [ENTER].
Clock Setting Menu will appear.
4 Select “Auto Clock Setting” using
[Cursor
U / D], then press [ENTER].
Option window will appear.
5 Select “On” using [Cursor U / D],
then press [ENTER].
6 Press [SETUP] to exit.
7 Press [ ON / STANDBY] to turn the
unit to standby mode.
The Auto Clock function is activated.
This unit will search for the time only when the
unit is in standby mode. Leave the unit for
several minutes to give it time to set the clock.
Note
• If you want to cancel “Auto Clock Setting”, select
“Off” using [Cursor
U / D] at step 5, and then press
[ENTER].
• The default setting of “Auto Clock Setting” is “On”.
• The clock may set itself automatically after you
connect the antenna cable to the unit and plug in the
mains cable. In this case, the current time will
appear on the front panel display.
• To set the clock automatically, the channel assigned
to “P04” must receive the PDC signal and the
Decoder must be Off.
• The clock cannot be set automatically if you are not
receiving a channel in your area that carries a time
signal. In this case, set the clock manually.
• Once the auto clock setting is performed, the unit
will correct the current time by receiving PDC
broadcasts whenever the unit is in standby mode.
• The unit will correct the current time automatically at
8:00, if the unit is in standby mode.
• From 23:00 to 1:00, the Auto Clock function will not
operate even if the unit is in standby mode.
Manual Clock Setting
1 Follow the steps 1 to 3 in “Auto
Clock Setting” on the left.
2 Select “Clock Setting” using
[Cursor
U / D], then press [ENTER].
Clock Setting Window will appear.
3 Move to the item you want to set
using [Cursor
L / P], and change the
setting to suit your preference using
[Cursor
U / D].
4 When all the information is entered,
press [ENTER].
Your setting is activated.
Although seconds are not displayed, they will be
counted from zero.
5 Press [SETUP] to exit.
Note
• Your clock setting will be lost if either there is a
power failure or this unit has been unplugged for
more than 30 seconds.
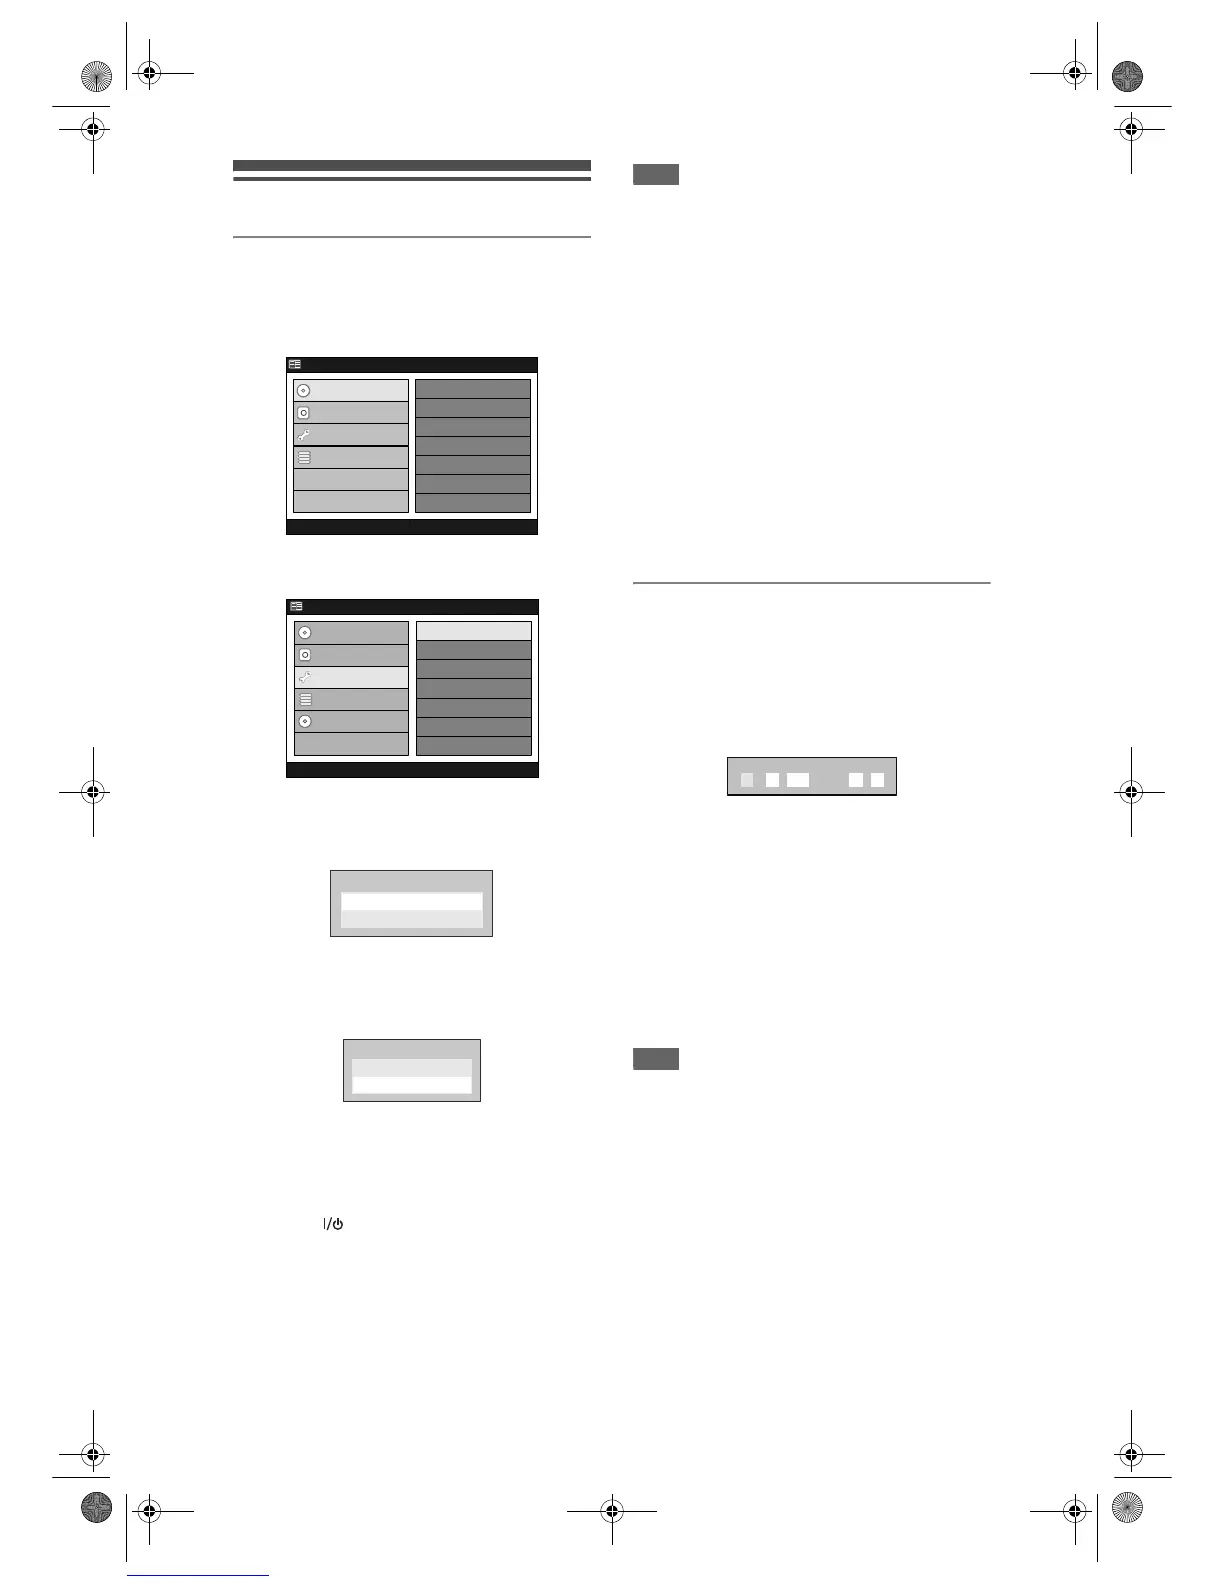
HDD MENU
Initial Setup
DVD Disc Format
DVD Recording Format
Finalise
Disc Protect
Delete Playlist
DVD Menu
HDD Menu
Initial Setup
Timer Program
Easy Setting Menu
Advanced Menu
Clock Setting
 Loading...