Introduction Connections Basic Setup Playback
Editing
VCR Functions Others
Function Setup
Recording
87
EN
Display Setting
1
Press [SETUP].
“Easy Setting Menu” or “Advanced Menu” will
appear. If “Advanced Menu” is displayed, proceed
to step 3.
2 Select “Advanced Menu” using
[Cursor
U / D], then press [ENTER].
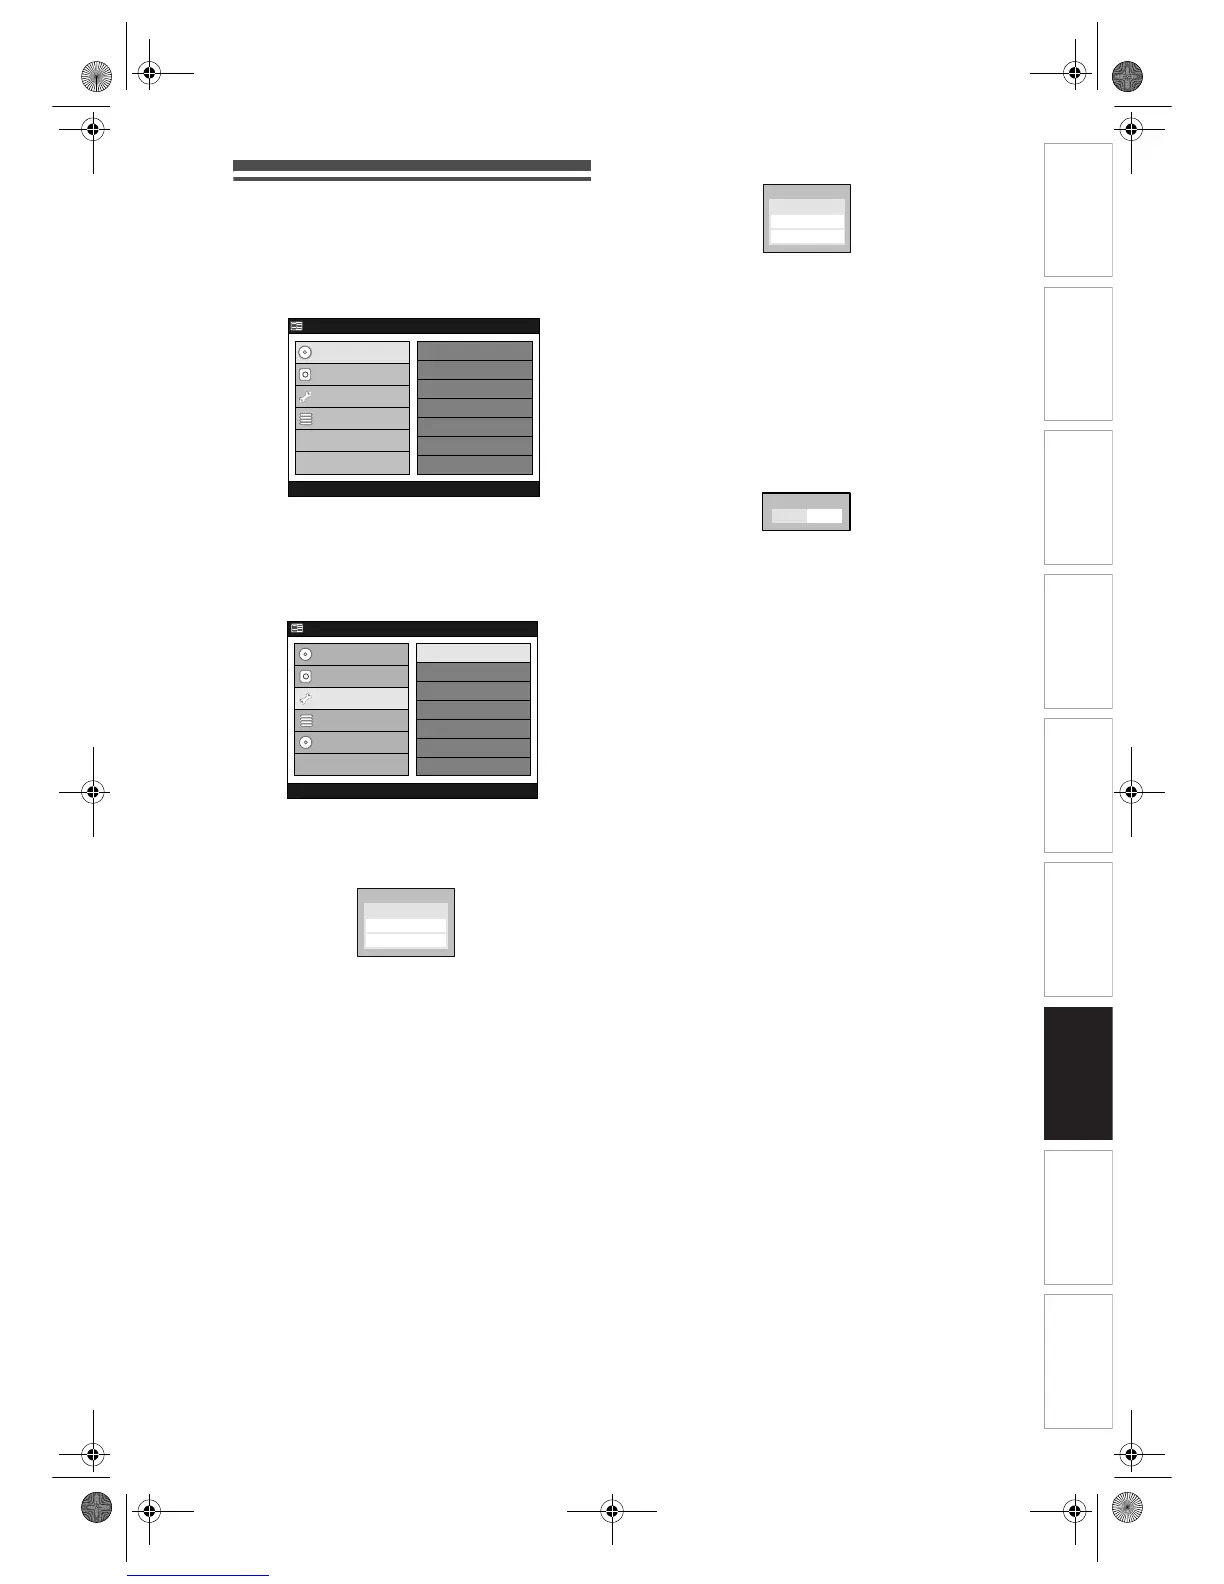
3 Select “Initial Setup” using
[Cursor
U / D], then press [ENTER].
4 Select “Display” using
[Cursor
U / D], then press [ENTER].
Display Menu will appear.
5 Select a desired item to set using
[Cursor
U / D], then press [ENTER].
Menu or option window will appear.
6 Refer to 1. and 2. below to set the
selected item.
7 When you finish with the setting,
press [SETUP] to exit.
1. FL Dimmer (Default: Auto)
Set the front panel display brightness.
You can choose one from “Auto,” “Bright” and “Dark”.
If “Auto” is selected, the display gets dark when the
power is off.
(Follow steps 1 to 4 above.)
Select “FL Dimmer” using
[Cursor
U / D], then press [ENTER].
Option window will appear.
Select a setting using
[Cursor
U / D], then press [ENTER].
2. Screen Saver (Default: On)
You can set to “On” to activate the Screen Saver after
10 minutes of no activity.
(Follow steps 1 to 4 on the left.)
Select “Screen Saver” using
[Cursor
U / D], then press [ENTER].
Option window will appear.
Select a setting using
[Cursor
L / P], then press [ENTER].
Your setting is activated.
HDD MENU
Initial Setup
DVD Disc Format
DVD Recording Format
Finalise
Disc Protect
Delete Playlist
DVD Menu
HDD Menu
Initial Setup
Timer Program
Advanced Menu
Easy Setting Menu
Clock Setting
Channel Setting
Playback
Record
Display
Reset to factory default
CD
DVD Menu
HDD Menu
Initial Setup
Timer Program
Easy Setting Menu
Advanced Menu
Display
Screen Saver
Select Video
FL Dimmer
FL Dimmer
Dark
Auto
Bright
On
 Loading...