74
EN
4 Select “Scene Delete” using
[Cursor
U / D], then press [ENTER].
Editing Screen will appear.
5 Press [PLAY P] to start playback.
Play the title up to the point where you want to set
a start point for the scene to be deleted.
• If you want to quit the process, select “Return”
with [Cursor
L / P]. Then press [ENTER].
6 When it reaches the desired start
point, press [ENTER], or press
[PAUSE p] or [STOP S] and then
[ENTER].
A start point is marked and the display shown
below will appear.
• If you want to reset the start point, select “Start
Point Cancel” with [Cursor
L / P], then press
[ENTER].
• If you want to quit the entire process, select
“Return” with [Cursor
L / P], then press
[ENTER].
7 Press [PLAY P] to start play back
again.
Play the title up to the point where you want to set
an end point for the scene to be deleted.
8 When it reaches the desired end
point, press [ENTER], or press
[PAUSE p] or [STOP S] and then
[ENTER].
An end point is marked, and the display shown
below will appear.
• If you want to reset the end point, select “End
Point Cancel” with [Cursor
L / P], then press
[ENTER].
• If you want to quit the entire process, select
“Return” with [Cursor
L / P], then press
[ENTER].
9 With “Update” selected, press
[ENTER].
Confirmation window will appear.
10
Select “Yes” using [Cursor L / P],
then press [ENTER].
Final confirmation window will appear.
11
Select “Yes” using [Cursor L / P],
then press [ENTER].
The scene is deleted.
12
If you want to delete other parts,
repeat steps 5 to 11. Otherwise,
select “Return” and press [ENTER].
Select “Yes” using [Cursor L / P], then press
[ENTER] to finish the editing.
13
Press [TOP MENU] to exit.
SCENE DELETING
Start Point
Return
0:00:00
HDD
ORG
SCENE DELETING
HDD
ORG
Start Point
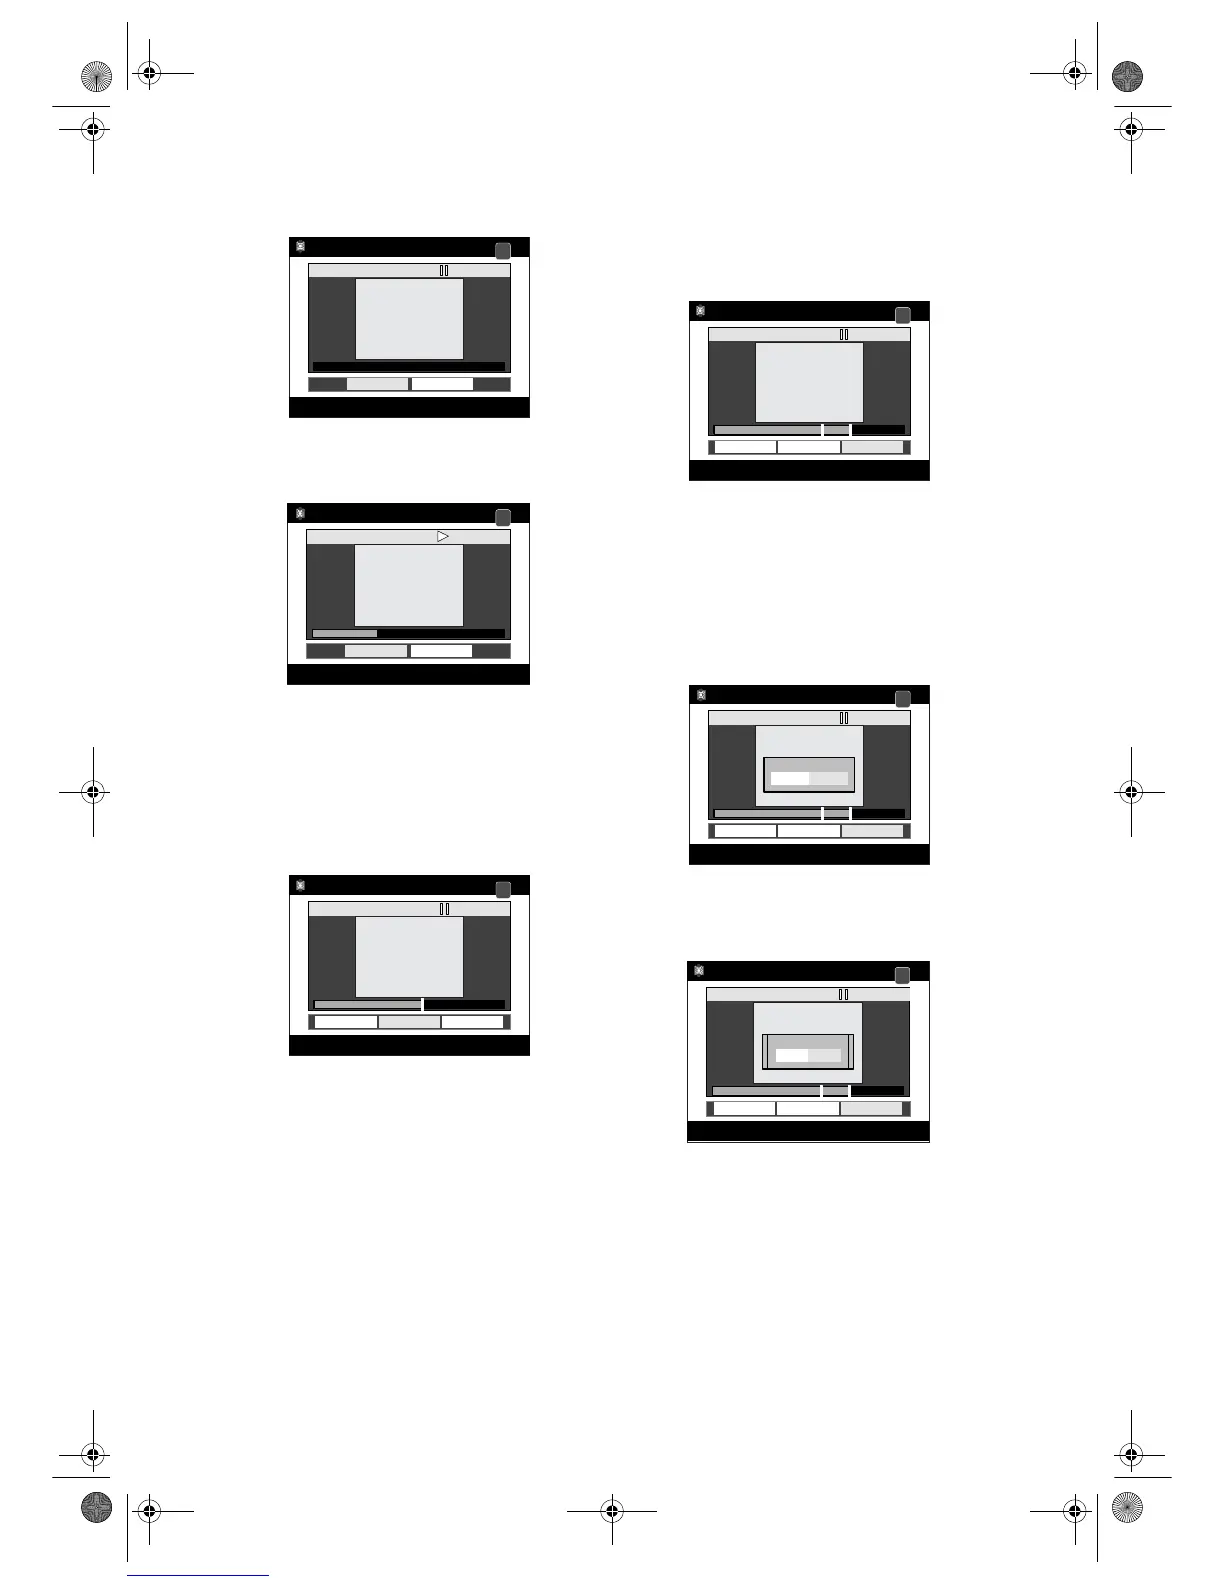 Loading...