Voice Processing
Class of Service (COS)
4-4 Strata CIX Voice Mail Programming 01/07
Explore Function
The Explore function assists you in selecting a COS parent by displaying the existing Class of
Services and the lineage between them. The function is accessed using the Explore button that
appears at the top right corner of the Mailbox and Mailbox COS screens.
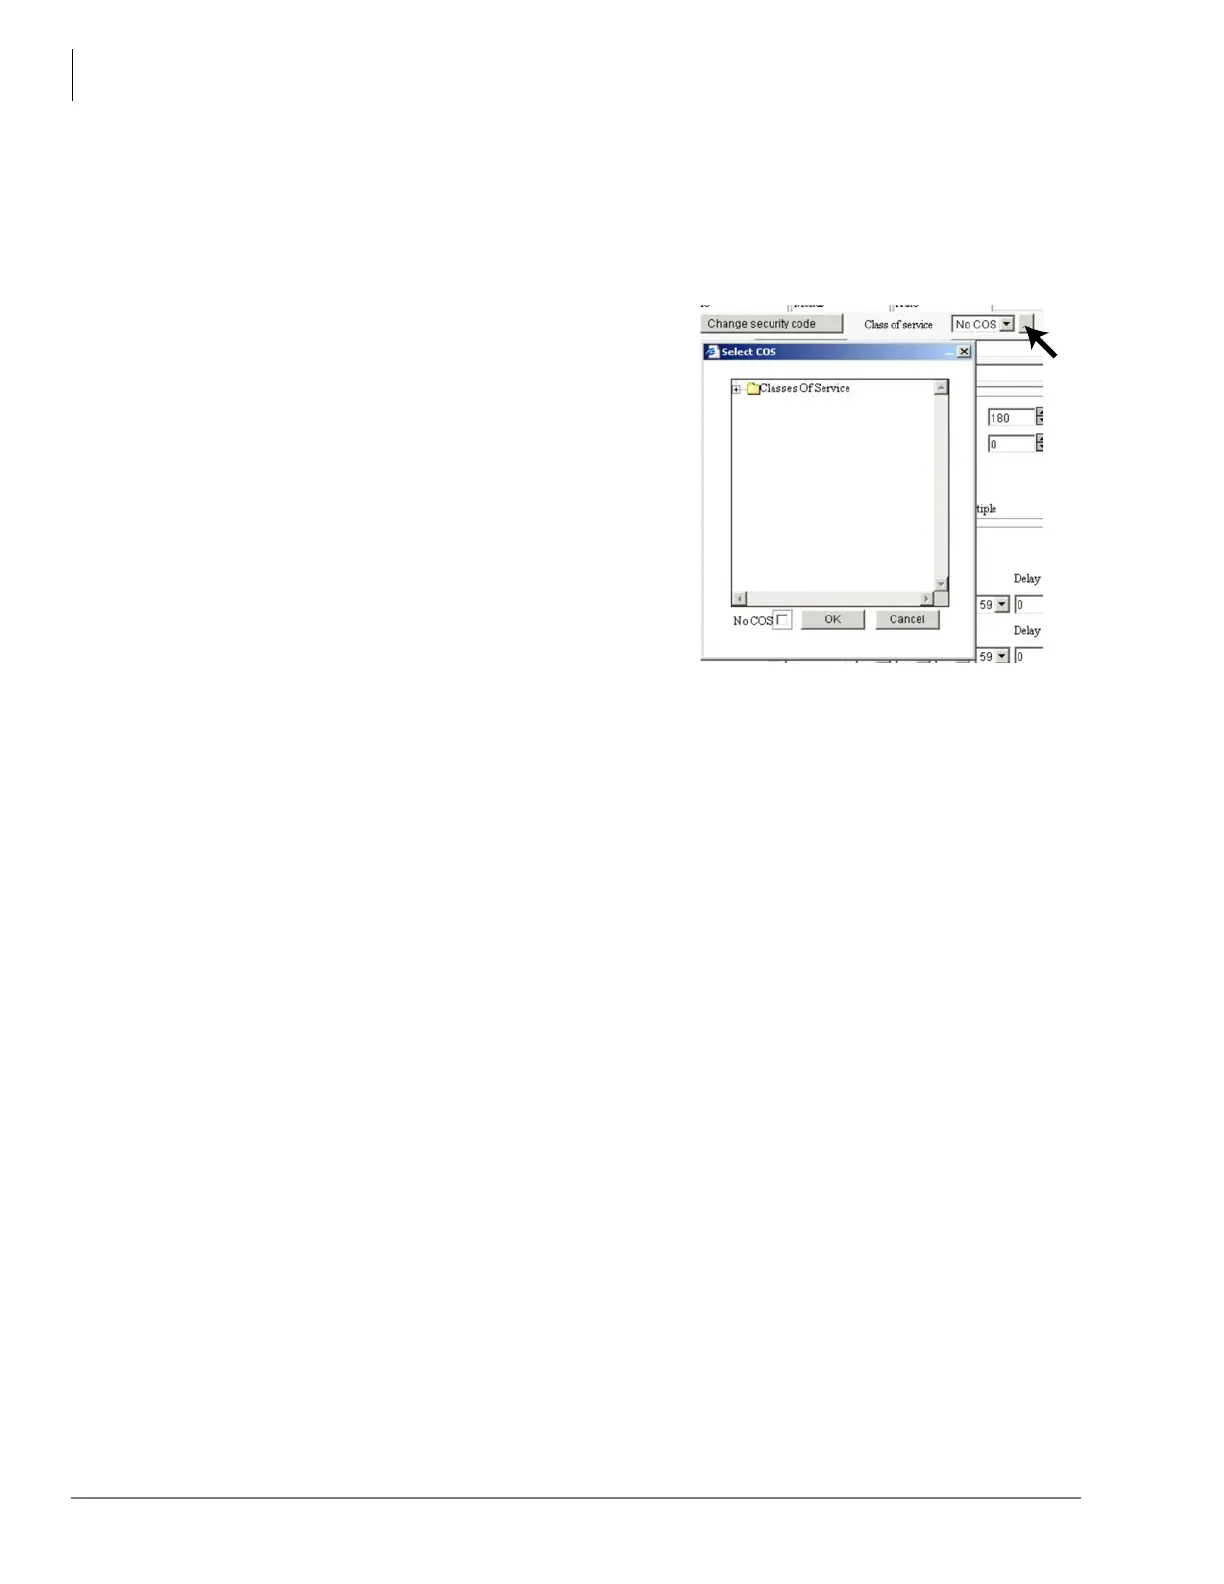
Select COS Using Explore Button
1. From one of the aforementioned screens, click
Explore. The Select COS screen displays (shown
at right).
2. Highlight the COS and click OK. The COS parent
displays in the Class of Service field and the
mailbox inherits the COS settings.
Create COS for Mailboxes
1. From the eManager menu, click Advanced
Configuration > Voice Mail > Mailbox COS. The
Mailbox COS screens display.
Note Currently, only mailboxes can be assigned to
COS. Future development may include other
User Agents that can be governed by COS.
2. Click Create UA at the bottom of the screen. The Create User Agent screen displays.
3. Type a single User Agent number (e.g., 881), a range of numbers (e.g., 800-804) or a
combination of both separated by a comma or a space (e.g., 800-802, 881 888).
Note The number you enter must be unique. If the number already exists, the Stratagy ES
indicates that the User Agent could not be created.
4. (Optional) Type a COS number into the field or use the drop-down menu to select a pre-
existing COS number. The field defaults to No COS.
Note Since COS relationships can have several layers, confusion may occur if layers are not
properly planned out and maintained.
5. Click OK. The Creating dialog box displays while the program creates the User Agents. When
the process is complete, the screen indicates whether the creation of the User Agent(s) was
successful.
6. Click Exit. The Mailbox Editor tab screens display (see “Mailbox Editor Menu” on page 4-7 ).
7. Modify the screen fields and click Submit (see Figure 4-13 on page 4-9 through Figure 4-17 on
page 4-24). The changes are saved and the screen remains open.
Edit COS for Mailboxes
1. From the eManager Main menu, click Advanced Configuration > Voice Mail > Mailbox COS.
The Mailbox COS Editor tab screens display (see Figure 4-13 on page 4-9).
2. To the right of the Mailbox COS Editor screen, highlight the Mailbox listing for the mailbox
you want to edit
...or type the mailbox number in the mailbox header at the top of the screen and click Refresh.
The Mailbox COS Editor screen displays the data for the mailbox number.
3. Edit the mailbox fields.
4. Click Submit. The changes are saved and the screen remains open.
7207

 Loading...


