67
VTA-080
VTA-084
6. Apply red Loctite #271 evenly to the threads of the
new nut.
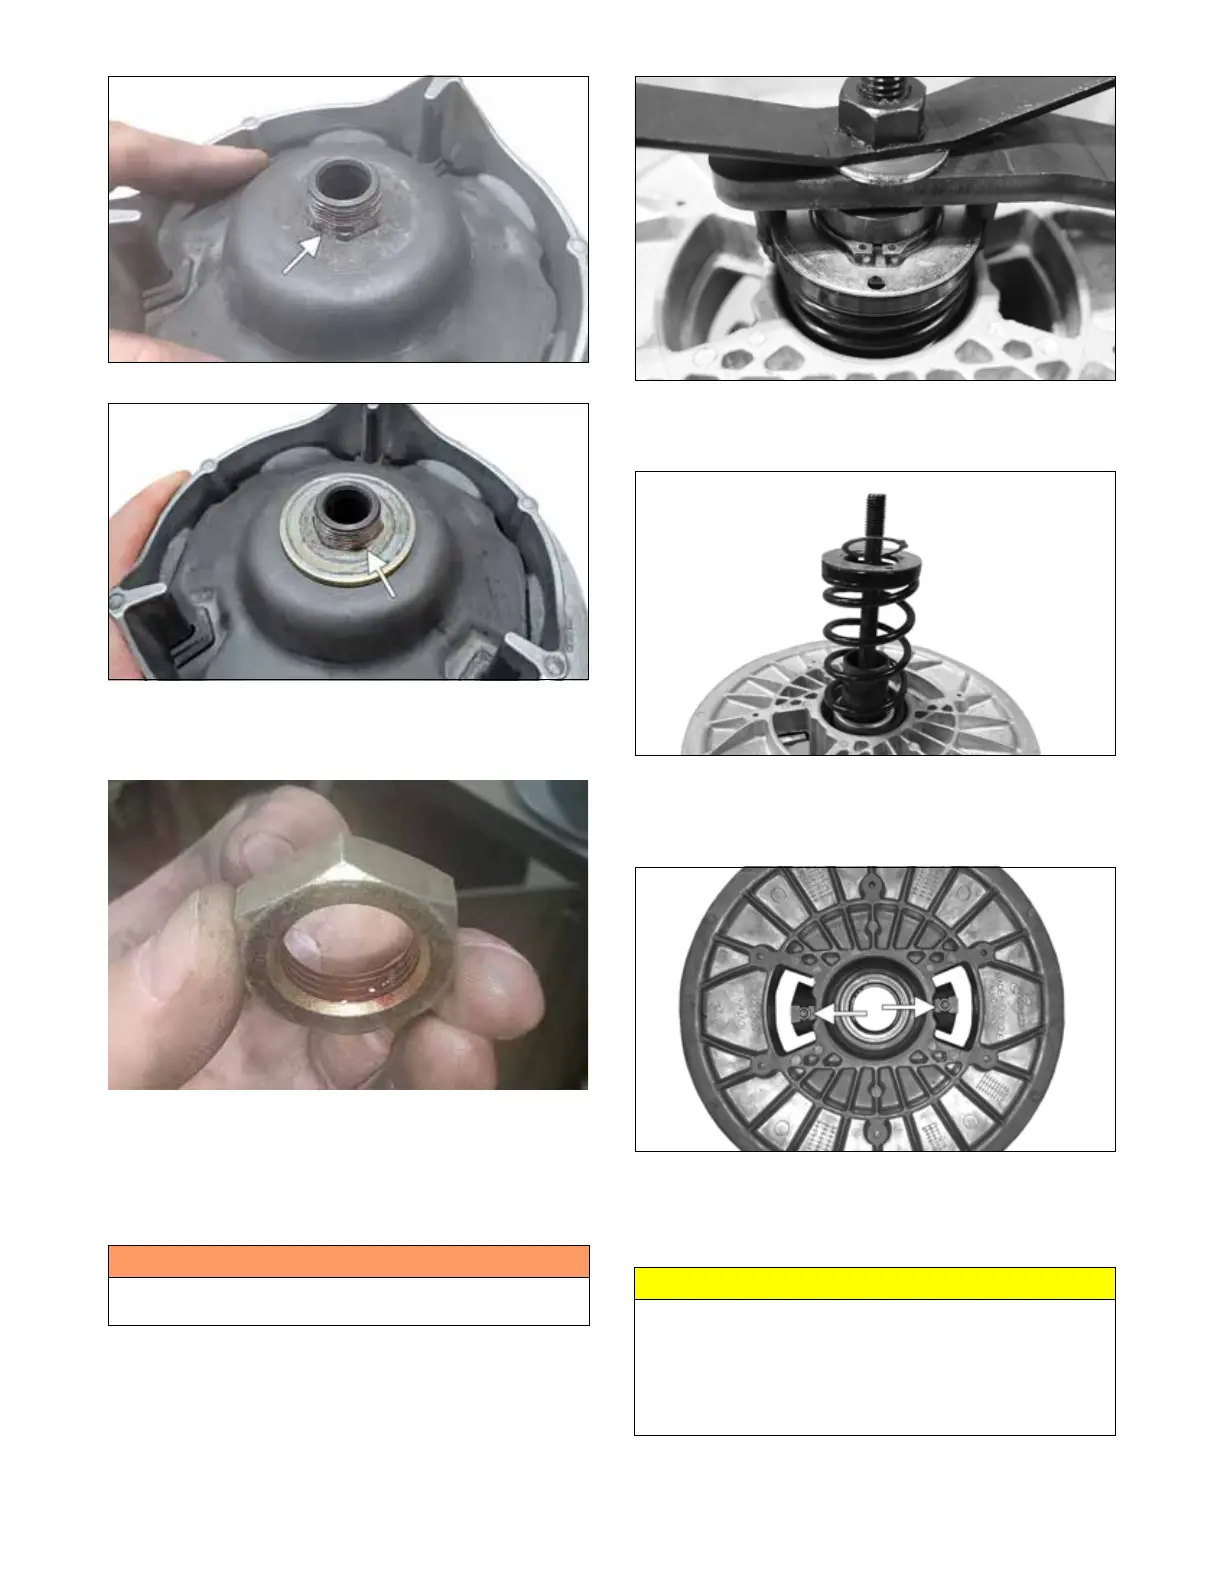
VTA-082
7. While holding down the movable sheave assembly,
finger tighten the nut against the washer.
DRIVEN CLUTCH
Disassembling
1. Place the driven clutch on a driven clutch compres-
sor tool with the spring and snap ring facing upward.
2. Compress the spring until the snap ring is free from
the spring seat; then remove the snap ring.
ZR-438
3. Release the clutch compressor; then remove the snap
ring, spring seat, spring guide, and the spring.
ZR-439
4. Remove the movable sheave; then remove the
screws securing the cam shoe to the sheave. Remove
the cam shoes.
ZR-441
Cleaning and Inspecting
1. Using parts-cleaning solvent, wash grease, drive belt
dust, and foreign matter off all components.
2. Inspect the cam shoes for damage, cracks, or wear.
! WARNING
This clutch is under high spring tension. Use caution
when disassembling clutch.
CAUTION
Do not use steel wool or a wire brush to clean driven
clutch components. A wire brush or steel wool will
cause the sheaves to be gouged (consequently, the
drive belt may not slide properly between the sheaves).
Decreased performance and possible accelerated drive
belt wear will result.