2-18
(2) Installation
Reassemble in reverse order of disassembly.
Note : The 4WD drive shaft should be installed on
the rear transmission ahead of time.
1) Join the rear and spacer transmission cases.
Note : During the operation,be careful not to
damage needle bearings, the cut –away part
in the gear should be turned downward
without fail so as to clear the gear to be
positioned underneath.
2) Install the main change shifter link and each
change metal.
3) Install the brake rods and front drive shaft.
4) Install the hydraulic piping.
5) Install two rear rubber mounts.
6) Install exterior parts.
7) Fill the transmission case with oil :
43ℓ(11.36 US gal)
6. SEPARATION OF THE REAR
TRANSMISSION AND REAR AXLE
HOUSING
Parts which can be inspected during This operation
- Brakes -Final gears
(1) Removal
As both sides can be disassembled in the same
way, only left-side will be explained here.
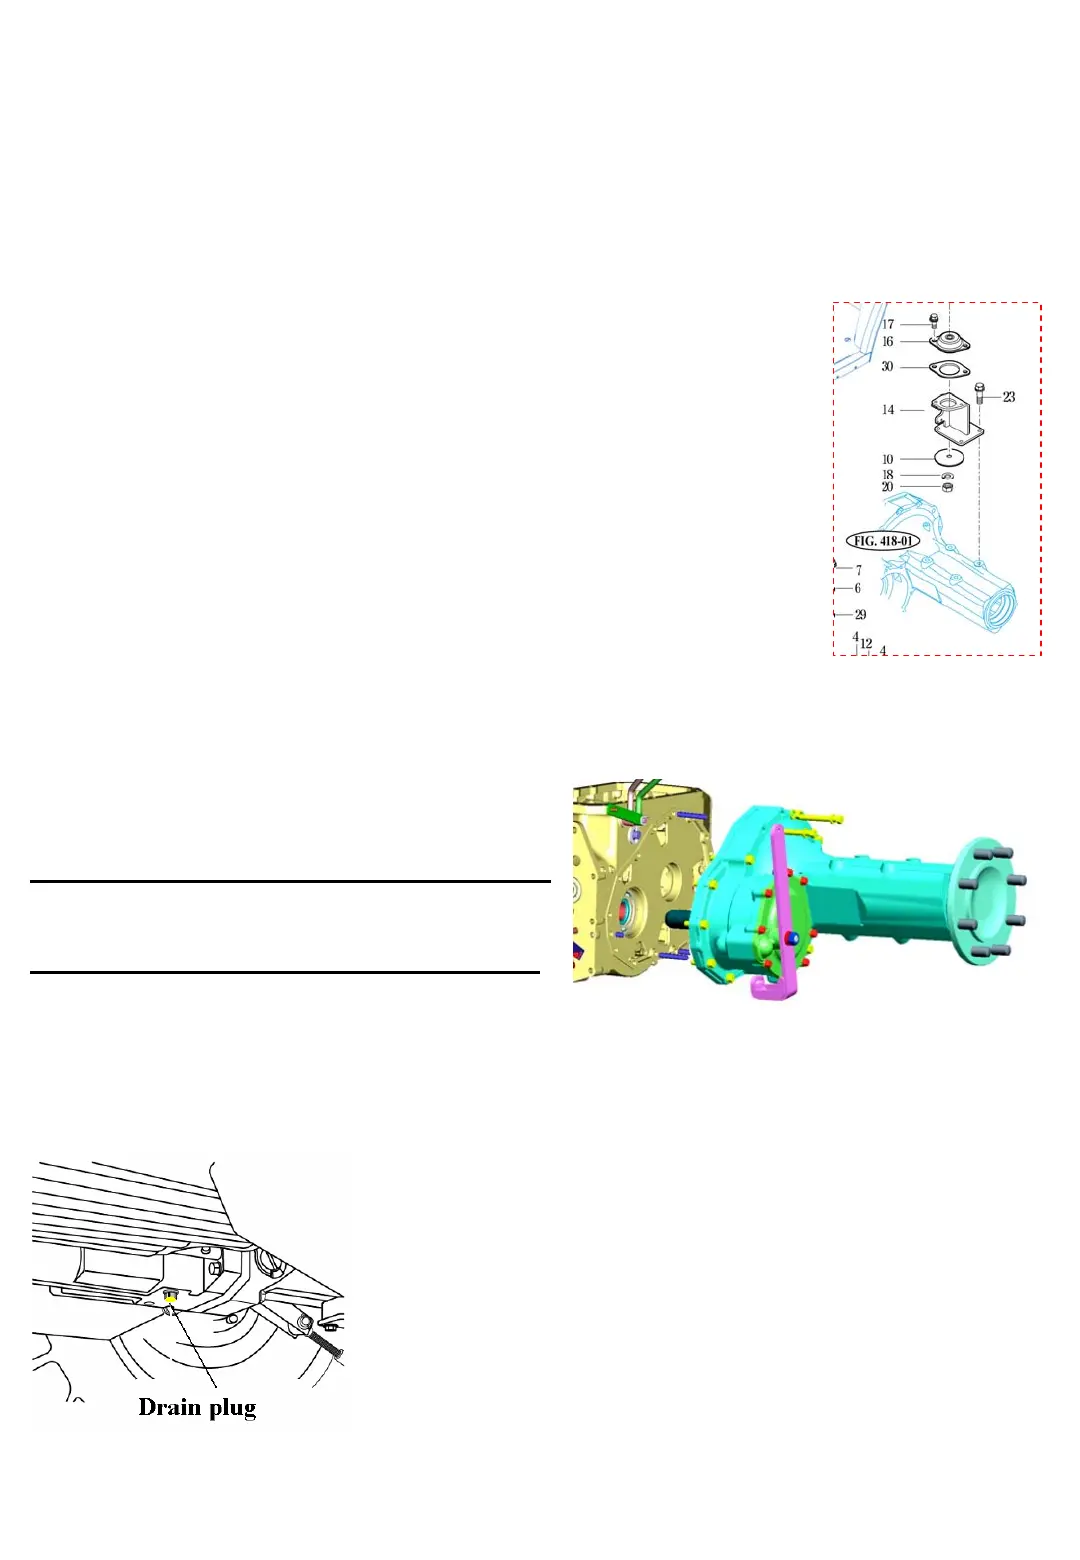
1) Drain the transmission case of oil
2) Lift up the rear transmission and remove the
rear wheel on the diff-lock side.
3) Remove the tire assembly
4) Remove the brake rods.
5) Remove the 3-point linkage and related parts.
6) Support the Cabin mounting(floor panel) with
a trestle or the like.
7) Remove the rubber mount along with the bracket.
Fig.2-61 Drain plug
Spacer
transmission
8) Remove the rear axle housing tightening bolts.
9) Detach the rear axle housing from the rear
transmission case
Fig.2-63 Rear axle housing
(2) Installation
Reassemble in reverse order of disassembly.
1) join the rear axle and rear transmission
2) Reinstall the other removed parts.
3) Mount the rear wheel.
4) Refill the transmission with oil up to the
specified level
-Level up to fill the oil can be sought from the
rear axle housing(LH) of the rear transmission.
Fig.2-62 Rear mounting