APX 525/625 Generator Revision C Service Adjustments
©
2005 Del Medical Imaging Corporation
7/5/2005 Page 132
Initial Test Exposure
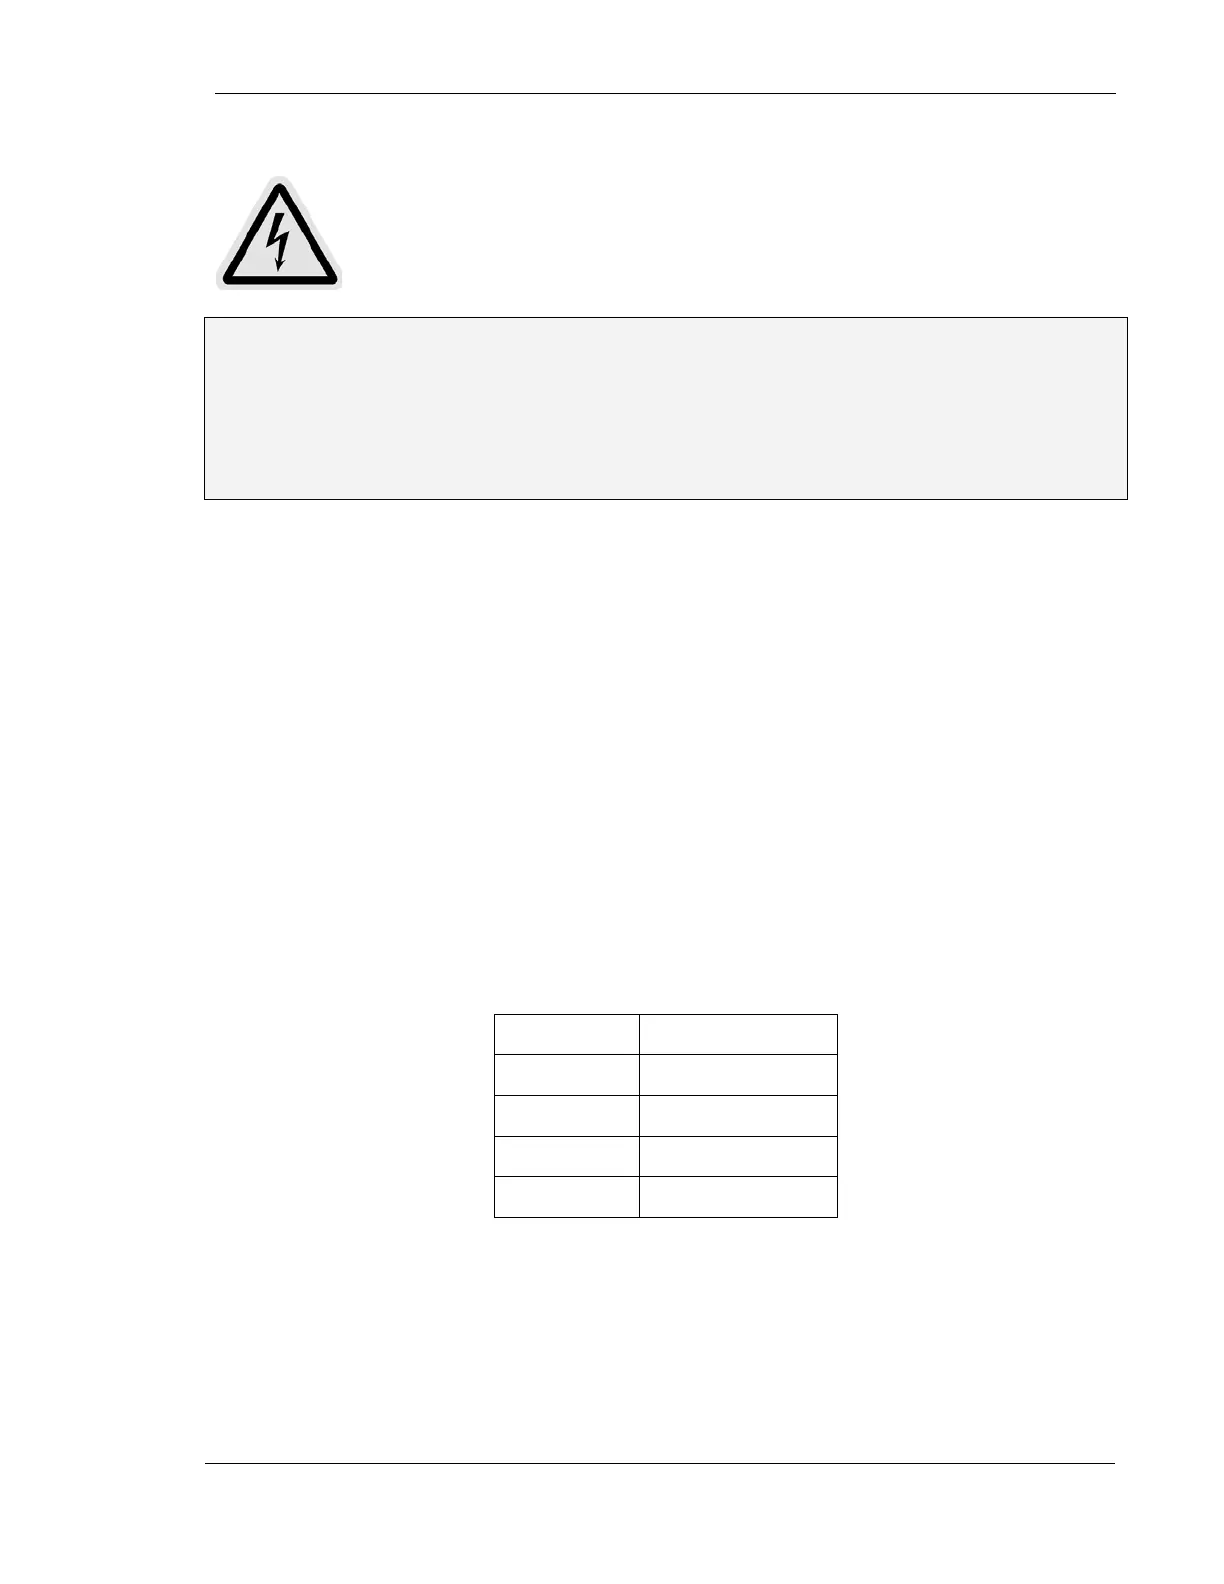
Warning: Lethal voltages are present on the large filter capacitors in this unit.
Exercise extreme caution when working near the long copper bus bars attached to the
large capacitors in the base of the power module. Always verify with a DC voltmeter
that the capacitors are discharged before even attempting any service in this area.
The three large commutating capacitors mounted to the left on the rear panel of the
power module will remain charged when the power to the unit is turned off.
Connect a Dynalyzer™, equipped with a digital display unit, in-line with the anode
and cathode high voltage cables, between the high voltage transformer and the x -
ray tube.
If you do not have a digital display unit for the Dynalyzer™, all measurements must
be made with a storage oscilloscope connected to the Dynalyzer™ as specified in
the calibration instructions. However, the storage oscilloscope is always required for
several portions of the calibration, including the measurement of kV waveforms for
wave shape, quality, and anode to cathode voltage balance, as well as the
calibration of tube current and preheats accuracy.
1. Turn the Main Power Disconnect Switch ON.
2. Turn the generator "ON".
3. Select 3 Point Mode.
4. Set the generator as follows:
Mode
3 Point
kV
60 kV
mA
200 mA
Focal Spot
Large
Time
100 mSec
5. Make an exposure to verify the functionality of the generator
The generator should cycle properly through the Prep stage, display the Ready light,
and make an exposure that terminates without displaying an error message.
mAs measurements can be made by inserting a mAs meter in series with the mA+
feedback signal wire. Use proper caution not to touch any part of the mAs meter