Mounting the Wave IP 2500 Server 4-9
Chapter 4: Setting Up the Wave IP 2500 Server
Wave Server Installation Guide
3. Locate supporting studs in your wall, and firmly attach the prepared piece of plywood to
the studs using the appropriate screws.
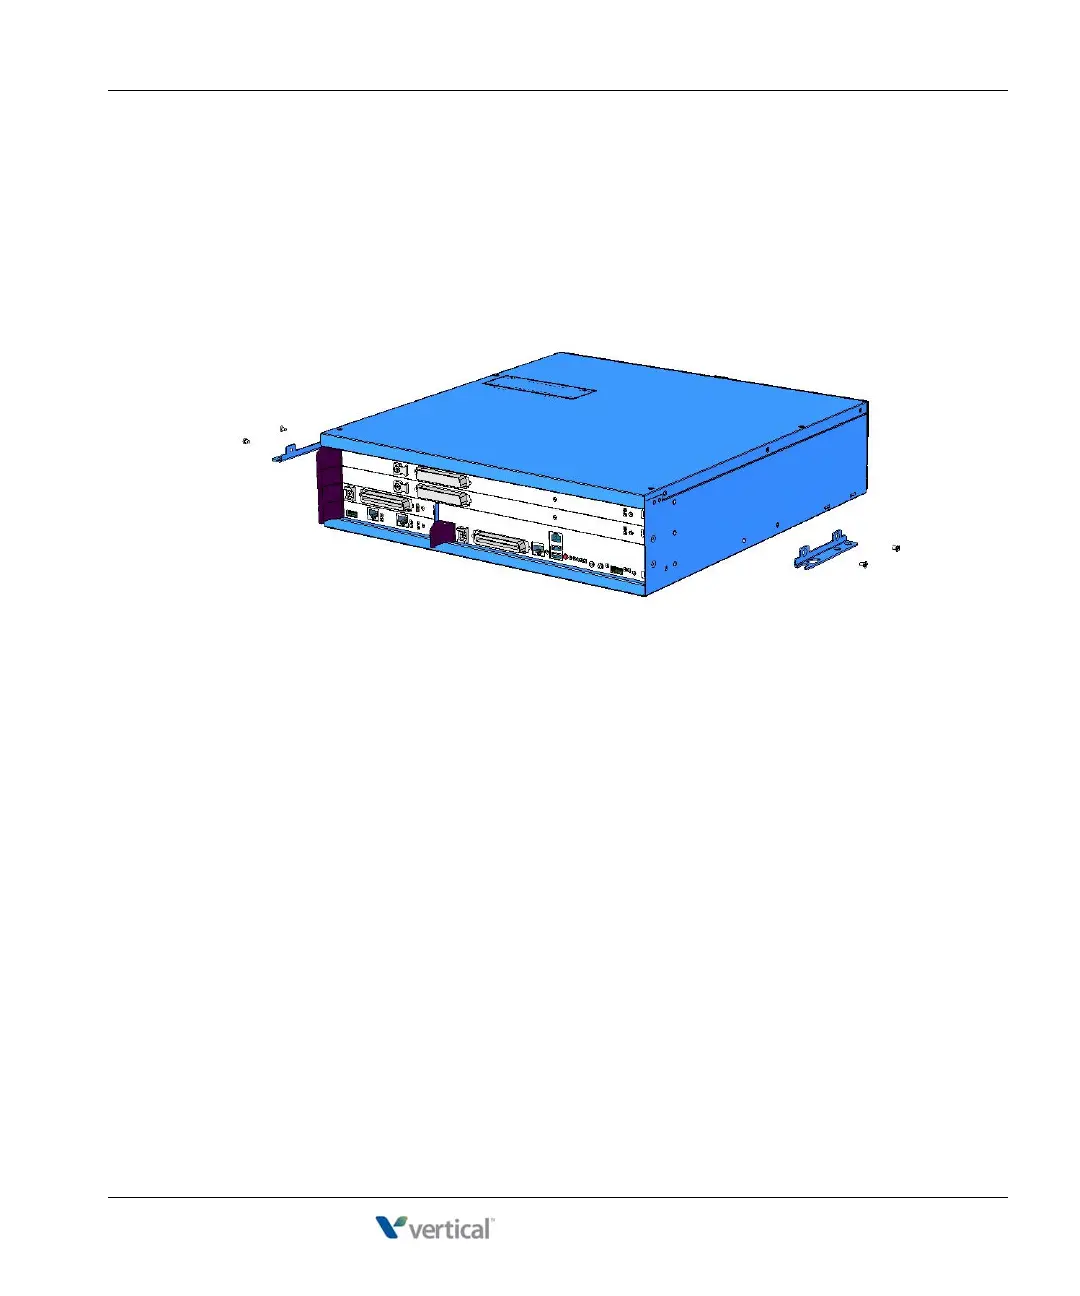
4. If mounting brackets are currently installed on the front of the Wave Server, remove
them.
5. Position the mounting brackets at the bottom of each of the base unit side panels. Use a
#2 Phillips screwdriver to fasten each mounting bracket to the base unit with the screws
provided.
6. With another person’s assistance, lift the base unit and place it against the wall-mounted
plywood. Line up the left side of the base unit with the vertical line that you drew on the
plywood, and line up the top of the base unit with the horizontal line that you drew.
Important: According to the directions in this step, the face plate will be facing to the
right (see the following illustration.) You can rotate the base unit before attaching it to the
wall-mounted plywood so that the face plate faces to the left, in order to avoid power
outlets or other obstructions. However, the face plate cannot face up or down once the
base unit is mounted to the wall.