Installing expansion components 4-17
Chapter 4: Setting Up the Wave IP 2500 Server
Wave Server Installation Guide
9. To install another EXU, remove the connector hatch from the top of the EXU that you
just installed. Repeat steps 4-8 to stack up to 4 EXUs.
10. Secure the backplane terminator to the topmost EXU.
Caution: Be sure to replace the backplane terminator facing the same direction it was
when you removed it. Also, pay careful attention to pin alignment. Connector pin A1 must
align with slot pin A1. DO NOT power on the Wave Server until you are certain that the
backplane terminator is installed correctly.
11. Replace the connector hatch on the topmost EXU and secure it with the retention screws.
12. Connect each EXU to power and ground it.
13. Reconnect the Wave Server to power.
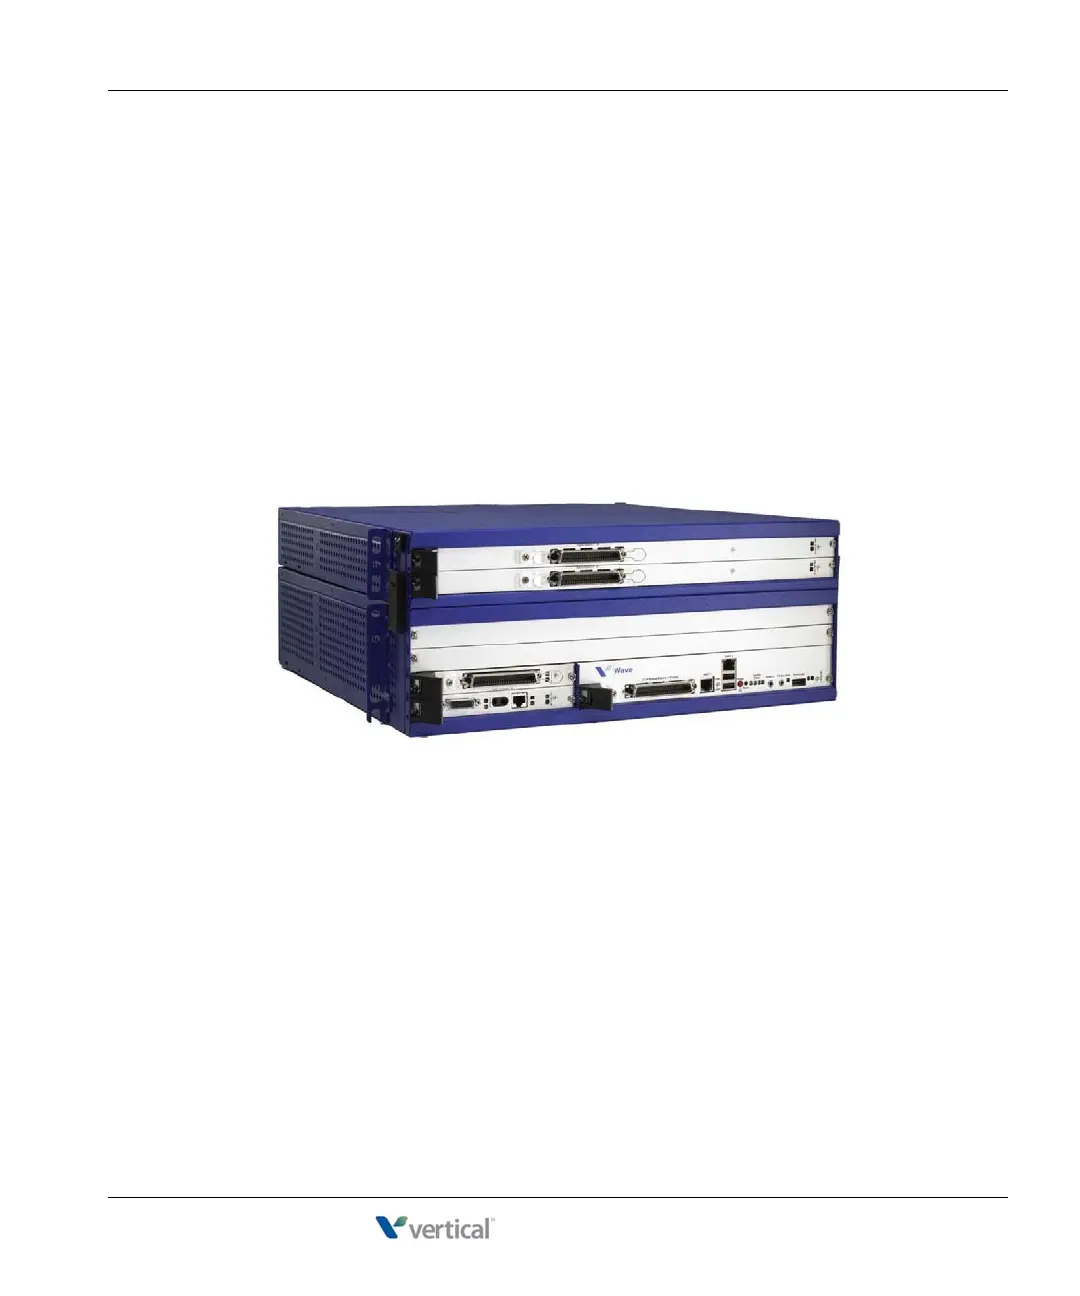
A Wave IP 2500 Server base unit with 1 EXU is shown below.
Installing a Media Resource Module
Only one MRM can be installed on the ISC1.
Important: Your Wave Server may come with an MRM, or you can order and install an MRM
(or upgrade to a different MRM model) at a later time. If you do add or upgrade an MRM at a
later time, be sure to review the note on page 7-7 for important information about updating
default IP network settings for the new MRM.
To install an MRM:
1. Unplug the Wave IP 2500 Server base unit’s power cord, but do not disconnect the
grounding wire.