OPERATION CUTMASTER 10MM, 12MM
Manual 0-5230 4-3 Operation
B. Torch Connection
Check that the torch is properly connected.
C. Check Primary Input Power Source
1. Check the power source for proper input voltage. Make sure the input power source meets the power
requirements for the unit per Section 2, Specifications.
2. Connect the input power cable (or close the main disconnect switch) to supply power to the system.
D. Gas Selection
1. Ensure gas source meets requirements listed in Section 2T.
2. Check connections and turn gas supply ON.
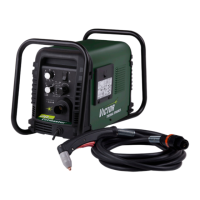
E. Connect Work Cable
Clamp the work cable to the workpiece or cutting table. The area must be free from oil, paint and rust. Connect
onlytothemainpartoftheworkpiece;donotconnecttotheparttobecutoff.
Art # A-03387
Figure 4-4 - Work Cable Connection
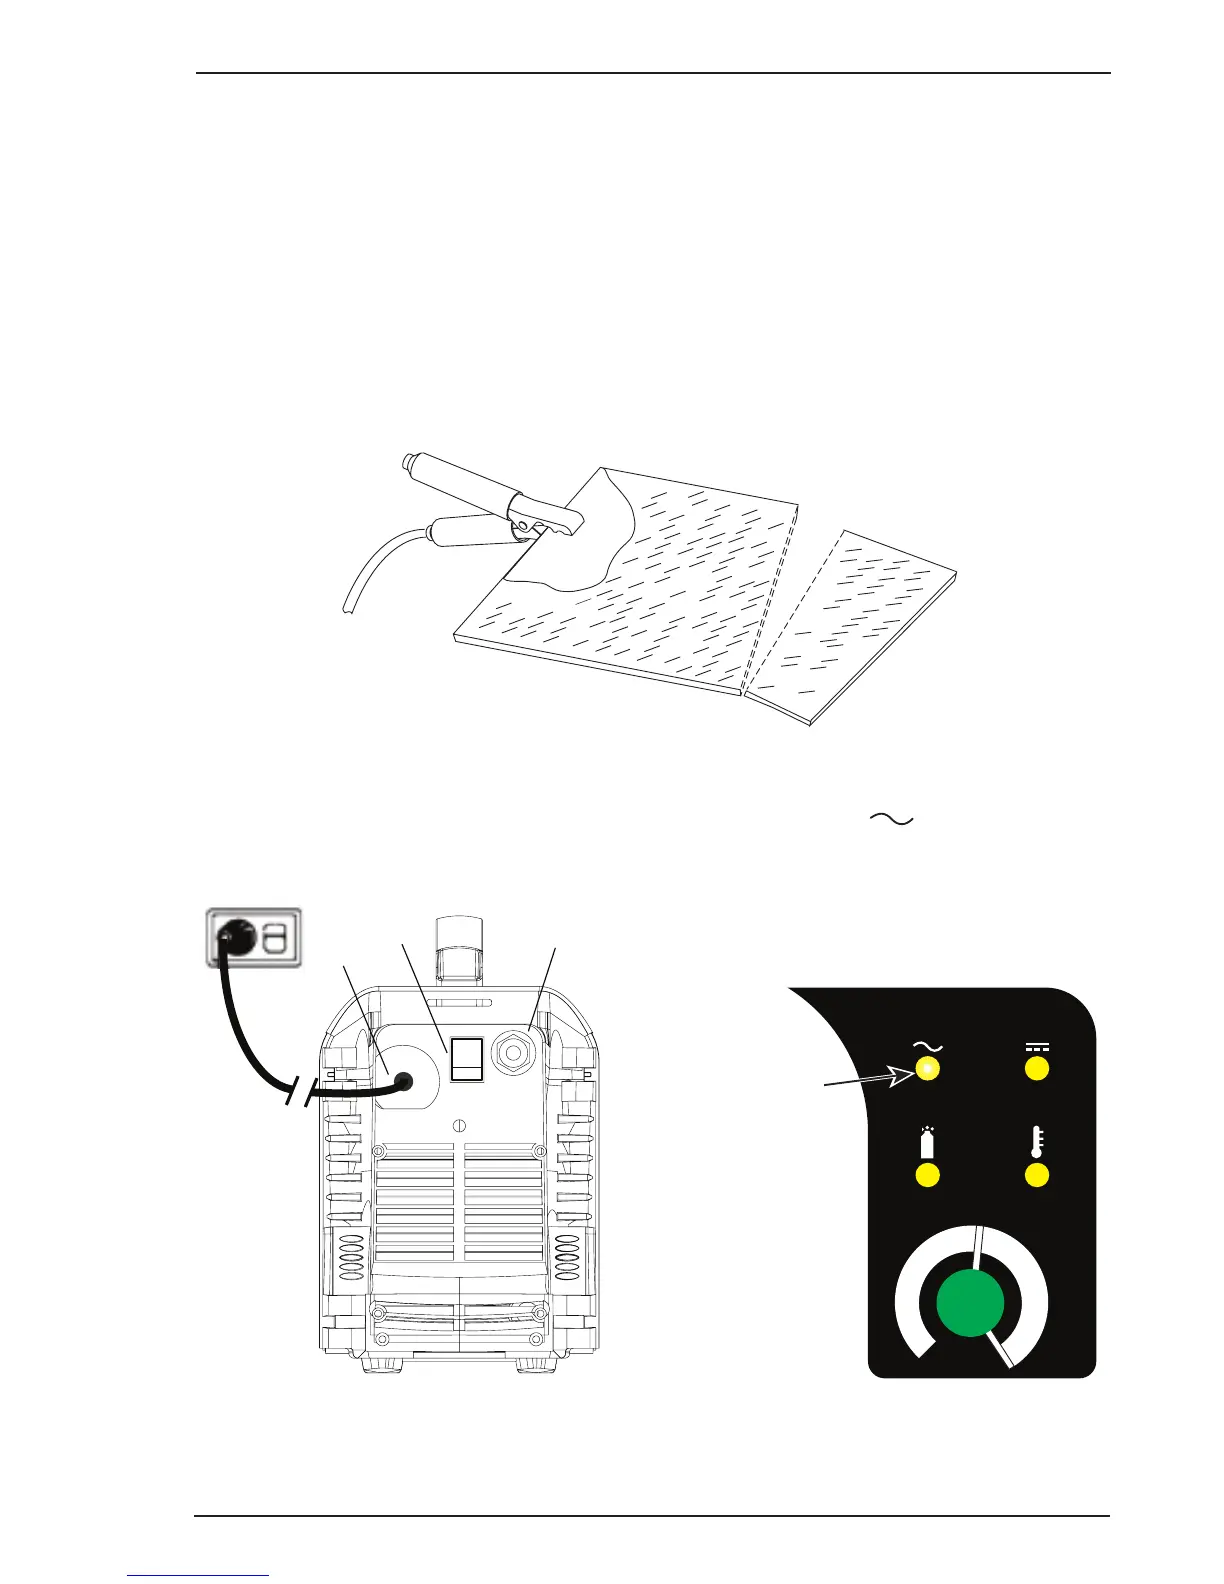
F. Power ON
Place the Power Source ON/OFF switch to the ON (I) position. Power indicator
turns ON.
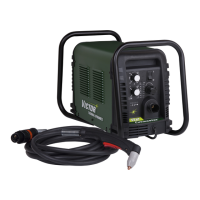
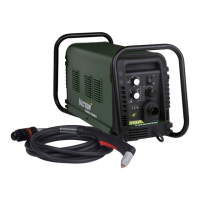
Art# A-10225
Air Inlet, 1/4” NPT
On/Off
Switch
Power Cord
Figure 4-5 - Rear Panel with ON/OFF Switch
A
30
20
40
Art# A-10219
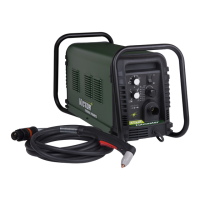
Power indicator
Figure 4-6 - Front Panel with Power ON/OFF
Indicator