5. PROGRAMMING
D-303222 PowerMaster-10/30 G2 Installer's Guide 27
5. PROGRAMMING
5.1 General Guidance
This chapter explains the Installer programming (configuration) options of your PowerMaster system and how to
customize its operation to your particular needs and end user requirements.
The control panel includes a partition feature. Partitioning allows you to have up to three independently controllable
areas with different user codes assigned to each partition. A partition can be armed or disarmed regardless of the
status of the other partitions within the system.
Tech Tip :
For your convenience, we recommend programming the PowerMaster on the work bench before actual installation.
Operating power may be obtained from the backup battery or from the AC power supply.
5.1.1 Navigation
The keypad's buttons are used for navigation and configuration when programming. The following table provides a
detailed description of the function or use of each button.
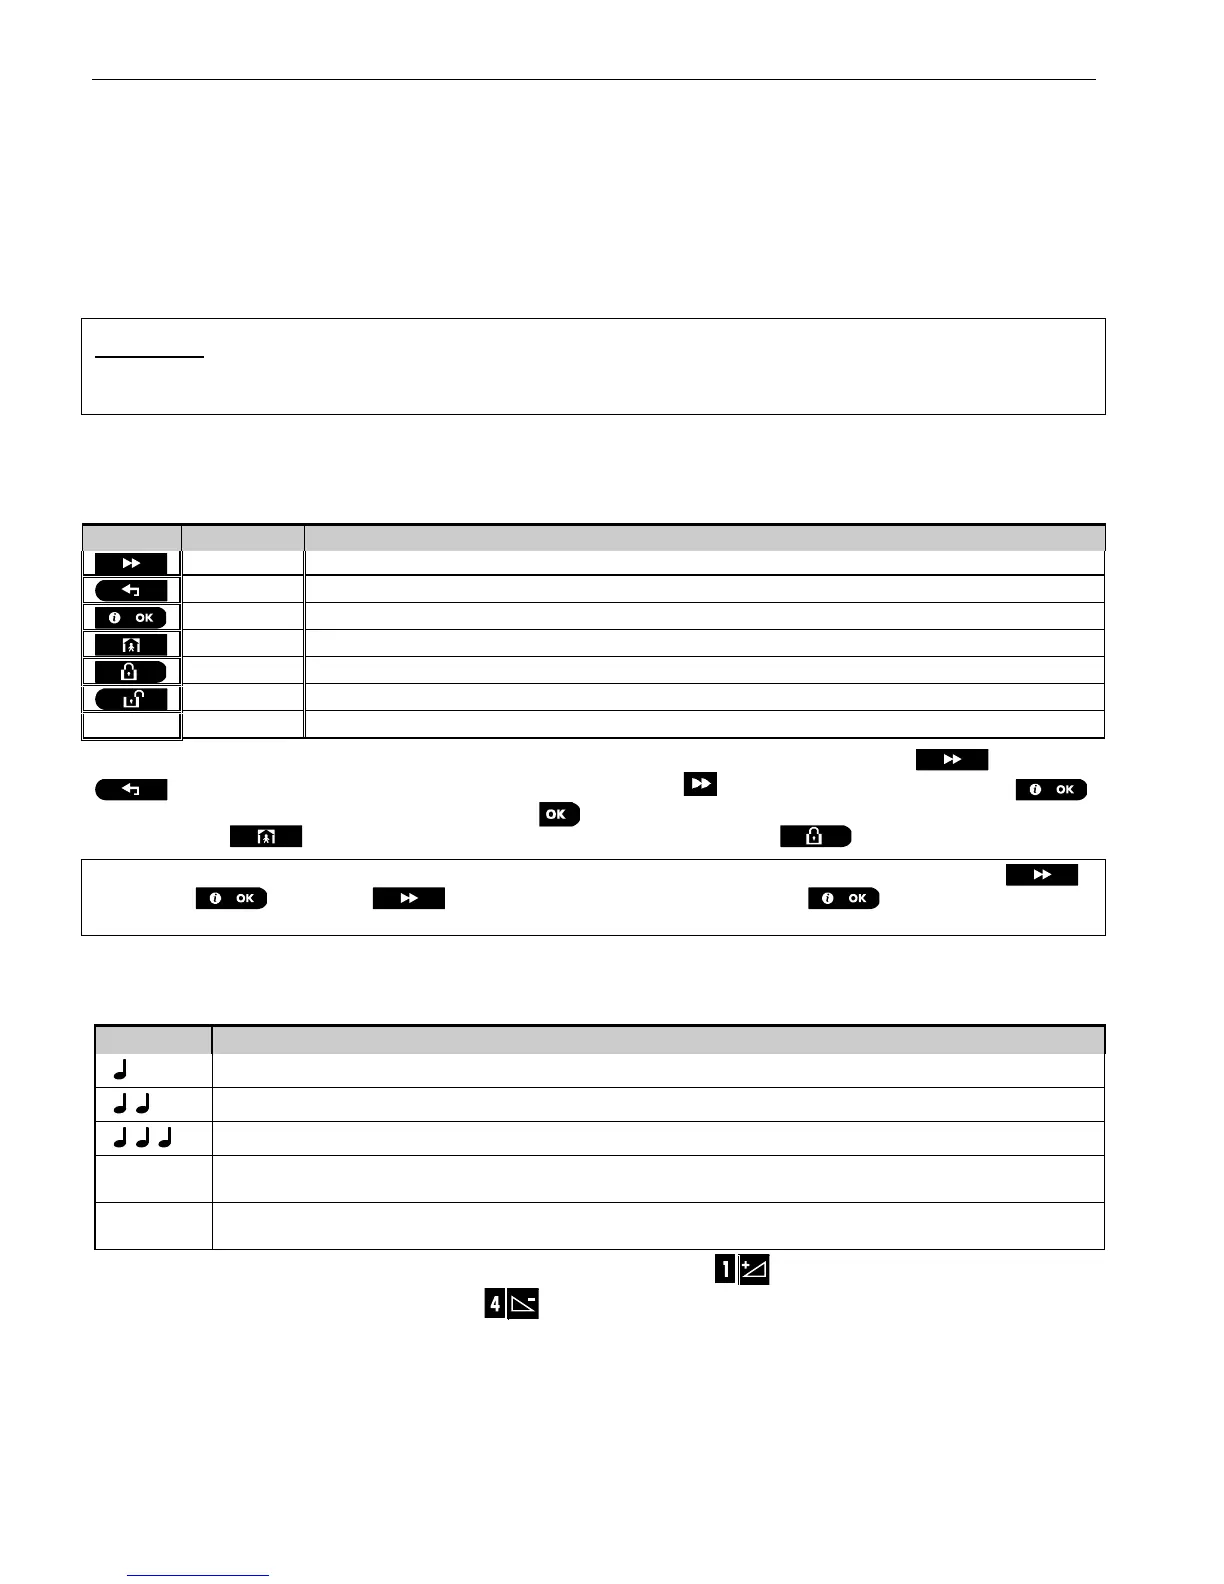
Navigation / Setting Function
Use to move / scroll forward to the next menu options.
Use to move / scroll backward to the previous menu options.
Use to select a menu option or to confirm a setting or action.
Use to move one level up in the menu or to return to previous setting step.
Use to jump back to the [<OK> TO EXIT] screen to quit programming.
Use to cancel, delete, clear or erase setting, data, etc.
Numerical keypad used to enter numerical data when needed.
To review the options within the control panel menus and select an option, repeatedly press the Next
or Back
button until the desired option is displayed (also designated as in this guide), then press the OK
button to select the desired option (also designated as in this guide). To return to the previous options repeatedly
press the Home button and to exit the programming menu press the Away button.
To simplify the procedure further, you really need two basic buttons to program the entire panel: The Next
and the OK button. The button scrolls through the options, and the button selects the option
you want.
5.1.2 Feedback Sounds
The sounds you will hear while using and configuring the control panel are:
Single beep, heard whenever a key is pressed
Double beep, indicates automatic return to the normal operating mode (by timeout).
Three beeps, indicates a trouble event
Happy Tune (- - - –––), indicates successful completion of an operation.
Sad Tune (–––––), indicates a wrong move or rejection
You can control the volume level of the sounded beeps by pressing the button on the keypad to increase the
volume of the beeps heard, or by pressing the button to decrease the volume of the beeps heard.
5.2 Entering the "Installer Mode" and Selecting a Menu Option
All installer menu options are accessed via the "Installer Mode" which is usually one of the main panel menu options.

 Loading...


