5. PROGRAMMING
34 D-303222 PowerMaster-10/30 G2 Installer's Guide
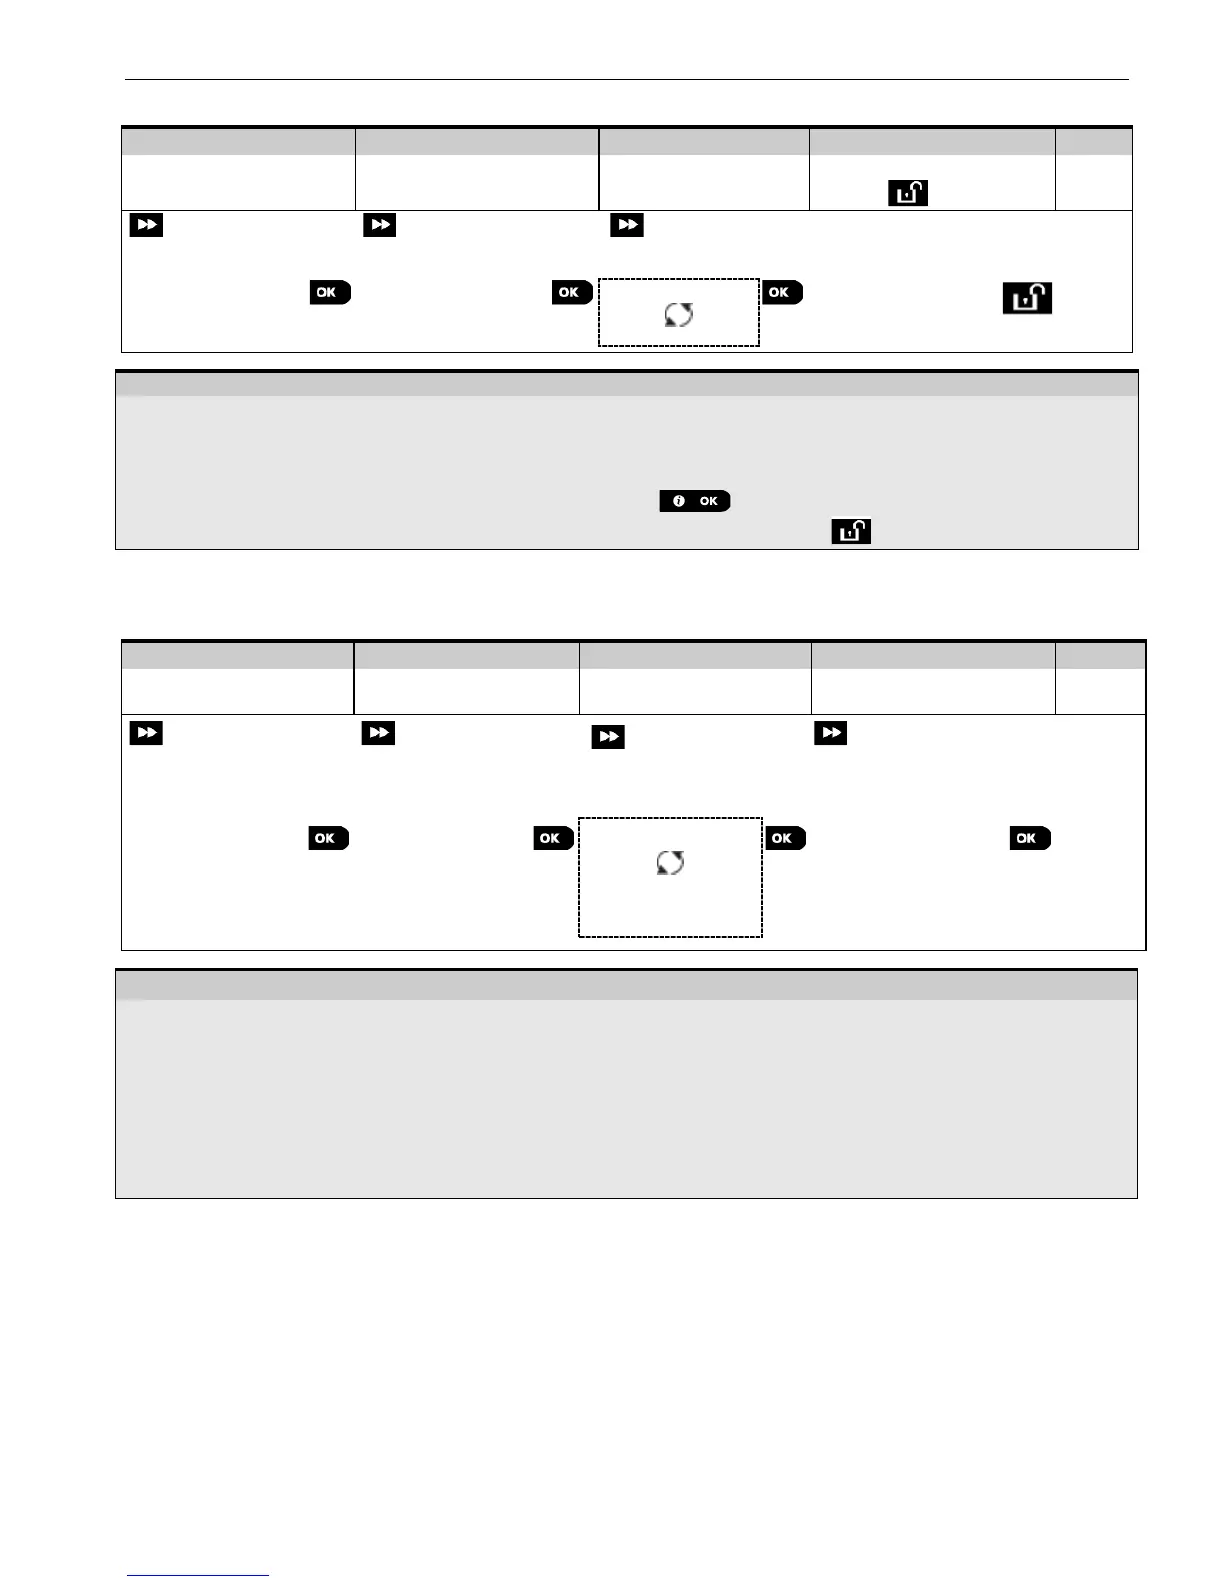
5.4.3 Deleting a Device
Select "DELETE
DEVICES" Option
Select the respective
device Group
Select exact device
you wish to delete
To delete the device:
press the key
Z01:Motion Sens
ID No. 120-1254
Enter the Installer Menu, select the "02.ZONES/DEVICES" option (see section 5.2) and then select the
"DELETE DEVICES" option.
Select the respective group of the device you wish to delete. For example, "MOTION SENSORS".
Scroll the Device Group, identify (by zone and/or ID number) the exact device you wish to replace, for example:
"Z01: Motion Sensor > ID No. 120-1254" and press the button.
The display prompts you "<OFF> TO DELETE". To delete the device, press the (OFF) button.
5.4.4 Modifying or Reviewing a Device
To Modify or Review the device parameters proceed as follows:
Select "MODIFY
DEVICES" Option
Select the respective
device Group
Select exact device
you wish to modify
Select the Parameter
you wish to modify
Z10:Motion Camra
ID No. 140-1737
Z10:LOCATION
Z10:ZONE TYPE
Z10:SET CHIME
Z10:PARTITIONS
Z10:DEV SETTINGS
See [4]
When
done to
step 2
– Modifying or Reviewing a Device
Enter the Installer Menu, select the "02:ZONES/DEVICES" option (see section 5.2) and then select the "MODIFY
DEVICES" option.
Select the respective group of the device you wish to review or modify. For example, "MOTION SENSORS".
Scroll the Device Group, identify (by zone and/or ID number) of the exact device you wish to modify or review, for
example: "Z10:Motion Camra > ID No. 140-1737".
From here on the process is same as the configuration process that follows the enrollment of that device. To
continue, refer to Section 5.4.2 "Adding a New Wireless Device" Part B. When done, the display will show the
next device of the same type (i.e. "Motion camera").
5.4.5 Replacing a Device
Use this option to replace a faulty device that is enrolled in the system with another device of the same type number
(i.e. same first 3 digit of the ID number – see section 5.4.2.A) while keeping the same configuration of the original
device. There is no need to delete the faulty device or to reconfigure the new device. Once enrolled, the new device will
be configured automatically to the same configuration of the faulty (replaced) device.

 Loading...


