5. PROGRAMMING
30 D-303222 PowerMaster-10/30 G2 Installer's Guide
(b) i) Change the Installer Code to a temporary code, ii) exit the Installer Mode, iii) enter the Installer Mode again
using the Master Installer code (the Master Installer Code will now be accepted), iv) change the Master Installer
code to a different code, v) and change the NON-Master Installer Code back again (in other words, undo the
change to the temporary code) so that the NON-Master Installer can still enter the system.
It is also possible that a user inadvertently changes his User Code to the same code as that of the Installer Code or
Master Installer Code. In this case, the installer will not be able to enter the Installer Mode. The installer should perform
the same procedures as described above to solve this situation.
5.4 Zones / Devices
5.4.1 General Guidance & Zones/Devices Menu Options
The ZONES/DEVICES menu enables you to add new devices to the system, to configure them and to delete them, if
required.
To select an option follow the instructions below. Additional details and guidance are provided in section 5.2.
Use to enroll and configure the device's operation according to your preference
and in case of sensors to also define their zone name (location), zone type and
chime operation.
Use to delete devices from the system and to reset their configuration.
Use to review and/or change the device's configuration.
Use to replace faulty devices with automatic configuration of the new device.
Use to customize the defaults of the device's parameters according to your
personal preferences for each new device enrolled in the system.
5.4.2 Adding New Wireless Devices or Wired Sensors
Part A - Enrollment
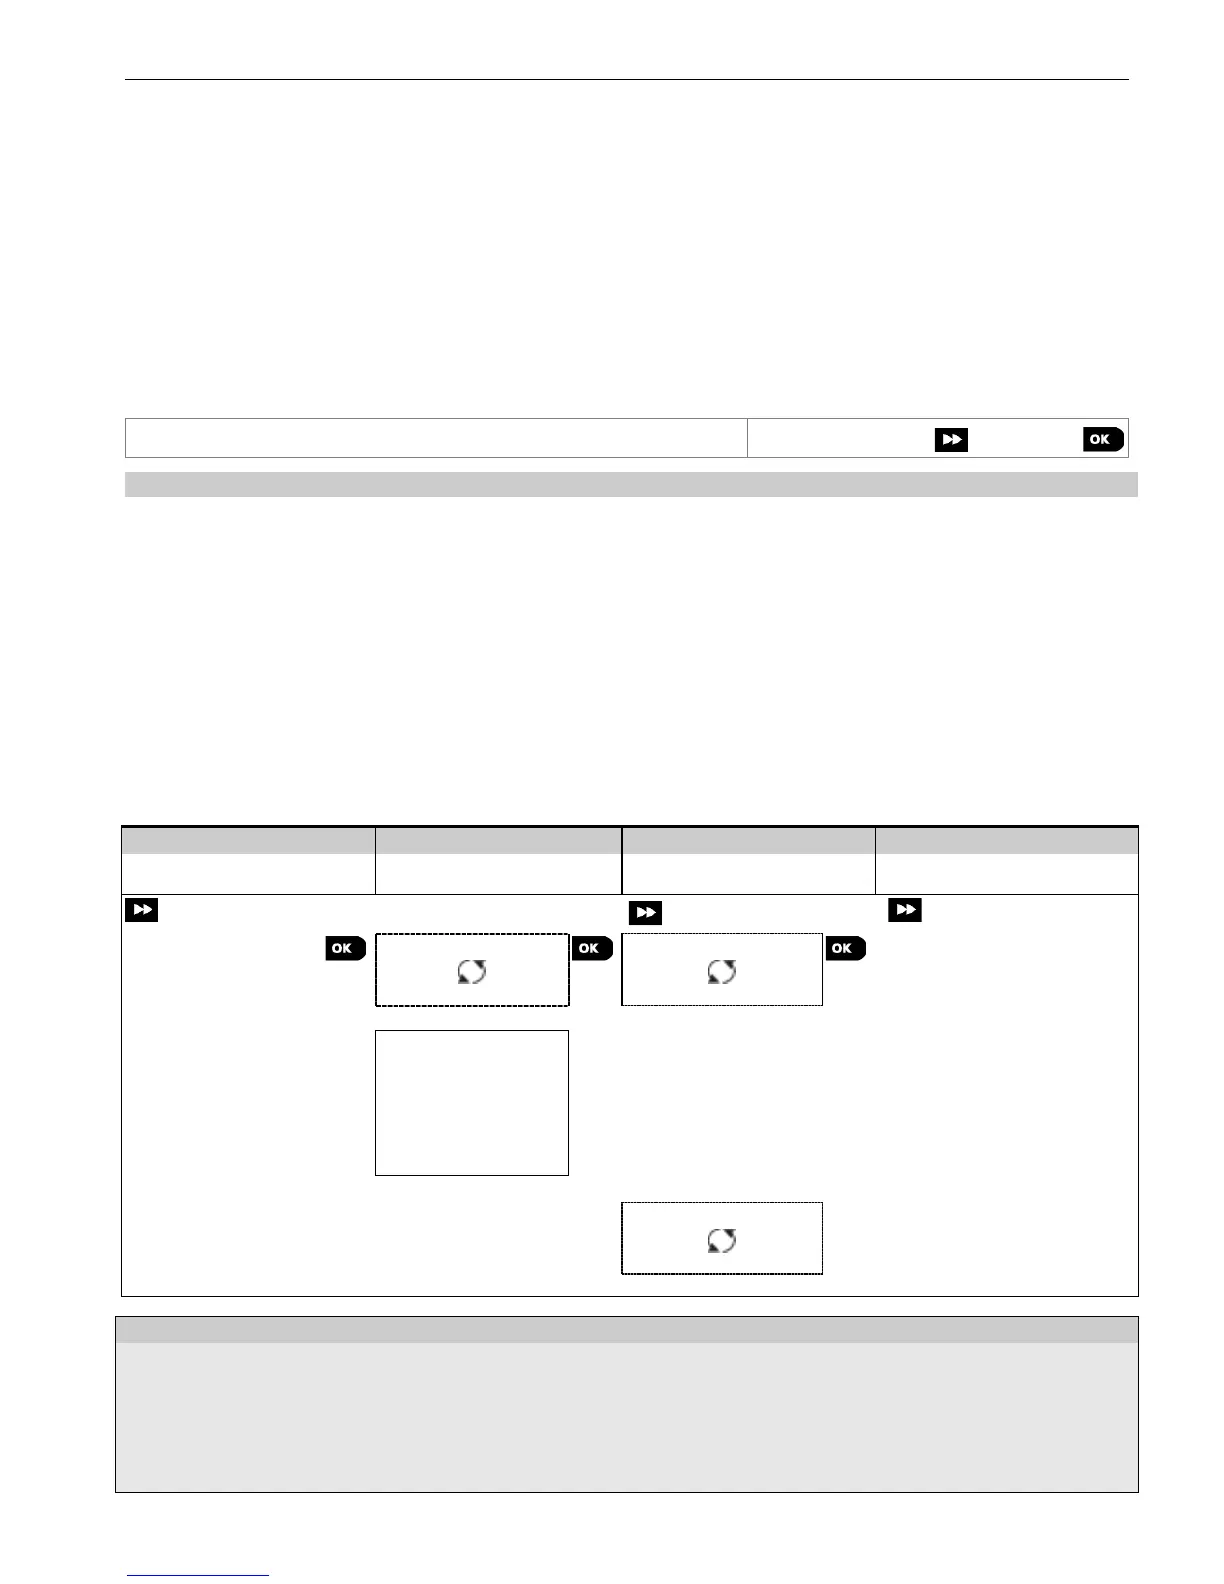
To enroll and configure a device, follow the instructions in the following chart
Select "ADD NEW
DEVICE" Option
Enroll the device or
Enter the device ID
Configure zone &
device Parameters
ENROLL NOW or
ENTR ID:XXX-XXXX
Z01:Motion Sens
ID No. 120-1254
Continue to the 2
nd
diagram below
Press the enrollment
button or enter the device
ID or, type 050-0001 for
wired sensors. Refer to
the detailed instructions
below
Z05:Motion Sens
ID No. 120-1254
Enter "INSTALLER MODE", select "02:ZONES DEVICES" (see section 5.2) and then select "ADD NEW DEVICE".
Because of encryption, PowerG devices (including Keyfobs) cannot be used on more than one system at one
time. Remember to verify panel and device compatibility.
See enrollment by button or device ID below. If enrollment is successful, the display reads "DEVICE ENROLLED"
(or "ID ACCEPTED") and then shows the device details - see [3]. However, if the enrollment fails, the display will
advise you the reason for failure, for example: "ALREADY ENROLLED" or "NO FREE LOCATION".

 Loading...


