5. PROGRAMMING
28 D-303222 PowerMaster-10/30 G2 Installer's Guide
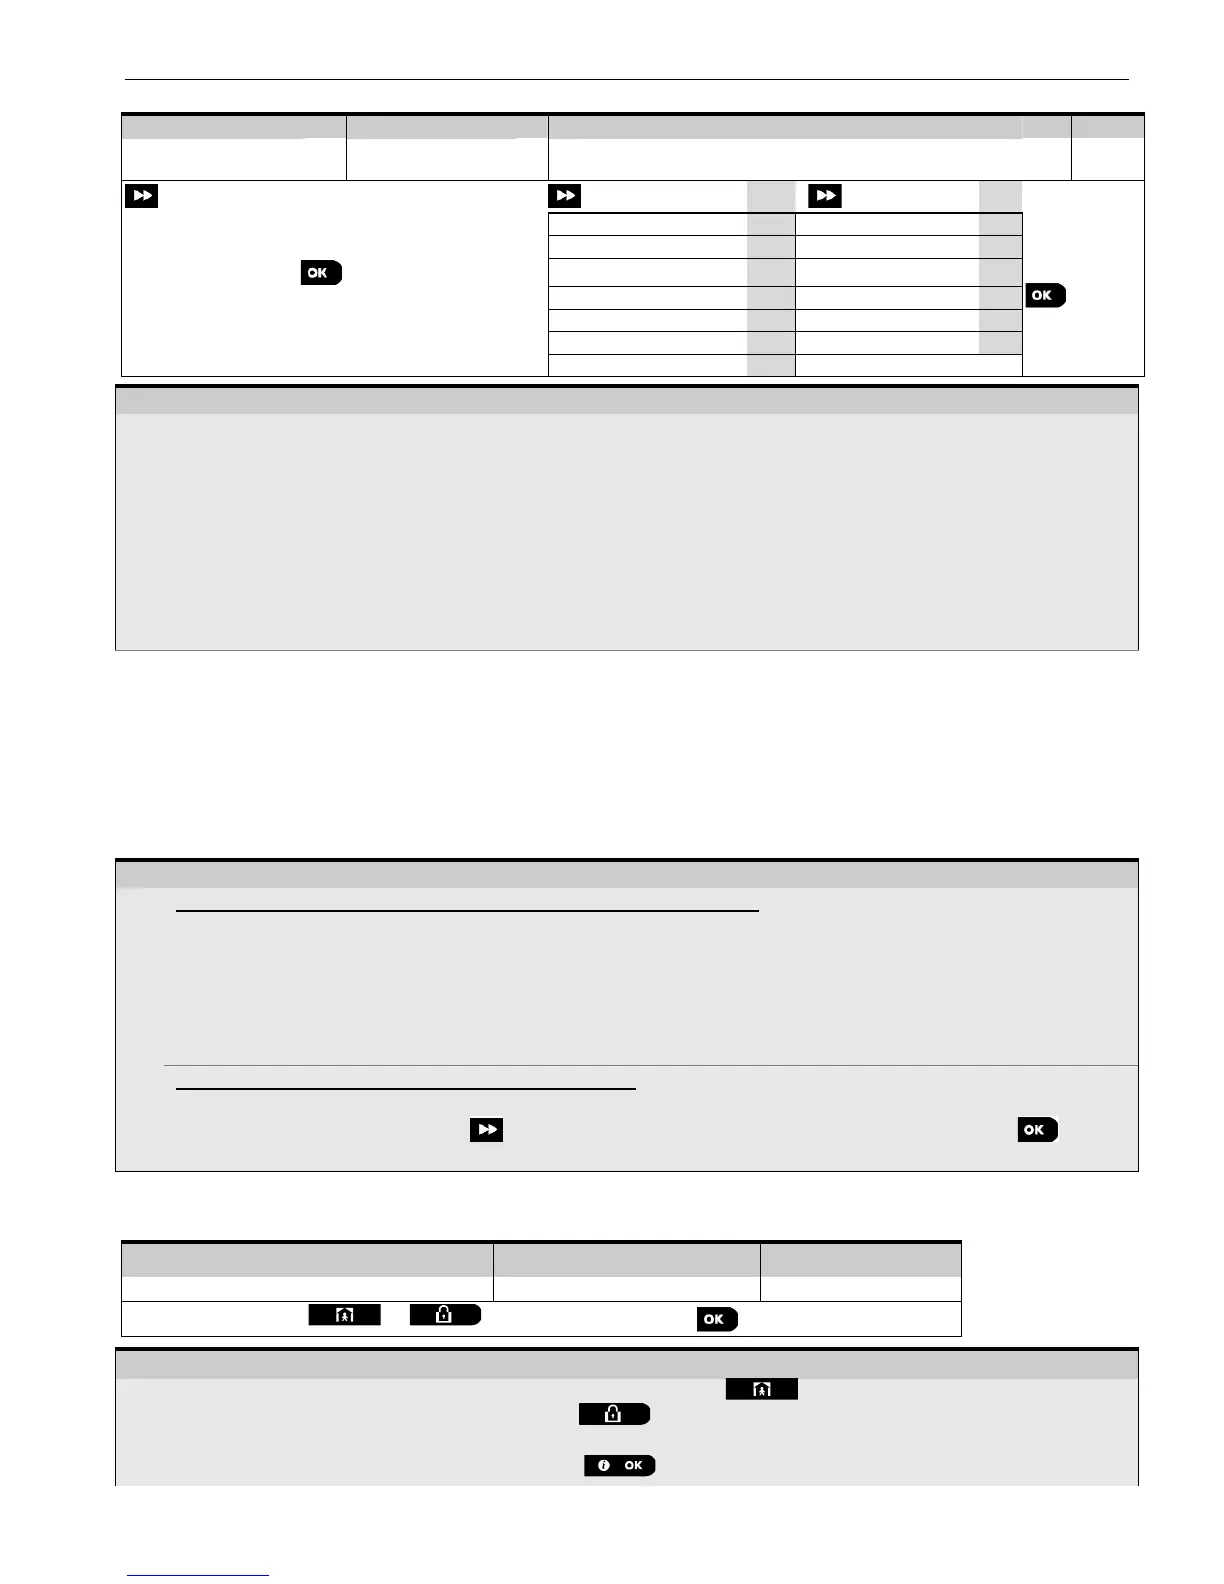
To enter the "Installer Mode" and select an Installer Menu Option proceed as follows:
Select "INSTALLER
MODE" Option
Select "Installer Menu" Option
Go to
the
indicated
section
of the
selected
option
If the "Installer
Mode" is not shown,
refer to section 5.2.1
- Entering the "Installer Mode" menu
You can access the "Installer Mode" only when the system is disarmed. The process described refers to the
case where "User permit" is not required. If "User permit" is required, select the "User Settings" option and
ask the Master User to enter his code and then scroll the "User Settings" menu and select the "Installer Mode"
option (last option in the menu). Continue to Step 2.
If you have not already changed your Installer code number, use the default settings: 8888 for installer & 9999 for
master installer.
If you enter an invalid installer code 5 times, the keypad will be automatically disabled for a pre-defined period of
time and the message WRONG PASSWORD will be displayed.
You have now entered the "Installer Menu". Scroll and select the menu you wish and continue to its
corresponding section in the guide (indicated on the right side of each option).
5.2.1 Entering the "Installer Mode" if "User Permit" is enabled
In certain countries the regulations may require user permission to make changes in the configuration of the panel. To
comply with these regulations, the "Installer Mode" option can be accesses only via the "User Settings" menu. The
Master user must first enter the "User Settings" menu then scroll until the "Installer Mode" option is shown and then
the installer can continue as shown in the above table (see also [1] in Step 1 above).
To configure the panel to comply with user permission requirements - see option #91 "User Permit" in section 5.5.8.
5.2.2 Selecting options
– Selecting an option from a menu
Example: To Select an Option from the "COMMUNICATION" menu:
Enter the Installer Menu and select the "04.COMMUNICATION" option (see section 5.2).
Select the sub-menu option you need, for example: "3: C.S. REPORTING".
Select the parameter you wish to configure for example: "11:RCVR 1 ACCOUNT"
To continue, go to the section of the selected sub-menu option, for example section 5.6.4 for the
"3:C.S.REPORTING" menu, and look for the sub-menu you wish to configure (e.g. "11:RCVR 1 ACCOUNT"). After
configuring the selected parameter the display returns to step 3.
To Change the Configuration of the Selected Option:
When entering the selected option, the display shows the default (or the previously selected) setting marked with .
To change the configuration, scroll the "Options" menu and select the setting you wish and press to
confirm. When done, the display reverts to Step 3.
5.2.3 Exiting the Installer Mode
To exit the Installer Mode, proceed as follows:
– Exiting the Installer Mode
To exit "INSTALLER MODE", move up the menu by pressing the button repeatedly until the display
reads "<OK> TO EXIT" or preferably; press the button once which brings you immediately to the exit
screen "<OK> TO EXIT".
When the display reads "<OK> TO EXIT", press .

 Loading...


