STARTER/SOLENOID
SERVICE
Field
Coil
Inspection
1.
Check for insulation between one end (brush)
of
the coil
and yoke.
2. Check for continuity between both ends (brushes)
of
the
coil.
3. Check the poles and coil for tightness.
FIELD
COIL
TEST
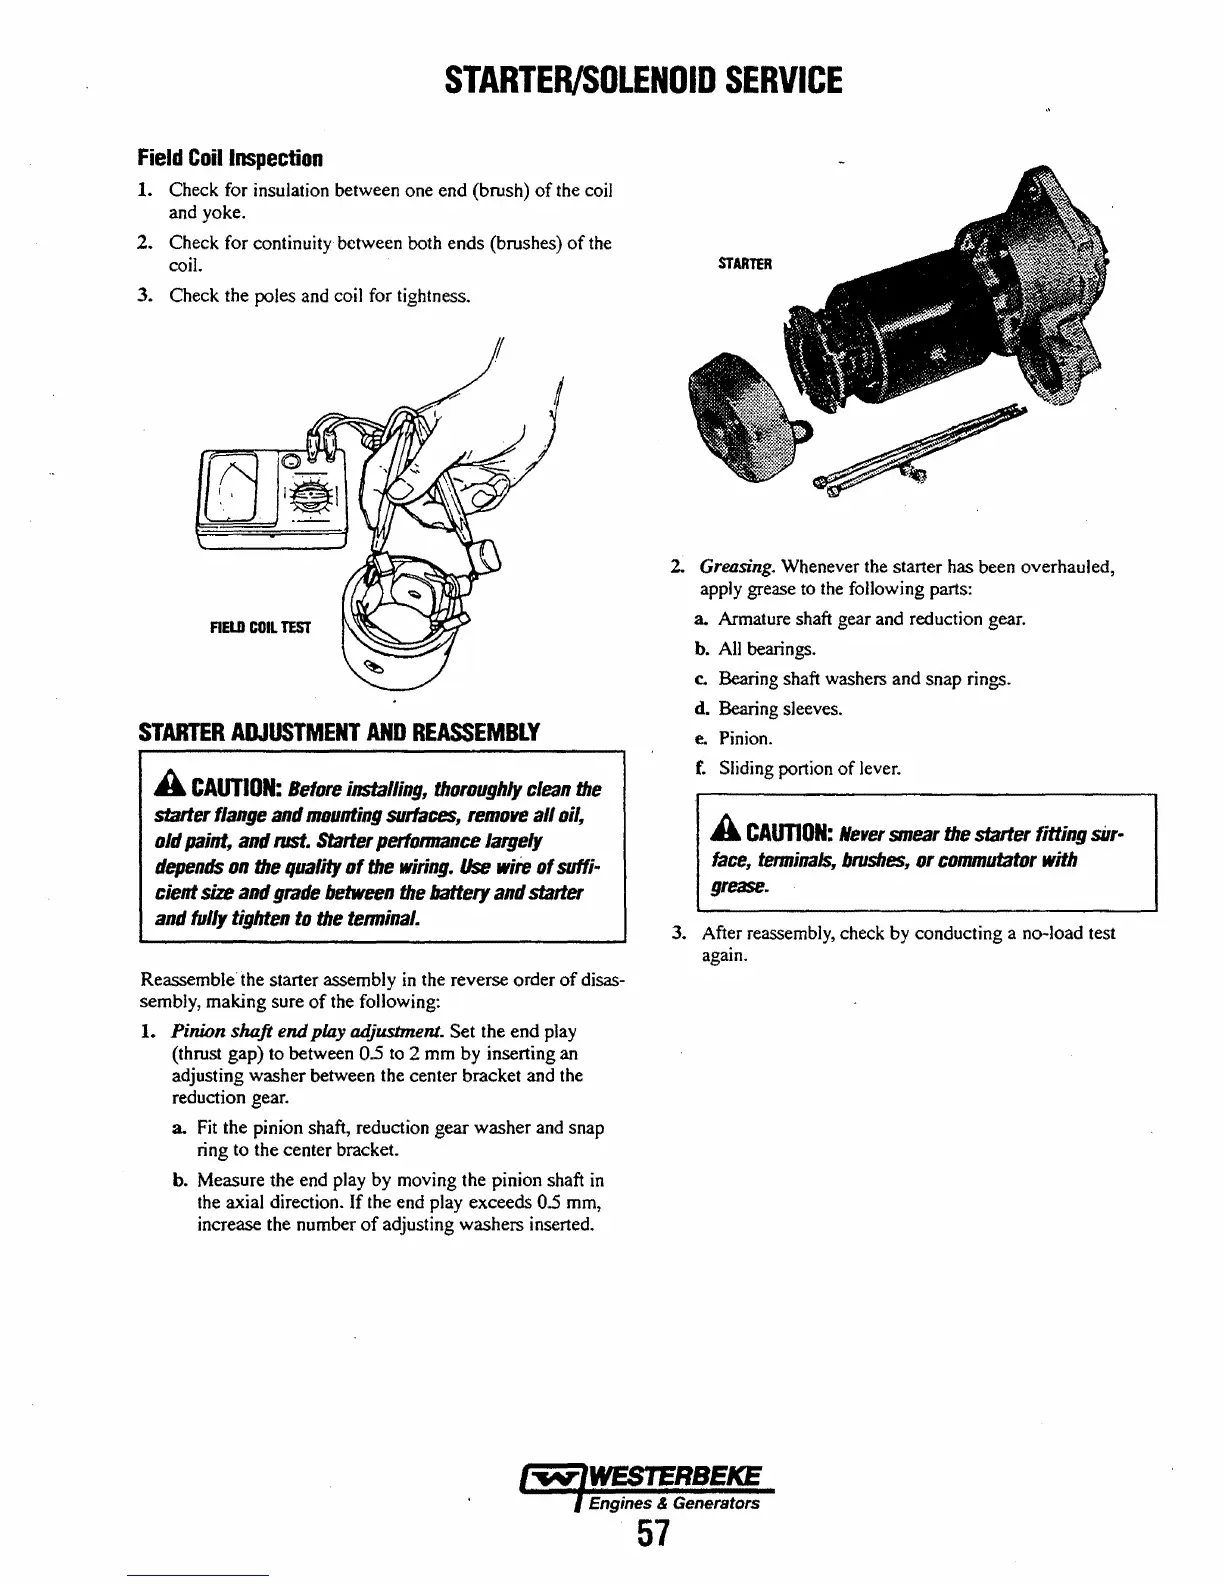
STARTER
ADJUSTMENT
AND
REASSEMBLY
A
CAUTION:
Before
installing,
thoroughly
clean
the
starter
flange
and
mounting
surfaces,
remove
all oil,
old
paint,
and
rust.
Starter
pertonnance
largely
depends
on
the
quality
of
the
wiring.
Use
wire
of suffi-
cient
size
and
grade
between
the
battery
and
starter
and
ful/y
tighten
to
the
terminal.
Reassemble" the starter assembly
in
the reverse order
of
disas-
sembly, making sure
of
the folJowing:
1. Pinibn shaft end
play
adjustment. Set the end play
(thrust gap) to between
0.5
to
2 mm by inserting an
adjusting washer between the center bracket and the
reduction gear.
a.
Fit
the pinion shaft, reduction gear washer and snap
ring to the center bracket.
b. Measure the end play by moving the pinion shaft
in
the axial direction. If the end play exceeds 0.5 mm,
increase the number
of
adjusting washers inserted.
2.
Greasing.
Whenever the starter has been overhauled,
apply grease to the following parts:
a.
Armature shaft gear and reduction gear.
h.
All
bearings.
c.
Bearing shaft washers and snap rings.
d. Bearing sleeves.
e.
Pinion.
f.
Sliding portion
of
lever.
A
CAUTION:
Ne"er
smear
the
starter fitting silr-
face,
terminals,
brushes,
Dr
commutator
with
grease.
3. After reassembly, check by conducting a no-load test
again.
Engines & Generators
57
 Loading...


