PISTON, CAMSHAFT, CRANKCASE, AND CRANKSHAFT
3-51
1
2
3
4
5
6
7
8
9
10
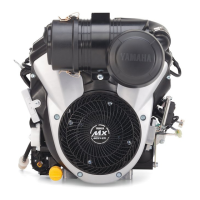
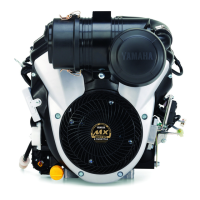
ENGINE
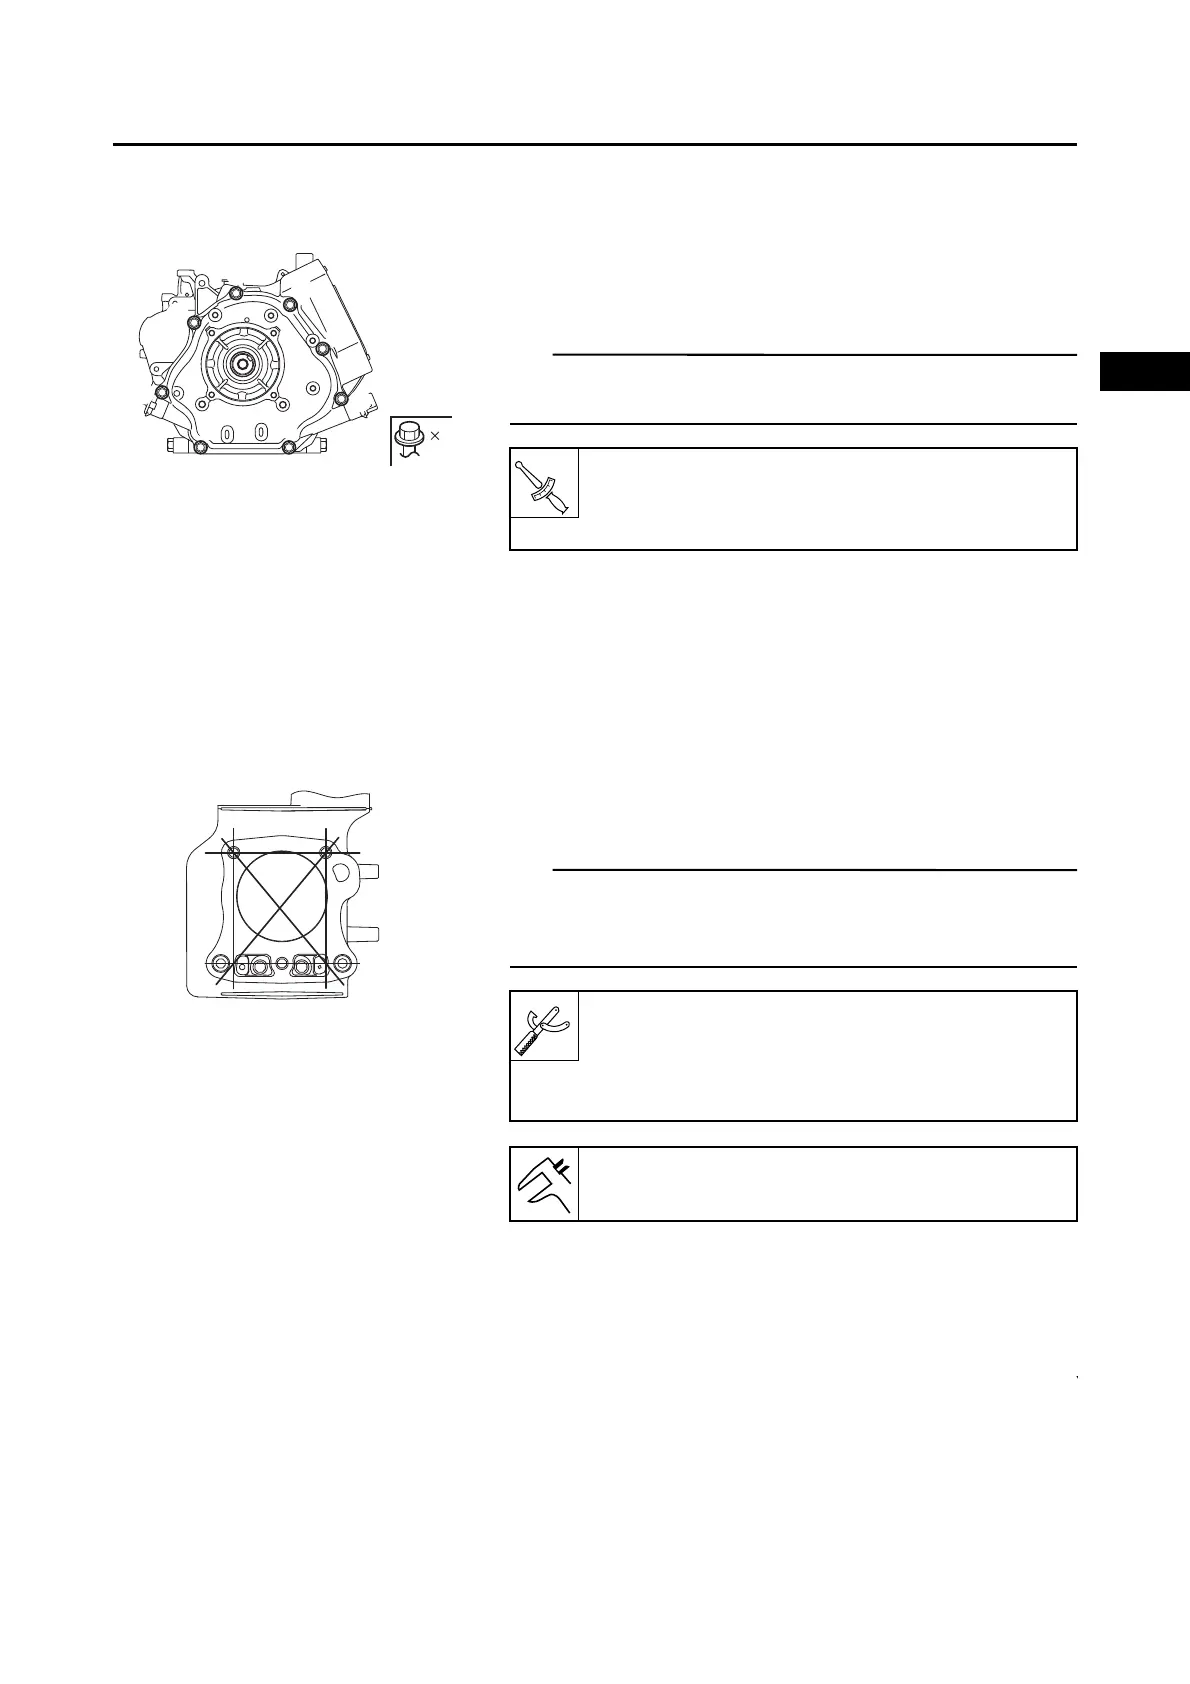
INSTALLING THE CRANKCASE COVER
1.
Install:
• Crankcase cover
• Crankcase cover bolts “1” to “8”
Tighten the bolts to the specified torque in two steps and in
order from “1” to “8”.
CHECKING THE CYLINDER AND PISTON
1.
Check:
• Piston wall
• Cylinder wall
Vertical scratches Replace the cylinder, and
replace the piston and piston rings as a set.
2.
Measure:
• Cylinder warpage
Measure the warpage on the contact surface of the cylin-
der head at six points using a straight edge and thickness
gauge.
Out of specification Replace the crankcase
assembly.
3.
Measure:
• Piston-to-cylinder clearance
▼▼▼▼▼▼▼▼▼▼▼▼▼▼▼▼▼▼▼▼▼▼▼▼▼▼▼▼▼▼▼▼▼▼▼▼▼▼▼▼▼
a. Measure cylinder bore “C” with the cylinder bore
gauge.
Crankcase cover bolt:
1st: 12 N·m (1.2 kgf·m, 8.9 lb·ft)
2nd: 30 N·m (3.0 kgf·m, 22 lb·ft)
Thickness gauge:
90890-03268
Feeler gauge set:
YU-26900-9
Warpage limit:
0.05 mm (0.002 in)