3D Systems, Inc.
55
ProX 800
1
2
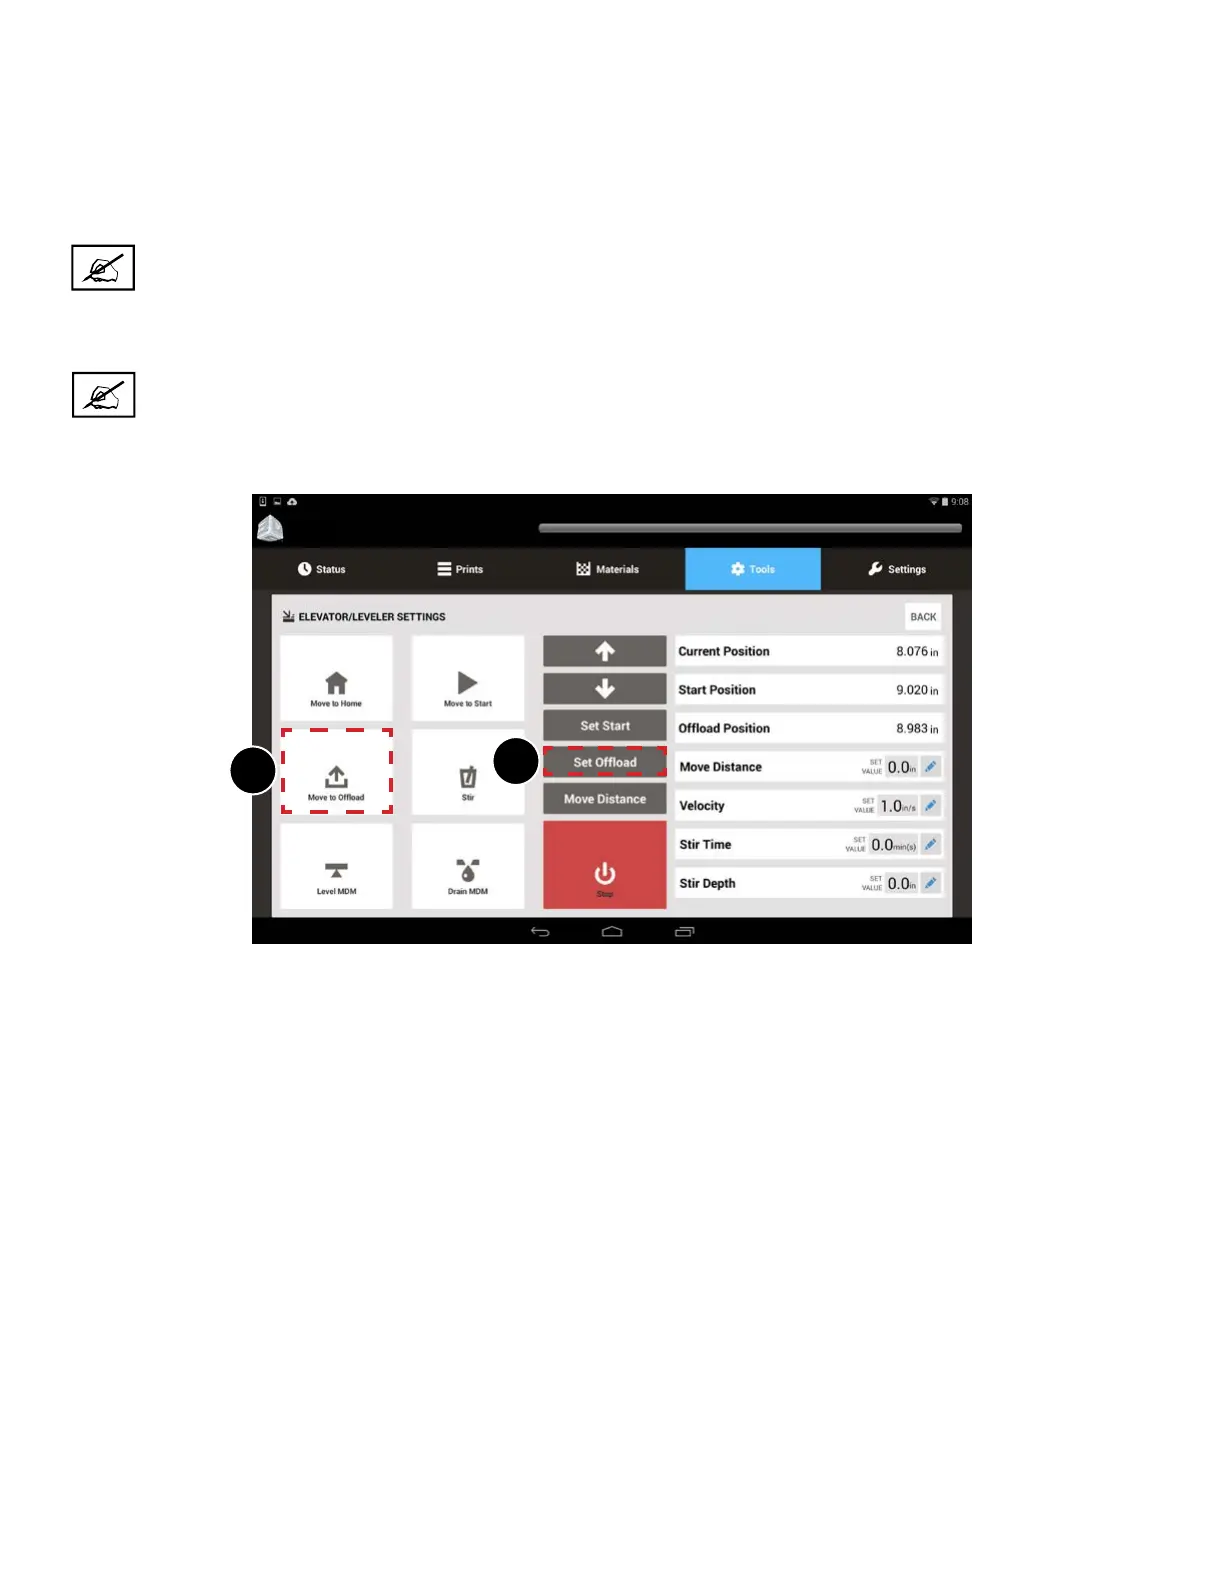
2. The editing keypad pops up. Type in the amount to move (ex. “.5” will move print pad up ½”). This is a good place to start.
3. Press Set.
4. Repeat these steps until the print pad is far enough up to get the Manual Ooad Cart under it without damaging the
recoater or to reach the timing plate. Refer to the sections “Remove a Part Without Ooad Cart” on page 62 and “Print
Pad Removal” on page 50.
NOTE: If the print pad is too high, you can reverse it by typing .5 > - (minus sign) > Set in the editing keypad to
set a negative value. This moves the print pad down ½”.
5. Select Set Ooad (1).
NOTE: This position will now be saved and can be used from now on by selecting Move to Ooad (2).