3D Systems, Inc.
56
PRINTING A PART
Now that you are familiar with the various screens within the User Interface, you are ready to print. Follow these basic steps to
print your rst part.
NOTE: Ensure print pad is installed prior to printing a part. See “Print Pad Installation” on page 60 for more
information.
6
7
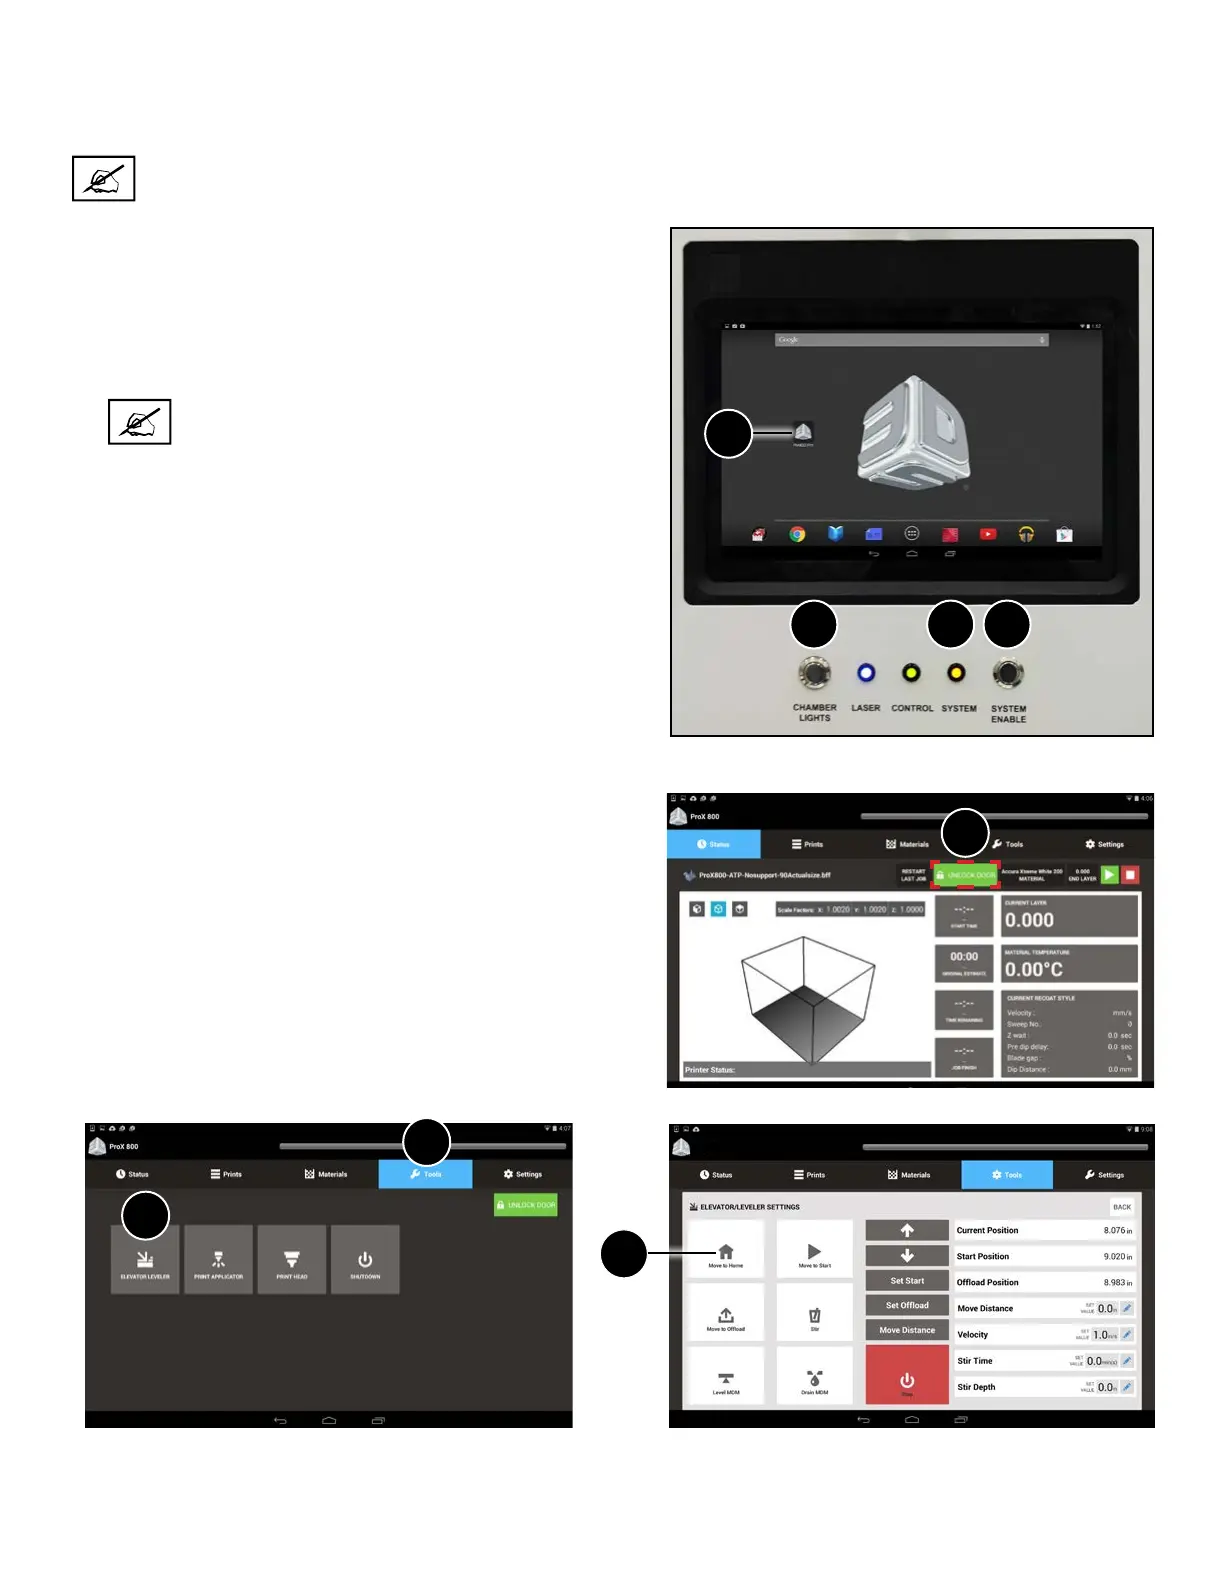
5. Verify the doors are locked by looking at the main Status Screen
on the UI. The green lock button should show Unlock Door if
the doors are locked. If not, press this button to lock the doors
(5).
5
Home the Elevator
If the printer was not already turned on:
1. Select Tools from the main screen (6).
2. Select Elevator/Leveler (7).
3. Select Move to Home (8).
2 3 4
1
ProX 800
8
1. If necessary, turn the machine on by ensuring that the printer is
plugged in, then turning the power disconnect switch to the ON
position. For the location of the switch, see the section “ProX 800
Printer - Inside View” on page 18.
2. Press the Print3D Pro icon (1) on the touchscreen to launch the
application.
3. Press the chamber lights button (2).
NOTE: This is optional. The machine will print without
the chamber lights on.
4. Ensure all doors are locked by verifying that the System (3) light
is on. If not, press the System Enable (4) button.