2-10 Settings Menu Instrument Overview
2-36 PN: 10580-00444 Rev. U MS2090A UG
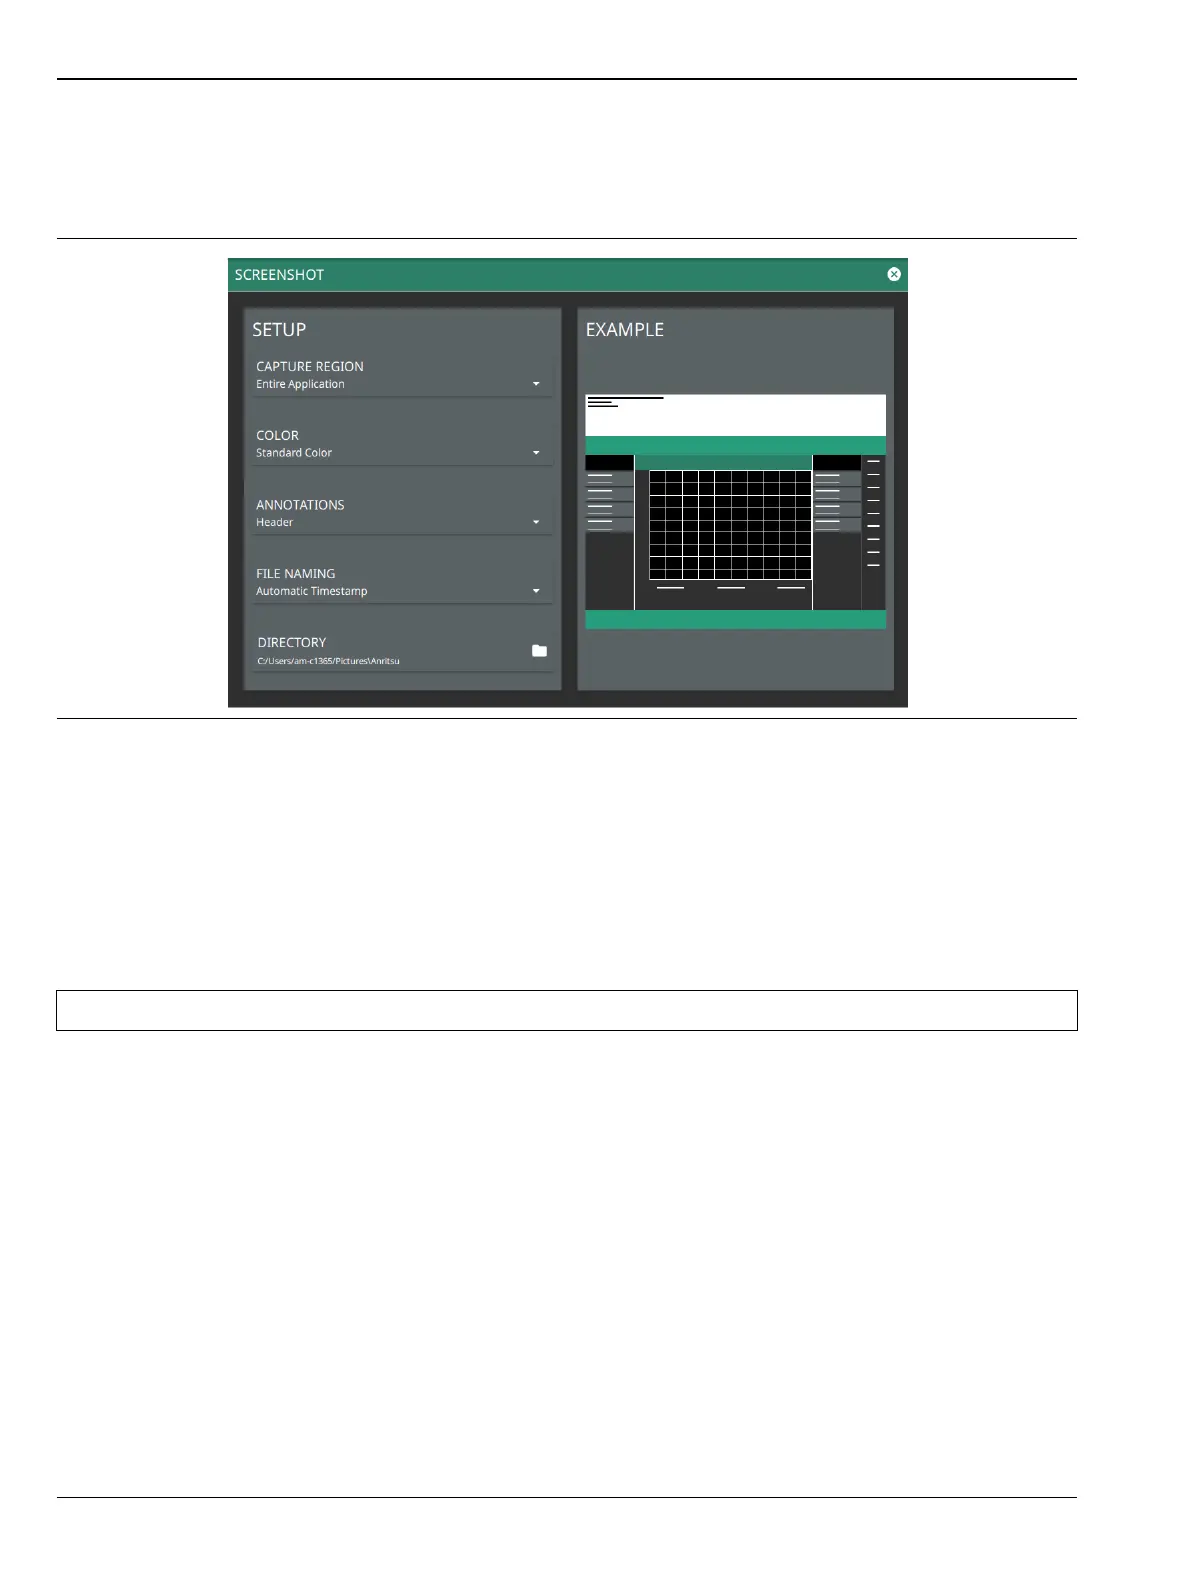
Screenshot Setup
1. Access the System menu (3-line icon in the upper left corner).
2. Select SETTINGS to access the instrument settings menu, then select SCREENSHOT to open the
screenshot setup menu.
Screenshot setup lets you configure the following:
• CAPTURE REGION: Captures entire window or graph area only.
• COLOR: Standard or printer-friendly.
• ANNOTATIONS: May be placed at top (header), bottom (footer) of captured image, or can be excluded
(none).
• FILE NAMING: Saves a file with an automatic or manual time stamp.
• DIRECTORY: Directory path to destination folder where the file is to be saved.
Figure 2-35. Screenshot Setup
Note Screenshots can be previewed on the instrument display from “File Management” on page 2-46.