HA-8180V 3-23
3.5.2 Setting Up the Printer
You can deactivate the printer if you do not wish to print anything. When using the printer, you can select whether or
not to:
• Include peak information and/or chromatograms in individual measurement result reports,
• Automatically print reports which list measurement results, abnormal results, barcode errors and history of warning/
error/trouble at the end of a batch of measurements, and
• Print reagent information at the beginning of batches or add it to individual measurement result reports.
a On the standby screen, select , <5 Initial settings menu> and <2 Printer setup> in that order.
b Set the setup items.
• See the table below.
• button: Moves the cursor to the next setup field.
Hyphen button: Changes the option.
c Press .
• The message “Settings changed. Save setting changes?” will
appear.
d Press .
• This saves your entries and will return you to the [Initial settings
menu] screen.
e To return to the standby screen, press twice.
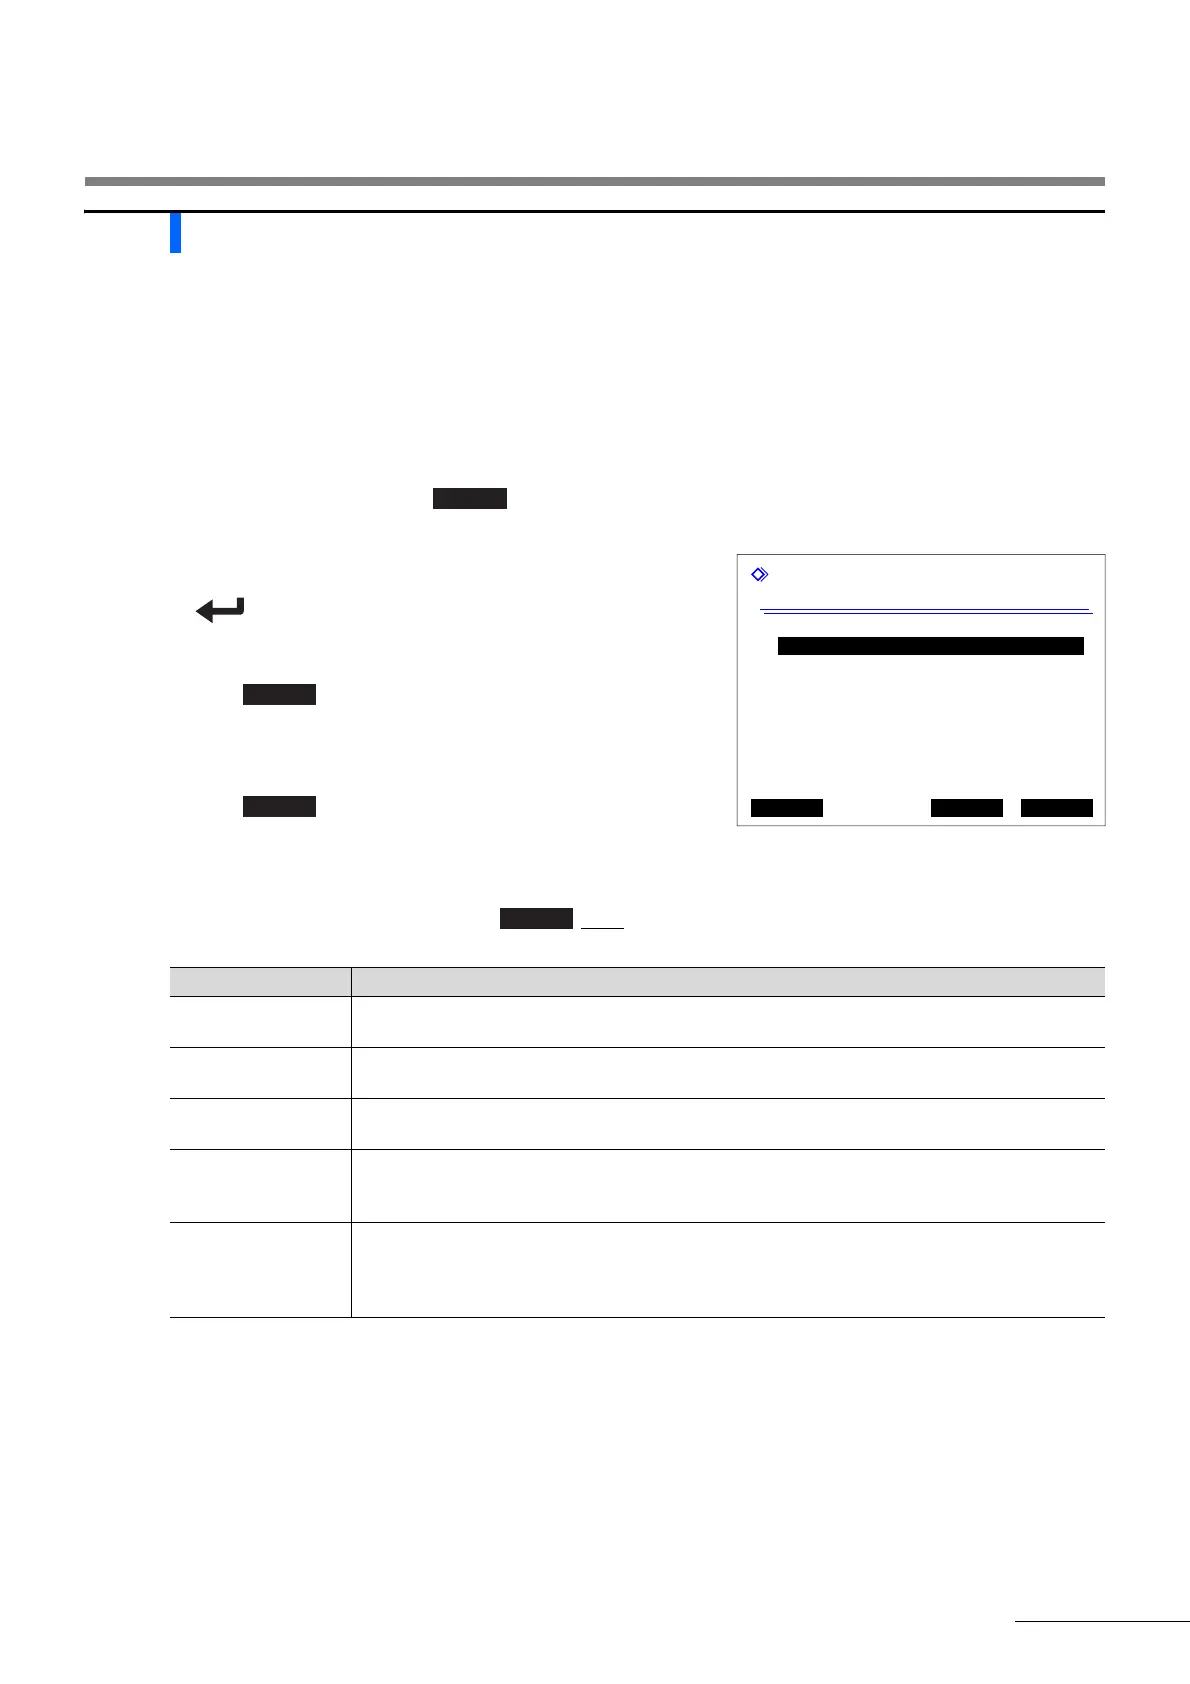
Printer setup
(5200) 10-06-2010 10:00
Use/Not use
[Use ]
Peak information
[Print ]
Chromatogram
[Print ]
Data list
[Print ]
Reagent information
[Not print ]
PrevItem OK Cancel
Setup item Description (default bolded)
Use/Not use Use: Uses the printer to print measurement results and information on the instrument.
Not use: Does not use the printer. Nothing is printed.
Peak information Print: Includes peak information in printed measurement result reports.
Not print: Does not include peak information.
Chromatogram Print: Includes chromatograms in printed measurement result reports.
Not print: Does not include chromatograms.
Data list Print: Automatically prints reports which list measurement results, abnormal results,
barcode errors and history of warning/error/trouble at the end of each batch.
Not print: Does not print these reports automatically.
Reagent information Batch: Prints at the beginning of each batch.
Each measurement: Prints on each measurement result report.
Not print: Does not print.
See “6.1.6. Reagent Information Report” on page 6-8.
3.5 Initial Settings
 Loading...


