DDT; Reviewed:
SPOC 10/18/2017
Solution & Interoperability Test Lab Application Notes
©2017 Avaya Inc. All Rights Reserved.
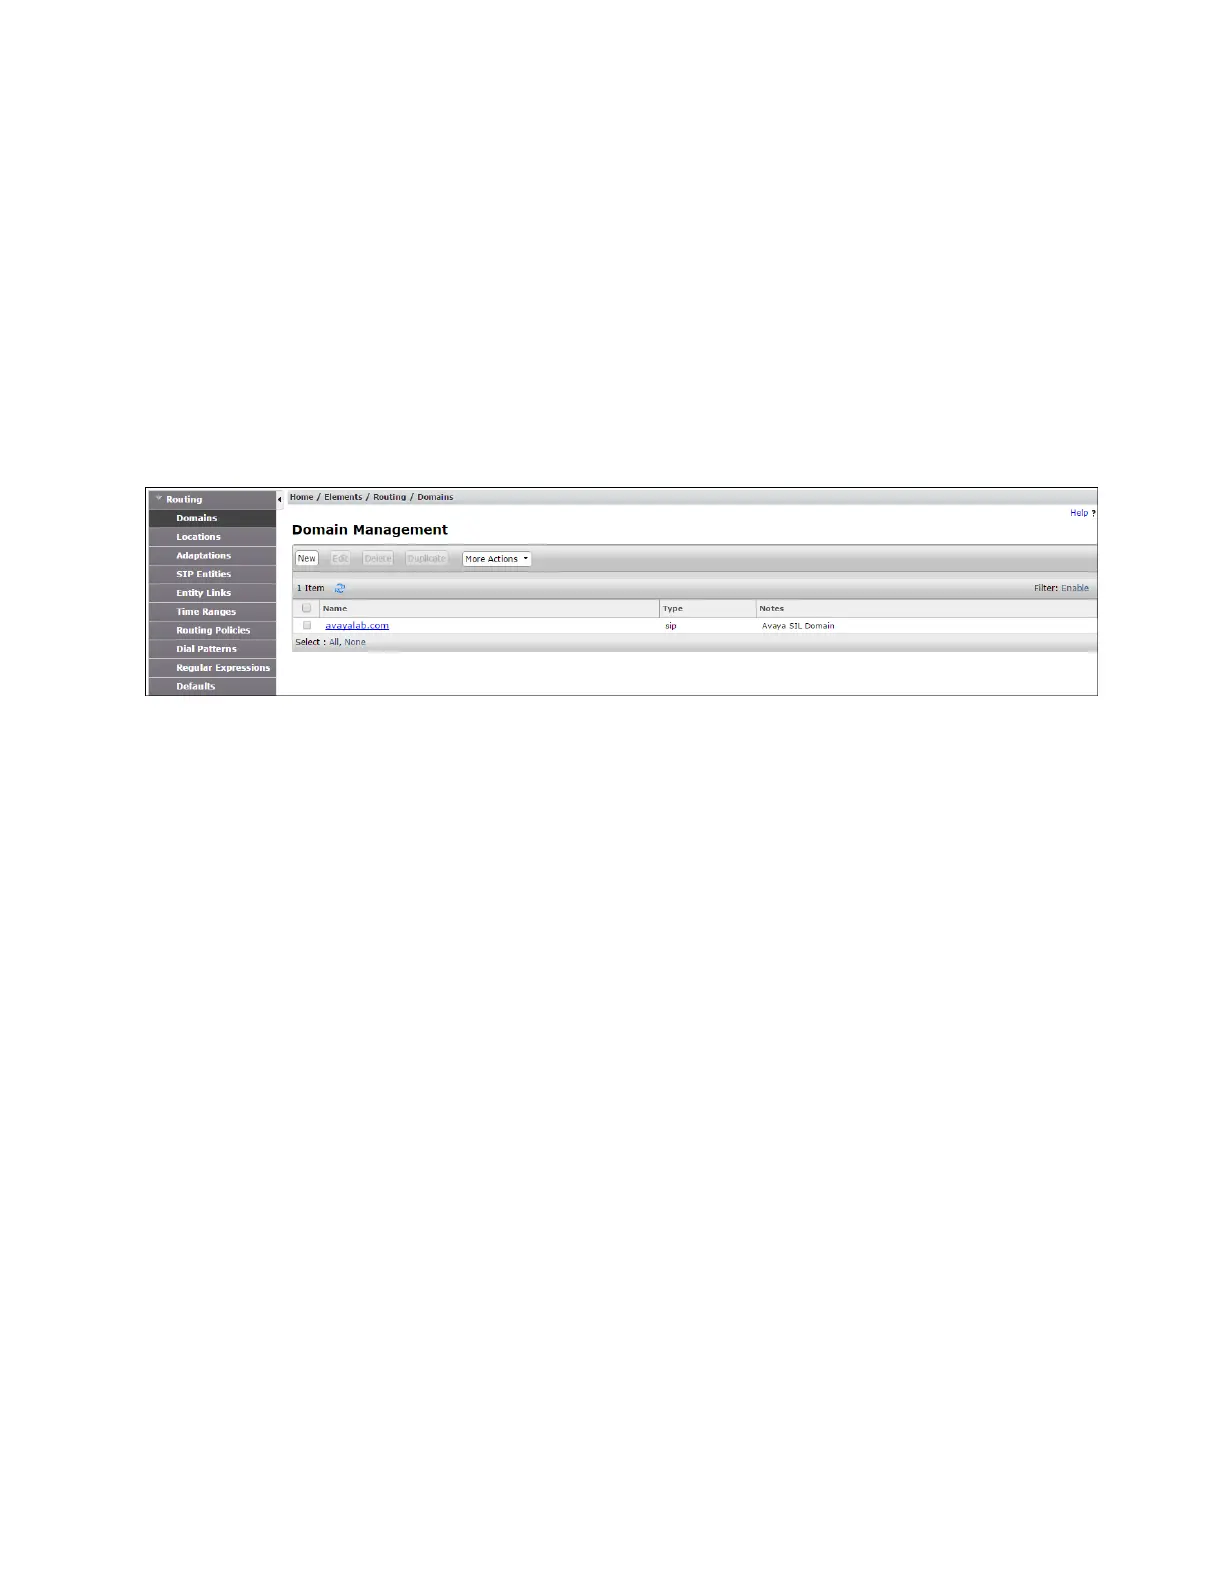
5.1. SIP Domain
Step 1 - Select Domains from the left navigation menu. In the reference configuration, domain
avayalab.com was defined.
Step 2 - Click New (not shown). Enter the following values and use default values for remaining
fields.
Name: Enter the enterprise SIP Domain Name. In the sample screen below, avayalab.com
is shown.
Type: Verify sip is selected.
Notes: Add a brief description.
Step 3 - Click Commit to save.
5.2. Locations
Locations are used to identify logical and/or physical locations where SIP Entities reside. In the
reference configuration, two Locations are specified:
Main – The customer site containing System Manager, Session Manager, Communication
Manager and local SIP endpoints.
Common – Avaya SBCE
5.2.1 Main Location
Step 1 - Select Locations from the left navigational menu. Click New (not shown). In the General
section, enter the following values and use default values for remaining fields.
Name: Enter a descriptive name for the Location (e.g., Main).
Notes: Add a brief description.
Step 2 - In the Location Pattern section, click Add and enter the following values.
IP Address Pattern: Leave blank.
Notes: Add a brief description.
Step 3 - Click Commit to save.
 Loading...


