4. ClickShare installation
173mm
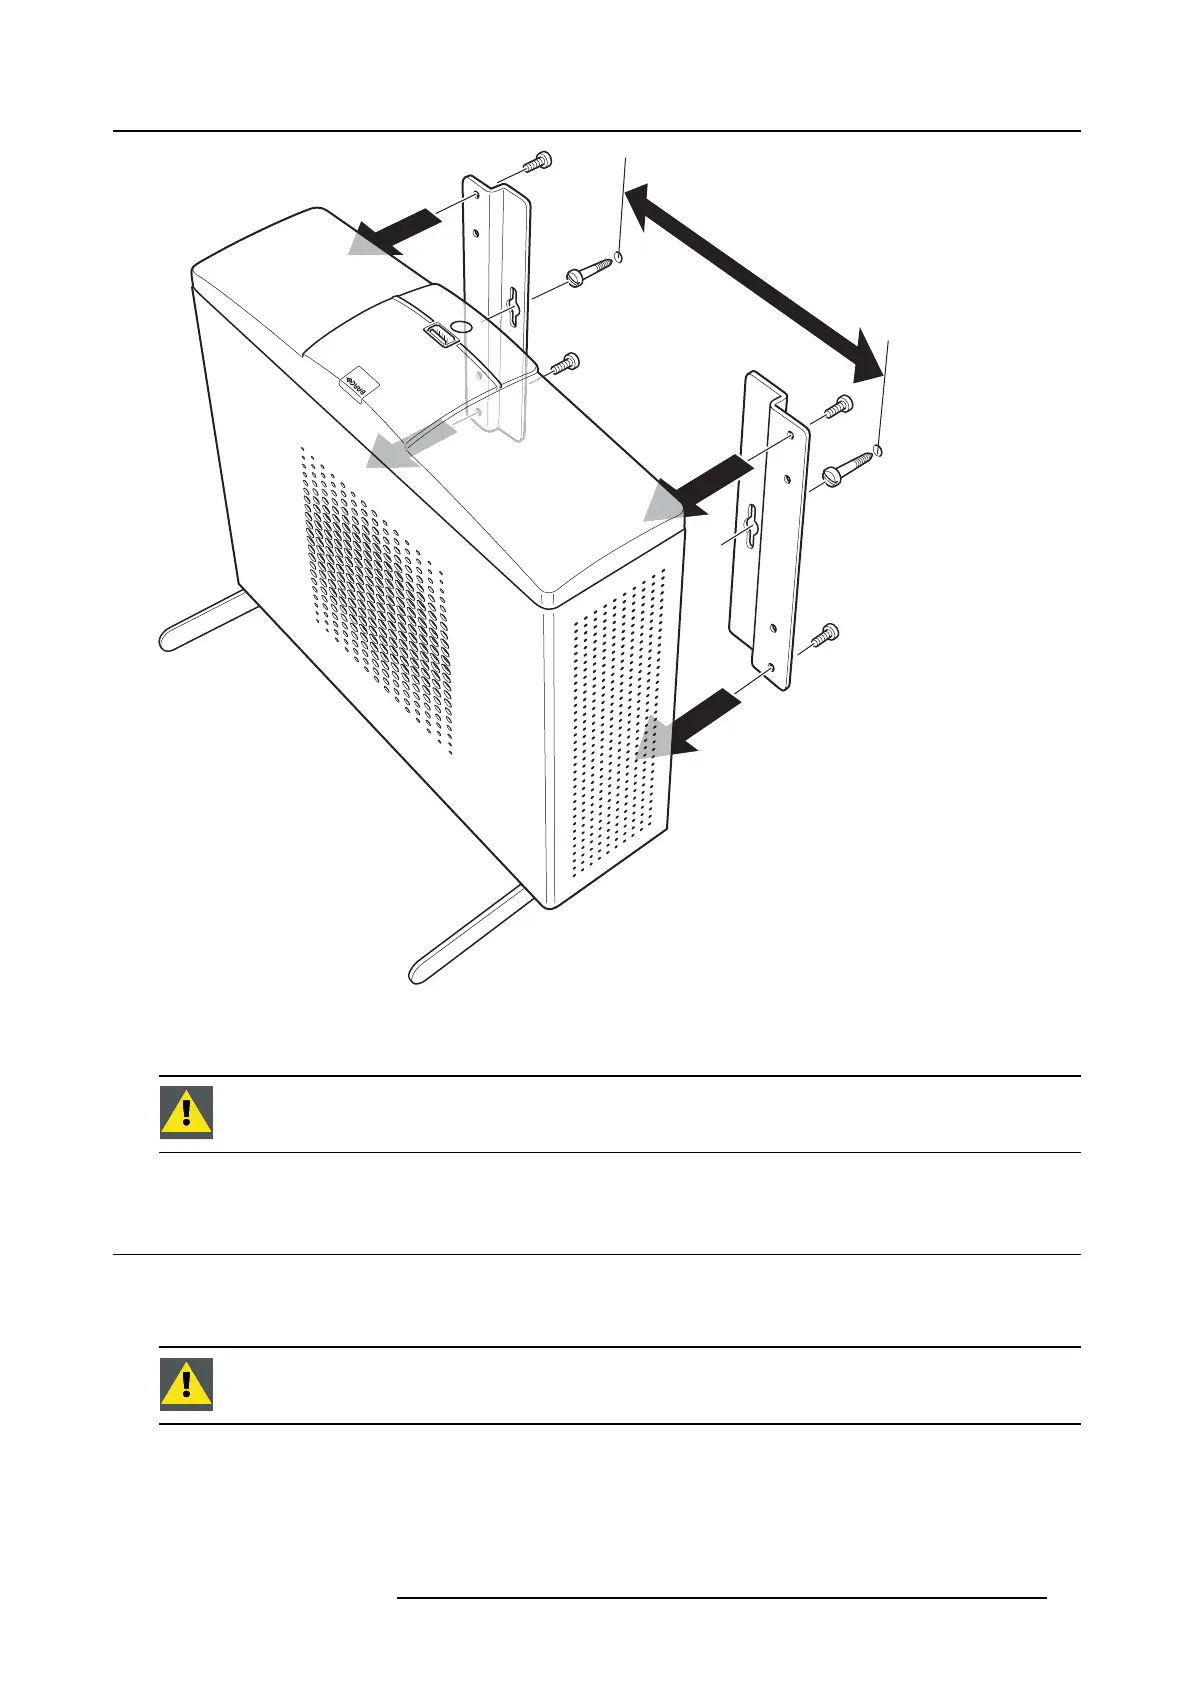
Image 4-1
4. To mount the B ase unit on the wall, h
ook the slots in the b rackets over the 2 screws in the wall (front side of the Base unit directed
toward s the ceiling or the floor) and pull it downward until it is secured.
CAUTION: It is only allowed to mount the Base Unit front side up or down. Mounting on its side is not allowed!
4.4 Ceiling m ounting
About ceiling mounting
Use the mounting brackets, inserted in the ClickSh are box, to mo unt the B ase unit to the ceiling.
WARNING: Never us e the “k
eyholes” in the mounting brackets to mount the B ase unit to the ceiling !
Necessary tools
• a drill (type of drill depends on the type of ceiling and screw type)
• T10 torx screwdriver
R5900004 CLICKSHARE 23/12/2014 19