EasyManuals Logo

Barco ClickShare Installation Guide

Barco ClickShare
114 pages
To Next Page IconTo Next Page
To Previous Page IconTo Previous Page
Page #34 background imageLoading...
Page #34 background image
4. ClickShare installation
Image 4-4
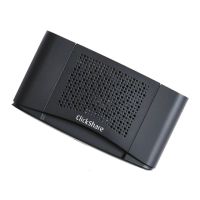
Removal of pre-mounted screws
2. Place the Base Unit on the rack mount and drive in the four removed Pan Head T10 M3 screws.
Refer to “1” on image 4-5.
3. Fasten the antenna to the front panel of the rack mount.
Refer to “2” on image 4-5.
1
2
3
3
2
1
Image 4-5
4. Tighten the antenna cables to the b ack of the Base Unit.
Refer to “3” on image 4-5.
5. Use the four included screws to mount the rack mou nt assembly into the dedicated AV rack.
22
R5900004 CLICKSHARE 23/12/2014

Table of Contents

Other manuals for Barco ClickShare

Questions and Answers:

Question and Answer IconNeed help?

Do you have a question about the Barco ClickShare and is the answer not in the manual?

Barco ClickShare Specifications

General IconGeneral
Plug-and-PlayYes
Video OutputsHDMI
Supported ResolutionsUp to 4K UHD
Number of Concurrent UsersUp to 8 (depending on the specific model)
Operating System CompatibilityWindows, macOS
Security ProtocolsWPA2
Maximum Resolution3840x2160
ConnectionUSB
EncryptionAES
Supported Video FormatsH.264
Wireless TechnologyWi-Fi

Related product manuals